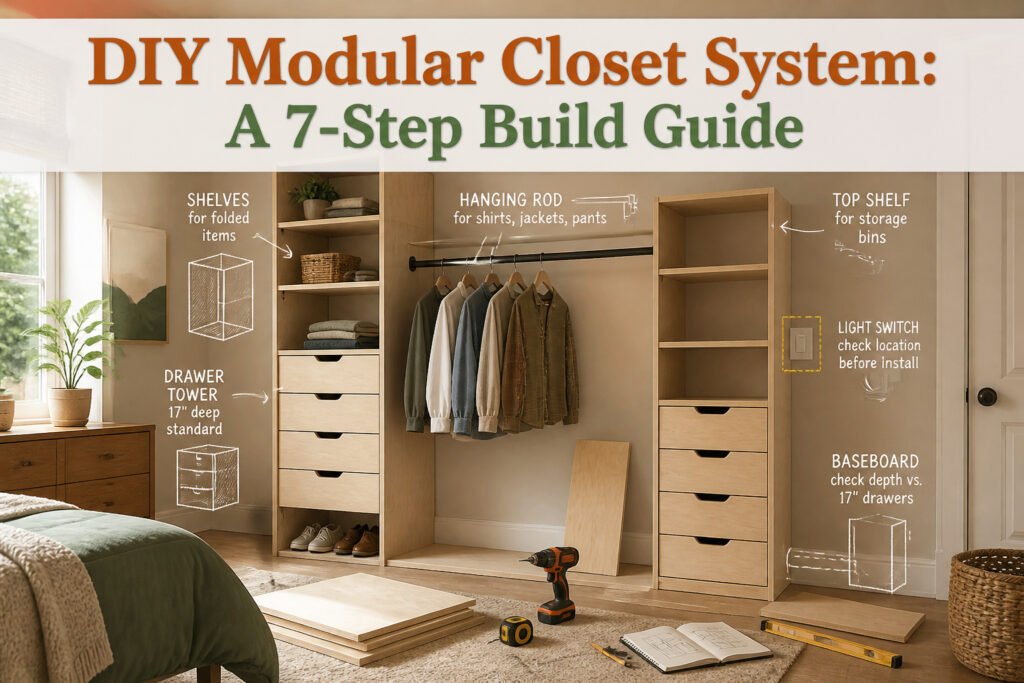
A DIY modular closet system is a build-it-yourself storage setup made from plywood boxes, hanging rods, and drawer towers that you cut, assemble, and anchor to your walls.
The catch is that standard closet widths listed on floor plans almost never match reality: you need to subtract one inch for install wiggle room, check baseboard depth against the 17-inch drawer units, and mark light switch locations before a tower swallows them.
1. Assess Your Space
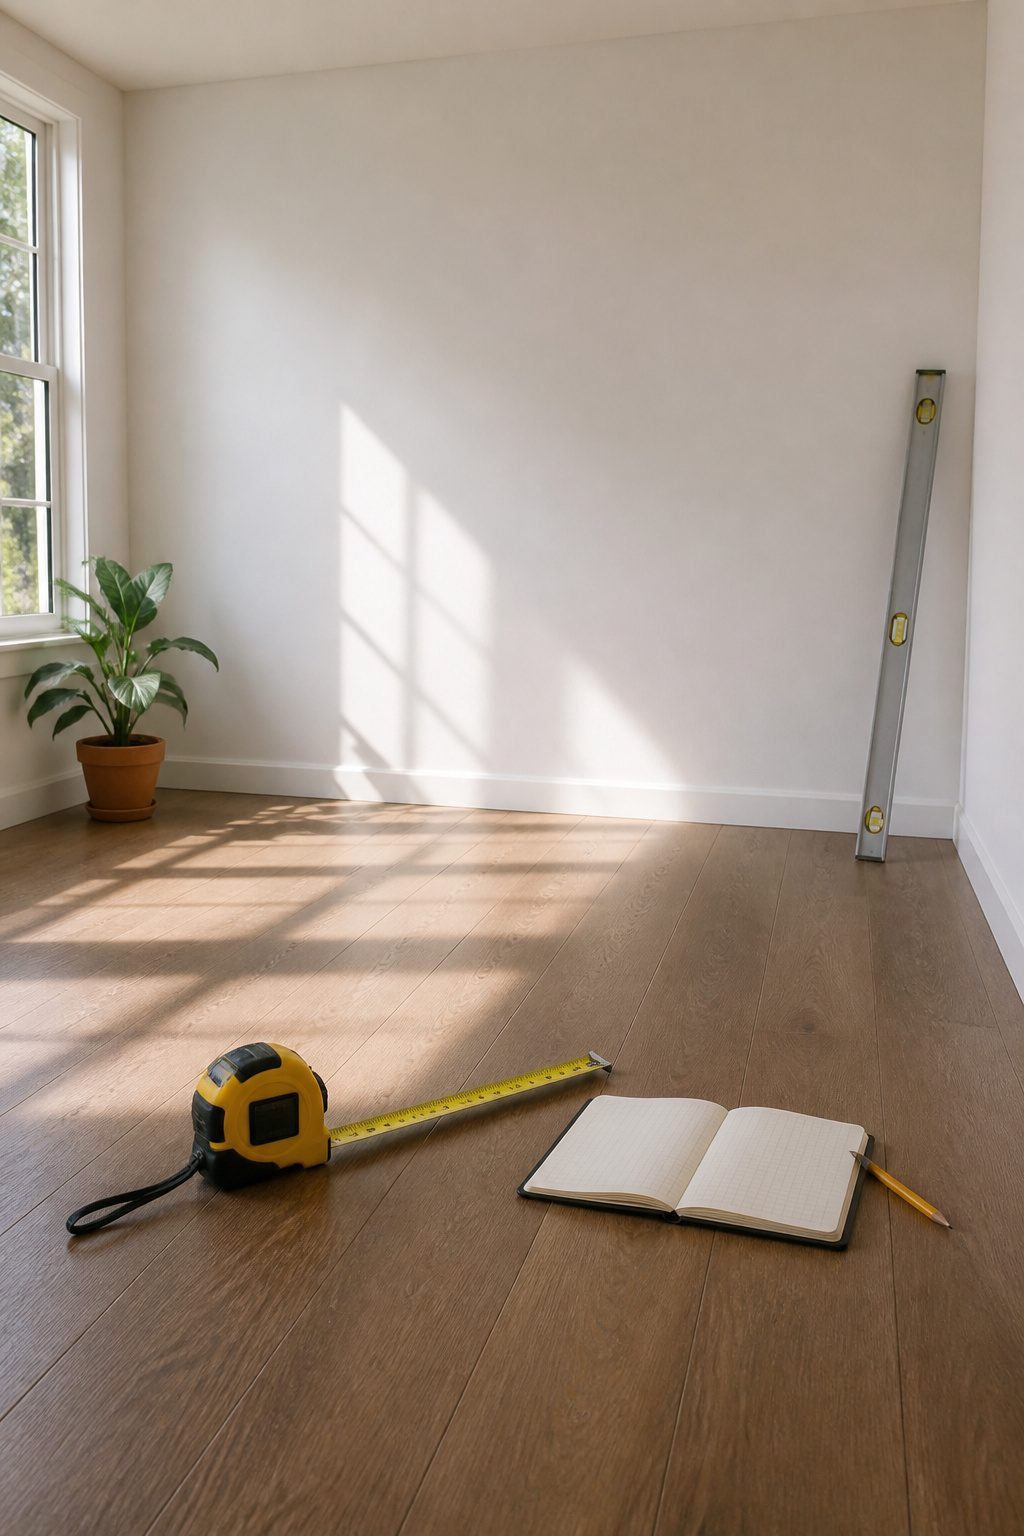
A tape measure and a few minutes of honesty will save you from the mistake I almost made on my first closet build: assuming the wall-to-wall number on the listing was the number I had to work with.
Subtract one inch from your total width to give yourself wiggle room during install, especially if you are running cabinets wall-to-wall.
The drawer units run 17 inches deep, 35¾ inches wide, and 84 inches tall; the hanging rod units are slimmer at 13 inches deep and 33⅜ inches wide, same height. Depth matters more than you think.
That 17-inch drawer cabinet will swallow a standard baseboard whole unless you scribe or shim, and a door swing arc will clip the corner of any unit that sits too close to the jamb.
Light switches are the one I forget.
Measure their centerline height and set it against your unit plan; a switch that lands inside the 35¾-inch width of a drawer tower means cutting an access hole you did not budget time for.
Height is simpler, but still worth a real check: 84 inches clears most standard closets, yet older homes with plaster ceilings can drift low in corners. Measure front, middle, and back.
The tallest reading is your hard ceiling; the shortest is where your cabinet top will actually sit if you do not level the floor first.
2. Choose a Design
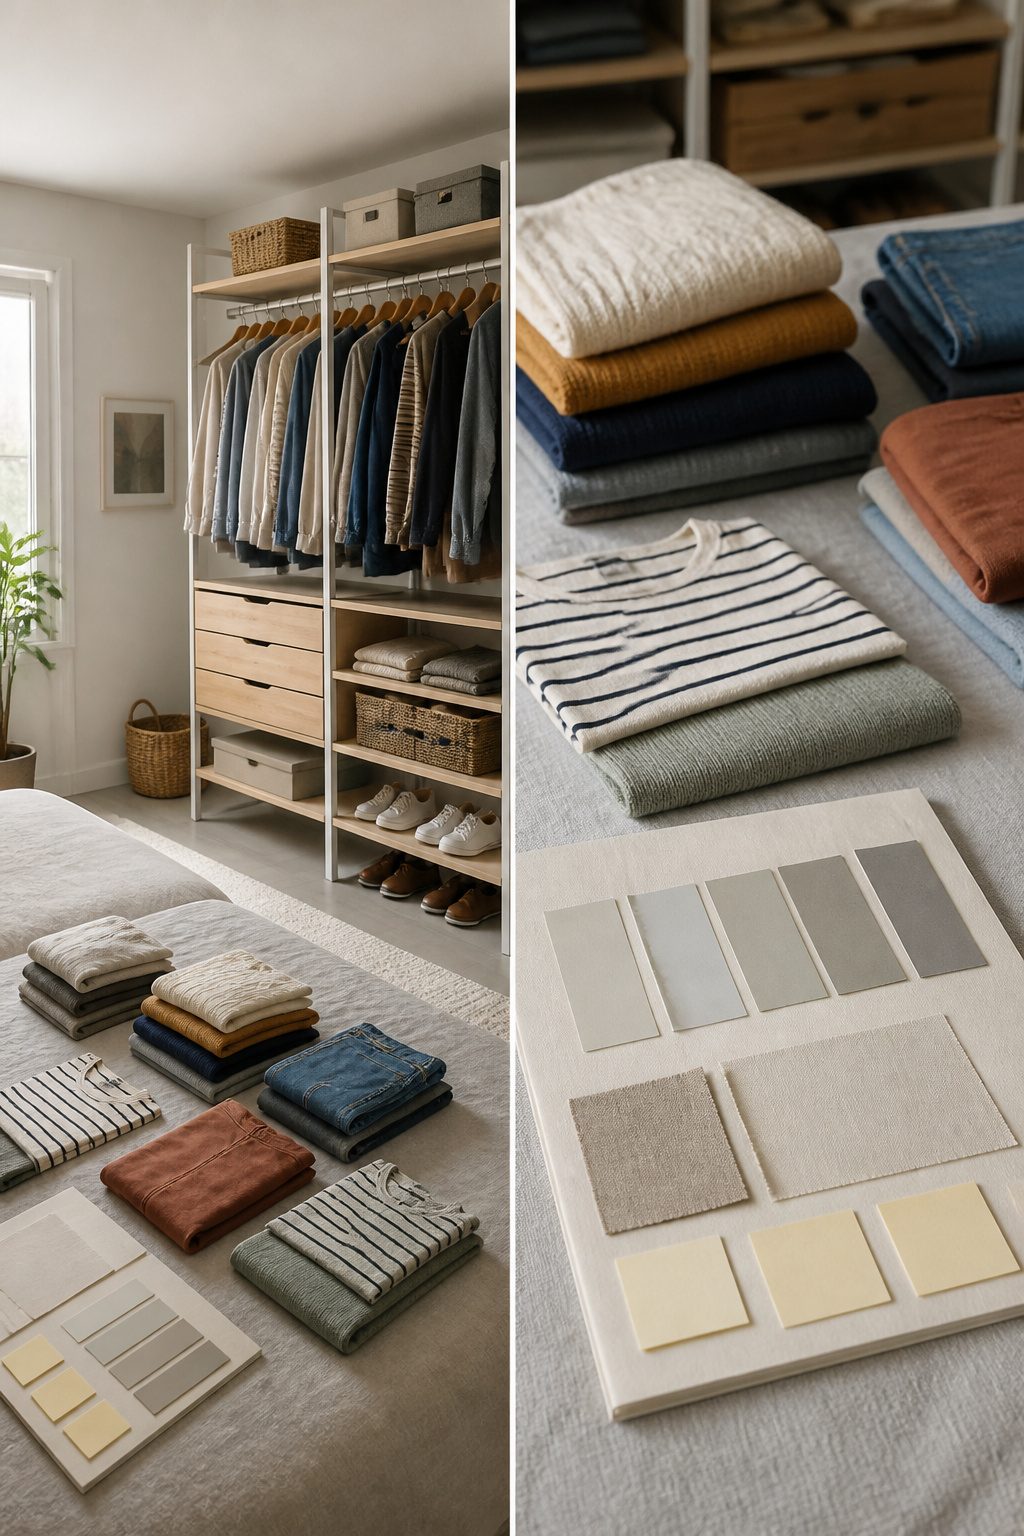
A modular closet only works if the modules match what you actually own. I spent an afternoon pulling everything out of my old reach-in and sorting it into piles: hanging short, hanging long, folded, shoes, the oddball stuff.
The ratio surprised me. I had far more folded sweaters than I thought, which meant shelves needed to outrank double-hang rods in my plan.
If you’re in a walk-in, you get to spread those zones across walls. In a reach-in, every inch fights for priority, and drawers usually lose because they eat depth that shallow closets cannot spare.
Shoe count matters more than people admit. A rod system with one tall shelf looks clean until you stack twenty pairs and lose the back row forever.
The sources I read split hard on this: some swear by open cubbies, others by tower bases with drawers. My take is that shoes you wear weekly stay visible; the seasonal pairs can hide.
Wall color changes how the whole system reads. I painted my closet in Sherwin-Williams Repose Gray, a warm gray that stays quiet behind white melamine units.
It makes the edges look intentional rather than like storage crashed into a bedroom. Darker walls swallow the frame lines; brighter ones fight for attention.
Repose Gray sits in the middle, so the modular pieces read as built-in without the built-in cost.
3. Gather Materials
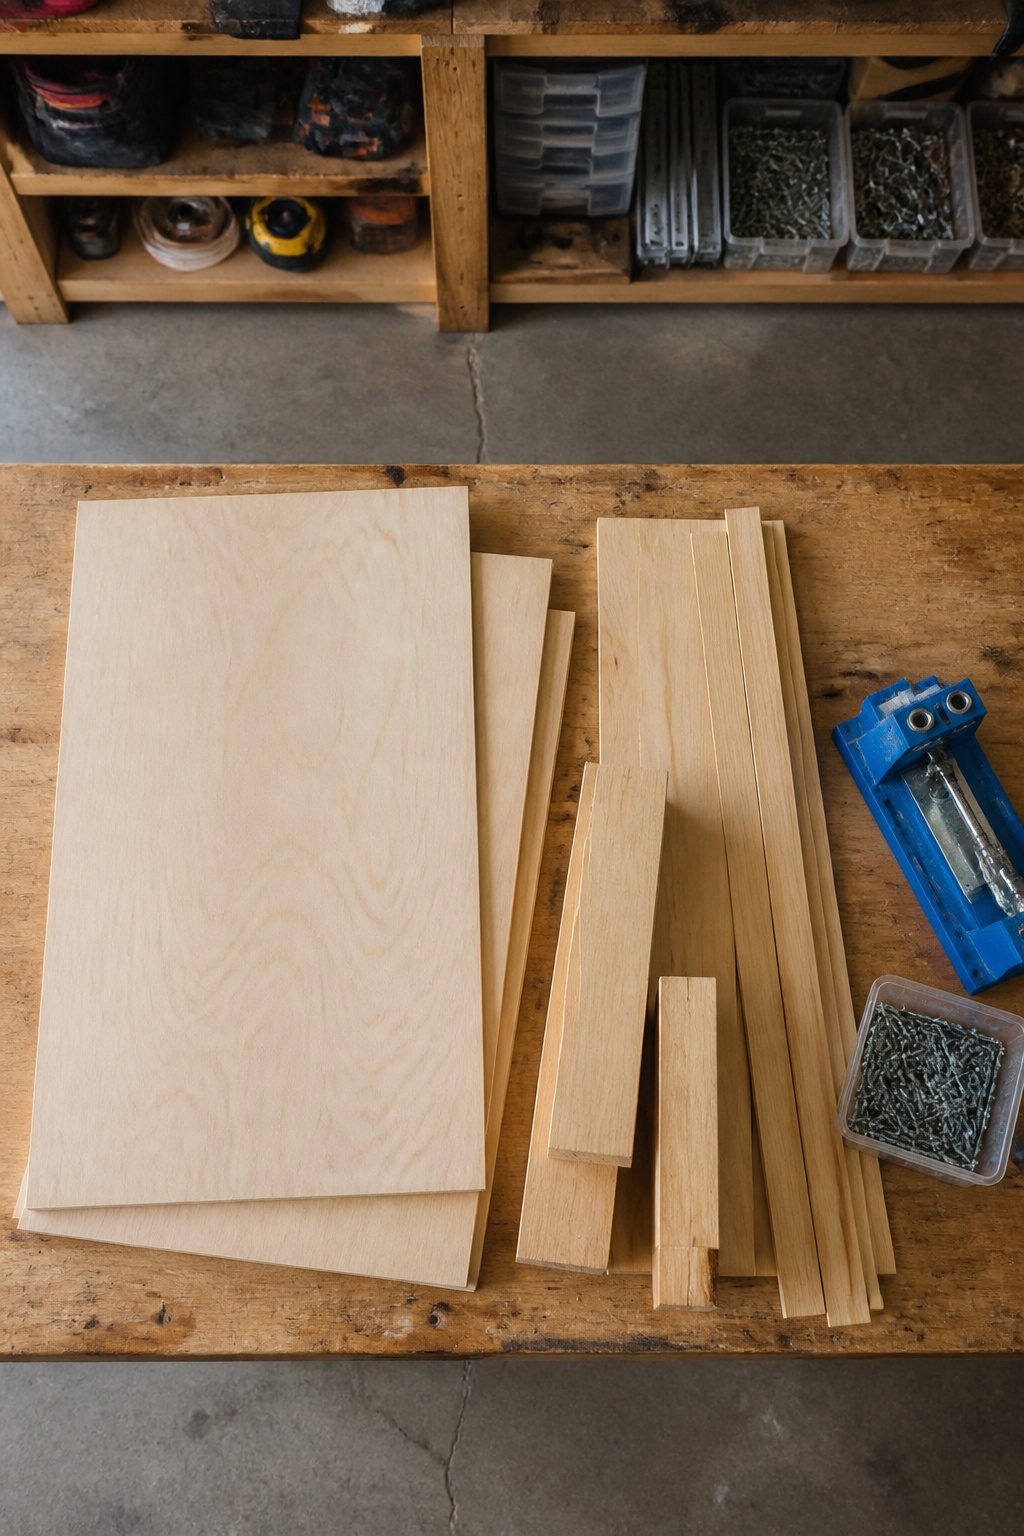
Three sheets of ¾-inch hardwood plywood will carry most of a standard closet system, with a fourth ¼-inch sheet reserved for backing if your design calls for it.
The hardwood ply, birch in particular, runs more than sanded pine but does not carry the chemical smell that lingers in some composite panels for weeks after cutting.
I have opened enough of both in a small apartment to notice the difference.
For the frame itself, 1×12 finger-jointed boards work if you prefer solid lumber, though you will need to check each piece for warp before buying.
The real cost split happens at the joints: pocket hole screws at 1¼ inches do the hidden work, while 3-inch self-tapping construction screws with star-drive heads anchor the unit to wall studs through a 1×6 French cleat.
A pocket hole jig is not optional here; the joints will not survive loading without it.
Drawer hardware is where the budget bites back. Ball-bearing slides at 16 inches run four pairs minimum for a usable system, and the 1⅜-inch dowel rod for hanging needs matching closet rod sockets.
Edge banding covers the plywood ends if you want paint to look like anything other than layered glue.
4. Cut Components
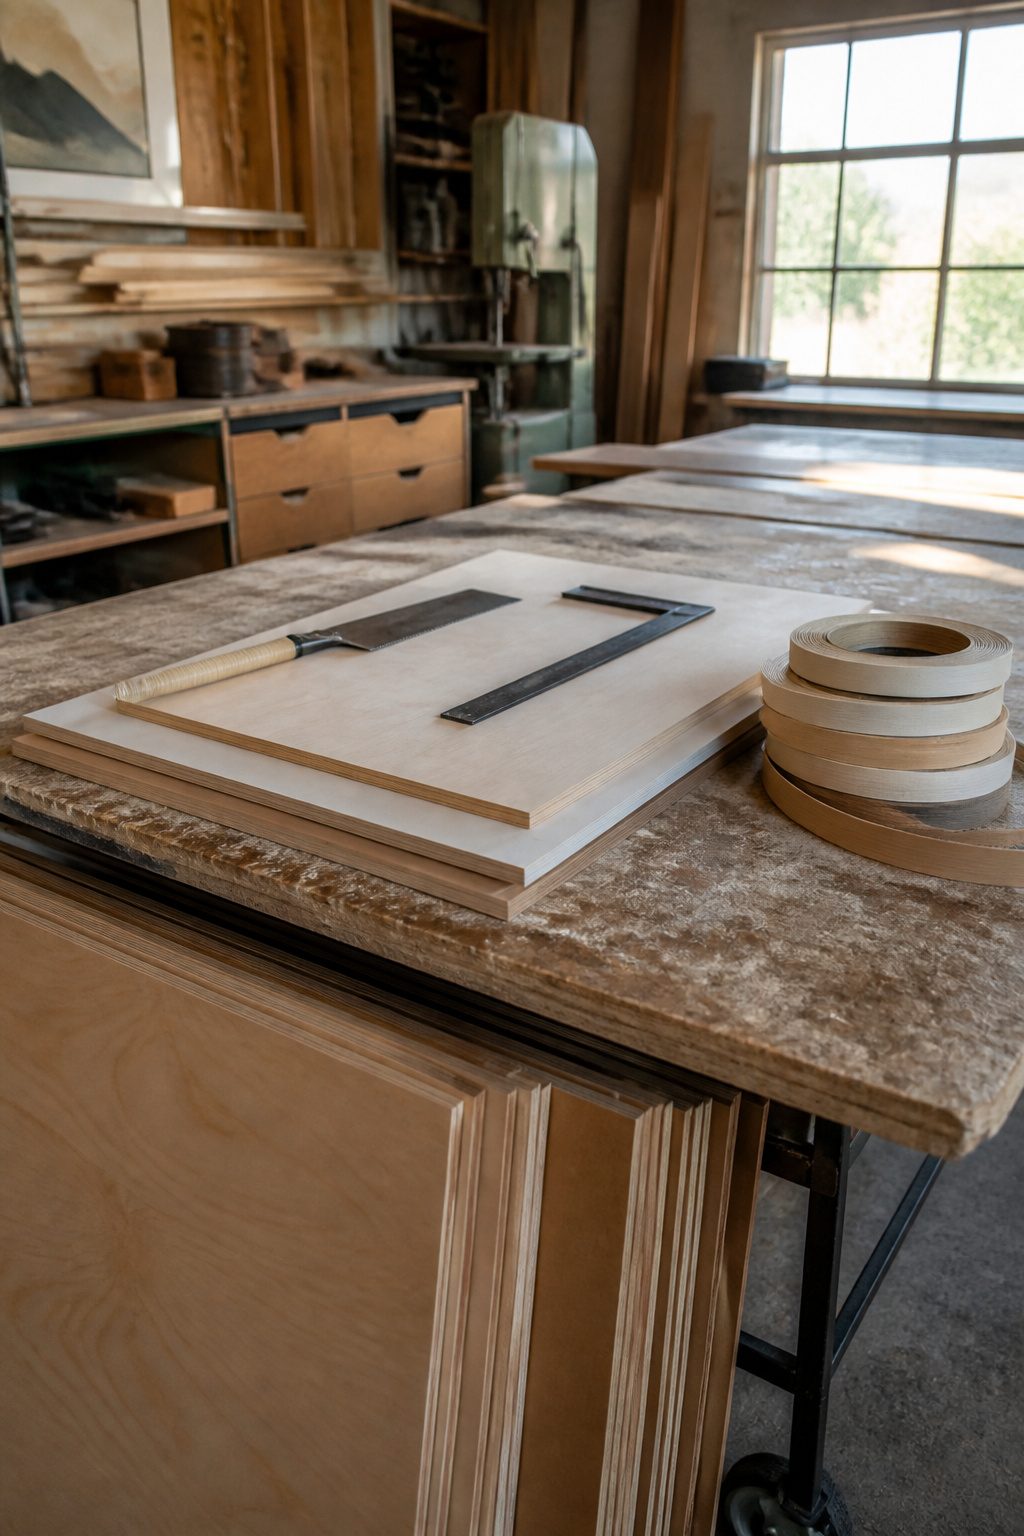
Plywood sheets rarely stay flat once you lean them against a garage wall for a week, and that bow will telegraph straight into your cabinet sides if you do not check for it before you cut.
I lay each sheet on the floor and sight down the edge; anything with a noticeable curve gets the concave side facing in, where the assembly will pull it straight, or it gets relegated to back supports and toe kicks that hide the warp entirely.
The cut list from the plans gives fixed targets: two sides at 84 inches, a top, middle, and bottom shelf, plus two 3 ½ inch strips for the back support and toe kick.
An eighth inch shy on the middle shelf and your drawer faces will never line up, so I cut the sides first, then measure every shelf directly against them rather than trusting the tape twice.
A blade that wanders off square is another slow disaster; I check it against a framing square before every sheet, because plywood this thick will punish a degree of drift with gaps you cannot clamp away.
Edge banding covers the raw plies on anything visible, and the iron-on kind is fast enough that I usually do it right at the sawhorses before the pieces scatter.
The back support strip and the toe kick strip both need ¾ inch pocket holes on their ends, same as the shelves, so I drill those while the pieces are still in easy reach and the jig is already set.
5. Assemble Units
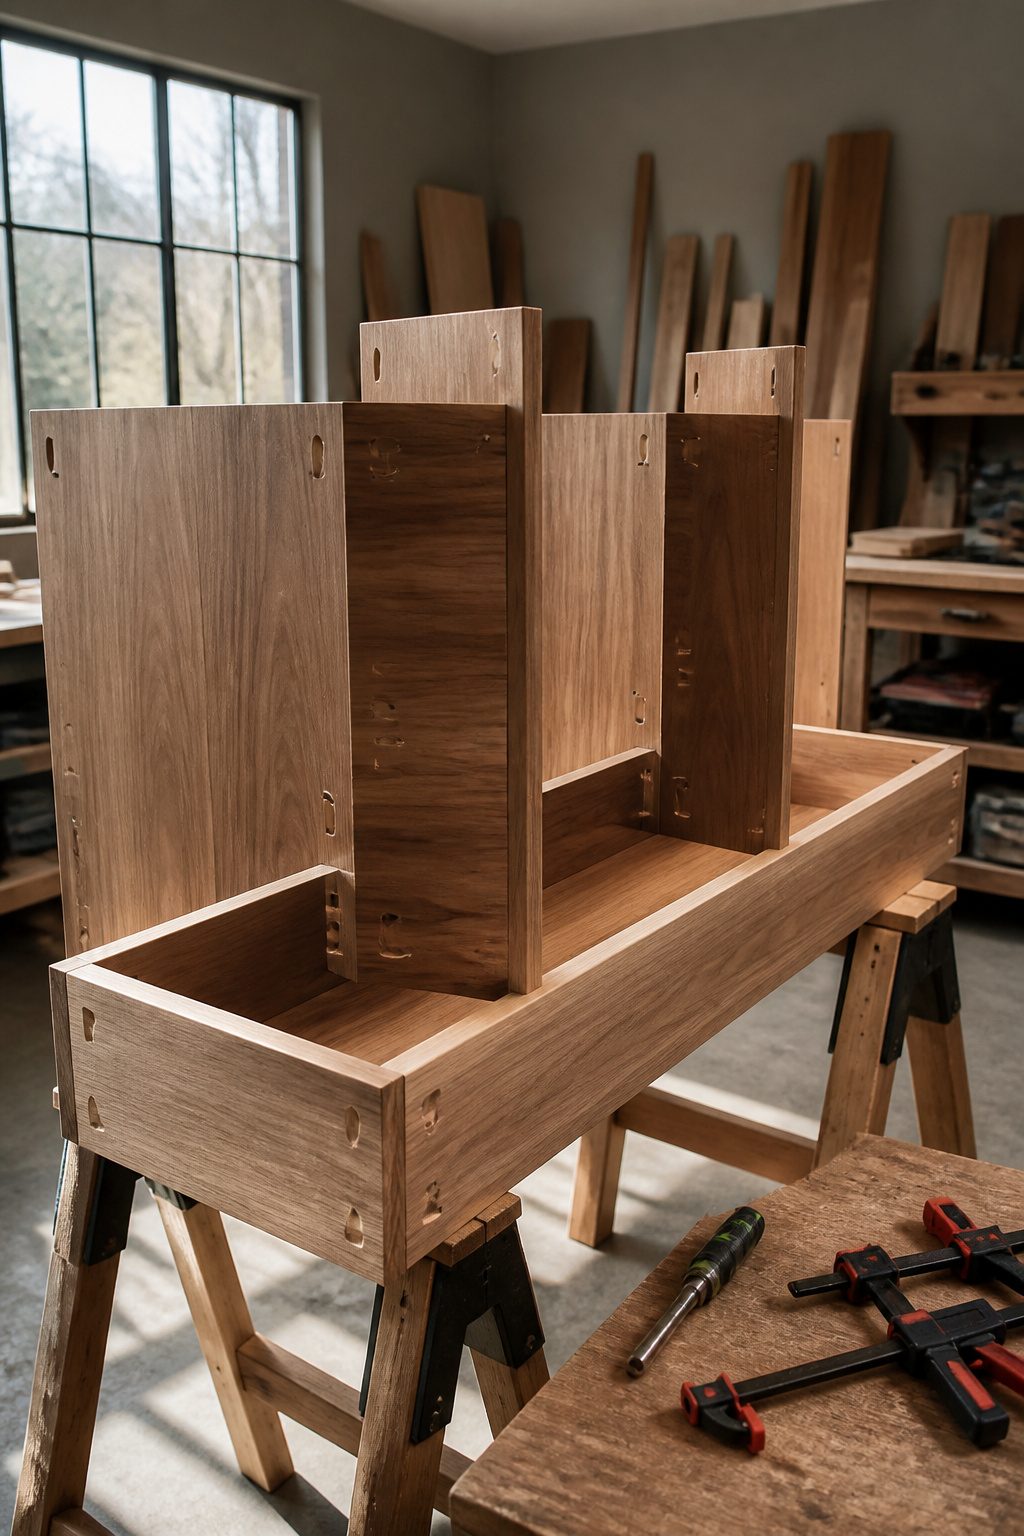
Pocket holes change how clean the finished face looks, and that matters more than I expected when I started building these units.
The jig drills angled holes into the ends of shelf boards, three per end if you’re following the standard spacing, so the screws hide completely inside the joint.
No visible fasteners on the outside face means the unit reads as furniture, not plywood boxes screwed together.
Dry assembly is where joints rack or shelves sag, and it happens fast. The sides stand loose, the shelves drop in, and suddenly the whole carcass leans like a parallelogram because there’s nothing holding the corners square.
I clamp a scrap board diagonally across the back while I work, or use a framing square wedged in a corner, but the real fix is getting the first screw into each joint before the clamp comes off.
The pocket hole screw pulls the shelf tight to the side and locks the angle in place.
The 1-1/4 inch pocket hole screw is the right length for 3/4 inch stock. Anything longer punches through the face; anything shorter doesn’t grab enough thread in the side panel.
I set the jig for 3/4 inch material, drill the holes, then drive the screws with a square-drive bit so the head doesn’t strip out mid-assembly.
The side boards themselves stay clean, no holes drilled in them at all, which is the whole point of using the jig instead of driving through from the outside.
6. Install the System
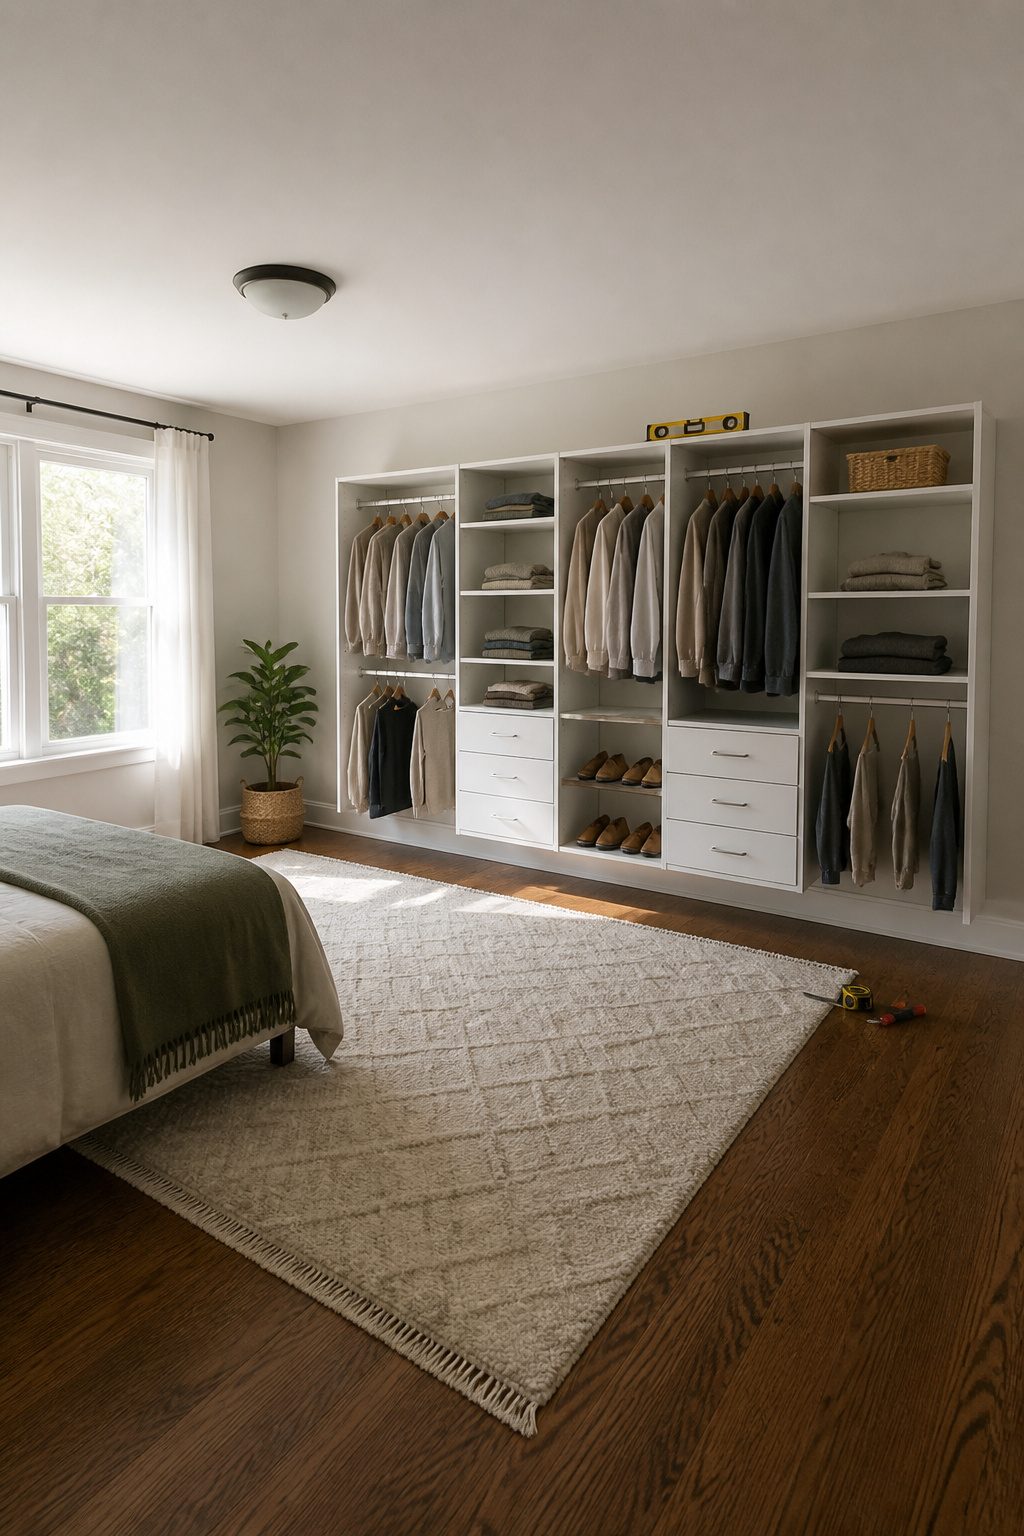
The wall is where a modular system either feels built-in or looks like furniture that tipped forward.
I start every install by checking whether the floor is actually done, because paint, trim, and carpet all change the height your units sit at, and screwing into drywall before the carpet goes down leaves you with a half-inch gap that looks like a mistake you meant to hide.
Studs are the first choice when you can find them.
A three-foot level keeps the long runs honest, but the torpedo level lives in my back pocket for the quick checks between units, where a bubble off by a degree turns into a shelf that slides.
When the stud falls in the wrong place, toggle bolts through the top support into drywall hold more than most people guess, though I still sleep better with wood behind the screw.
The cleat method changes the whole job.
A 1×3 board screwed level to studs at the height you want, with the organizer sitting on top and then fastening to studs through its back, means you can position everything, step back, and adjust before the final screws go in.
That five-and-a-half-inch offset above the cleat is the dimension that matters; forget it and your hanging rod ends up at a height only a child could use.
Baseboards have to come off for cabinets to sit flush. I have tried cutting around them and regretted the gap every time.
7. Finish and Customize
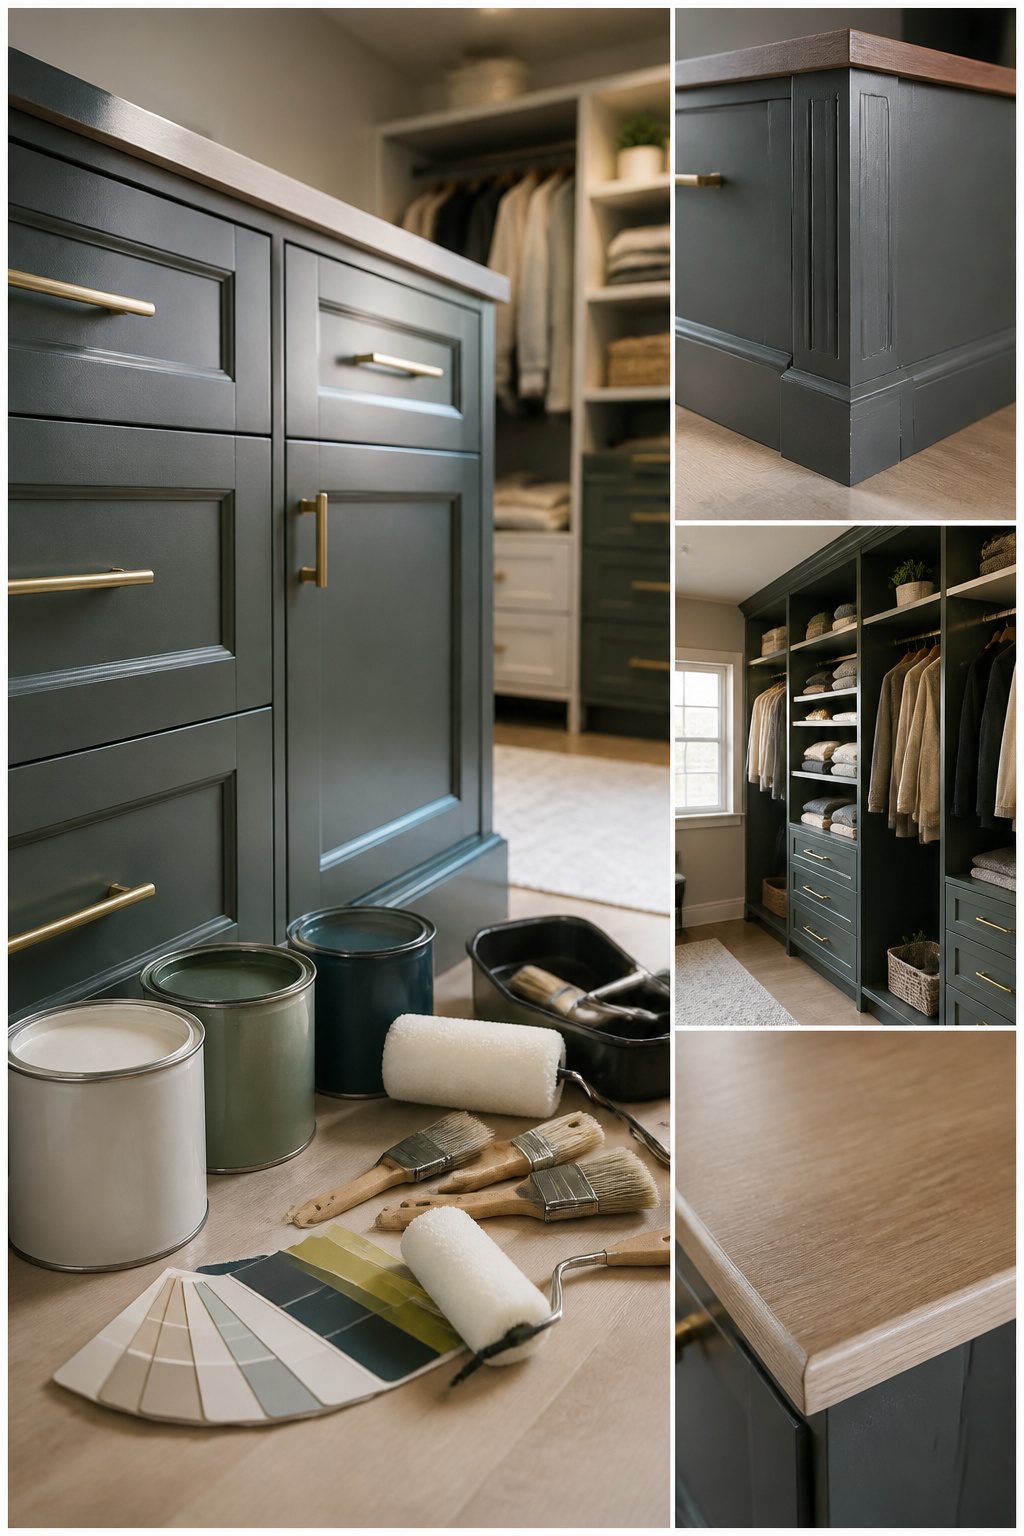
Paint is where a DIY build either earns its place or betrays its origin. I sanded with 120 grit, following the grain, then vacuumed the residue with a soft bristle brush before wiping down with a damp lint-free cloth.
That sequence matters; dust left in corners telegraphs through cabinet-grade semi-gloss. I used a foam roller for the broad surfaces and a foam applicator for the inside corners, the same finish Ana White specifies for her closet builds.
A 1×2 trim piece on any exposed end, attached with 1-1/4" brad nails, is the difference between looking planned and looking patched together.
Hardware does more than function; it signals intention. Knobs on drawers, matching pulls on doors, even the baseboard replaced cleanly around the units rather than butted up against them.
I have seen builds where every measurement was right and the result still read as temporary because the hardware was whatever was left in the bin.
For anyone weighing whether to self-finish or buy in, Modular Closets offers a free design service that professionalizes the layout and material choices before you cut a board.
Against that, a DIY edge is the self-finished edge: the time you spend on prep, the decision of whether to seal with Polycrylic or paint alone, the exact shade of white you spray until the yellow undertone disappears.
The trade is money for certainty versus time for control. Most weekend builders I have followed choose control, then earn it in the sanding.
Four Systems Compared
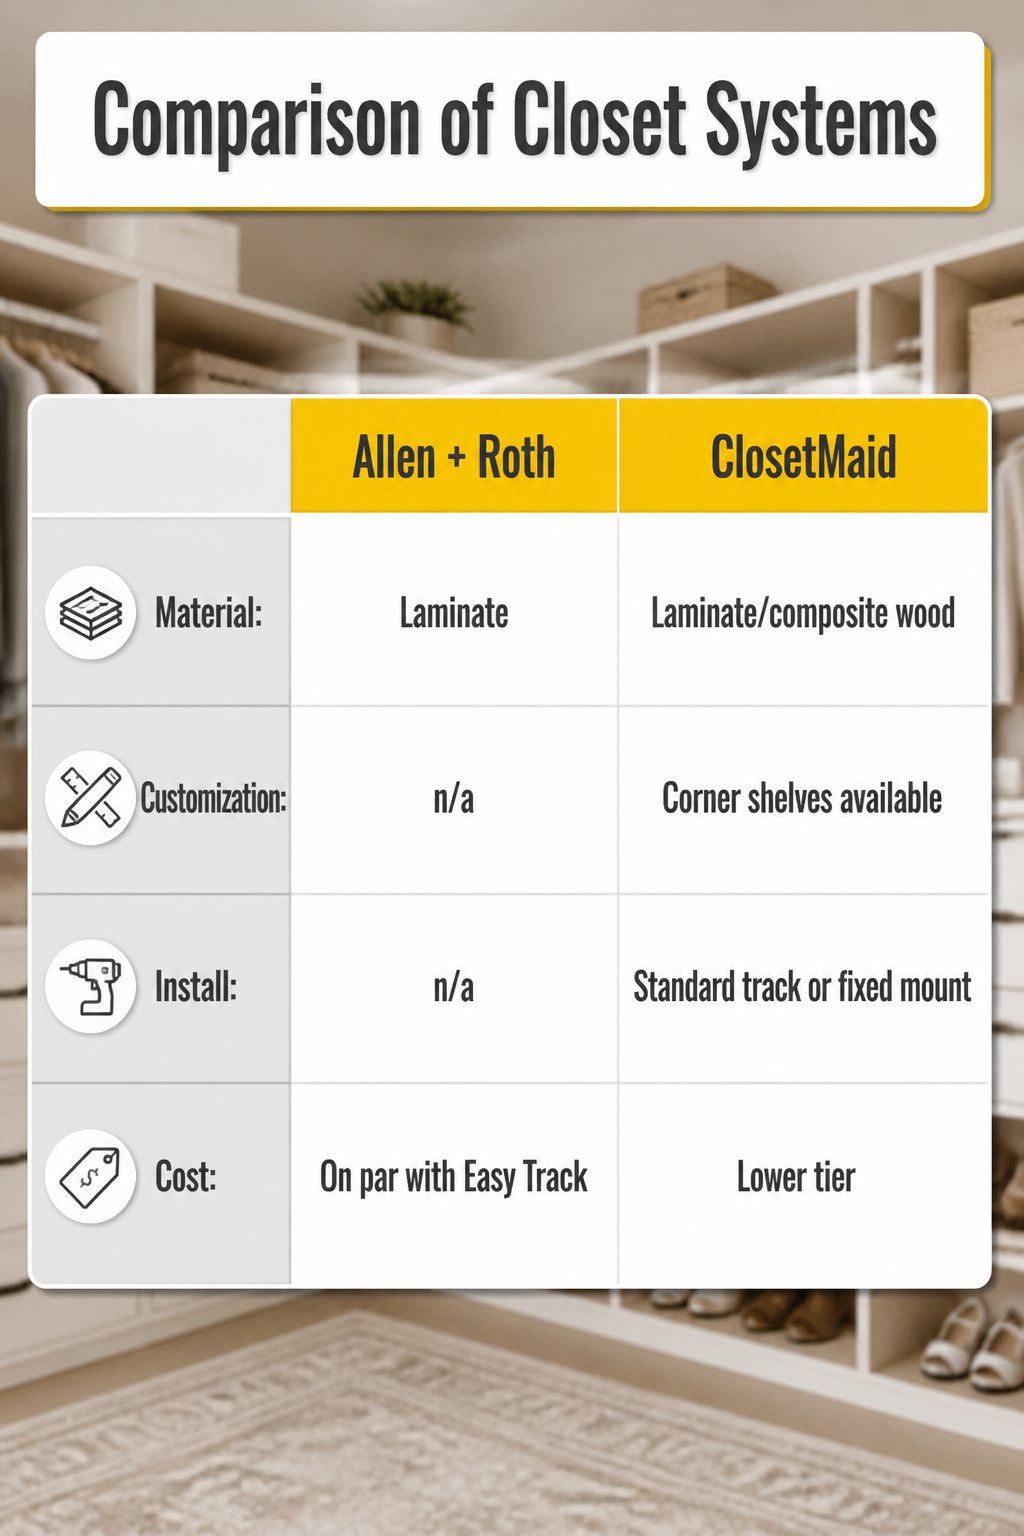
Solid wood holds up better than laminate if you move often or live somewhere humid, but it costs more upfront and weighs a lot more on the drive home. The four main brands split pretty cleanly on that trade.
| Material | Customization | Install | Cost | |
|---|---|---|---|---|
| Allen + Roth | Laminate | n/a | n/a | On par with Easy Track |
| ClosetMaid | Laminate/composite wood | Corner shelves available; tower-based frames in 2–3 widths | Standard track or fixed mount | Lower tier |
| Easy Track | Laminate | Most flexible; built-in look; corner units; beveled drawers | n/a | Walk-in kits run over $1,000; basic kits under $200 |
| Modular Closets | n/a | Divided multi-compartment cubbies with removable shelves | Assembly has a learning curve; Vista towers in 25.5" and 31.5" widths | n/a |
ClosetMaid wins on price and those corner shelves are genuinely useful for awkward angles.
Easy Track is the one I’d look at if the closet is a walk-in and I wanted it to look finished, but the price climbs fast once you start adding drawers or extra towers.
Modular Closets’ cubby system works well for shoes and small items, though the assembly slowed me down until I got the rhythm of it.
What to Store Where
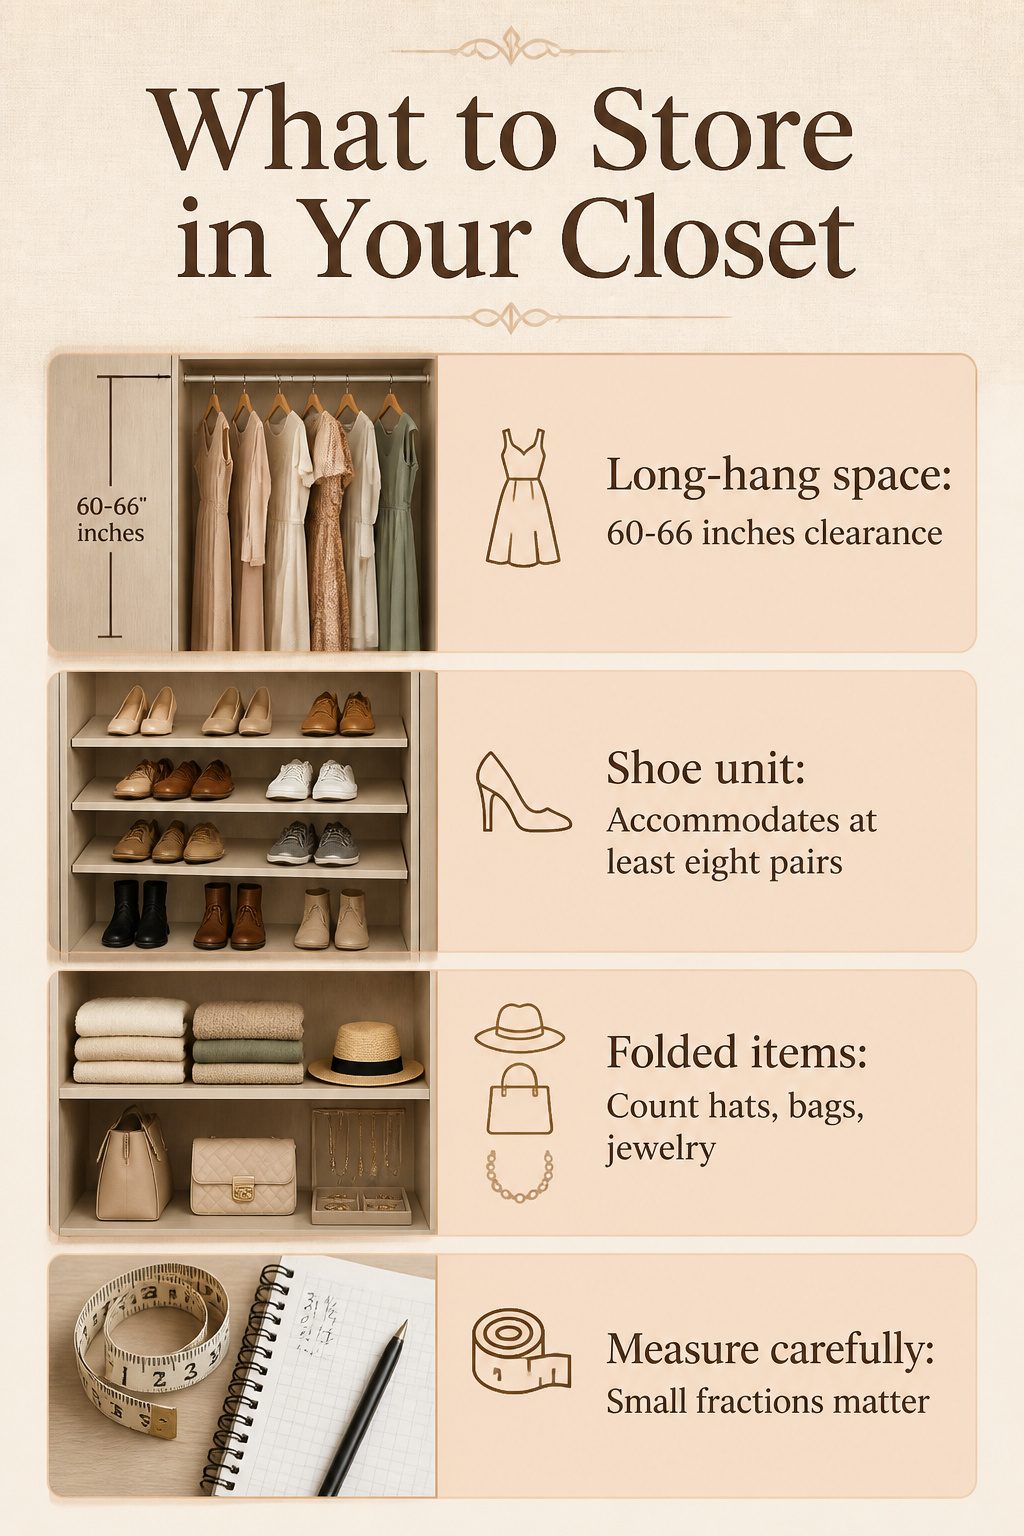
The mix of long hang, double hang, folded, and shoe storage drives every decision after it.
I learned this the hard way on my last closet build, when I installed a beautiful double-hang section only to realize my dresses pooled on the shelf below like fabric puddles.
Long-hang space needs 60–66 inches of vertical clearance, and nothing fixes a short rod except starting over.
Shoes can be the most challenging part to put away neatly. Stack BrightWood angled shoe shelves for a custom look, or use the Modular Closet system shoe unit with four shelves that accommodates at least eight pairs.
Adjust shelf placement for higher heels or tall boots.
Folded items and accessories need their own accounting. Count your hats, bags, jewelry, and folded clothing before you design.
My particular closet design won’t suit someone else’s wardrobe or organization style, and fractions of inches make all the difference when components are heavy and cumbersome.
Take your time here: surprises in the assessment phase slow down install far more than a second evening with the tape measure.
Tools You Actually Need
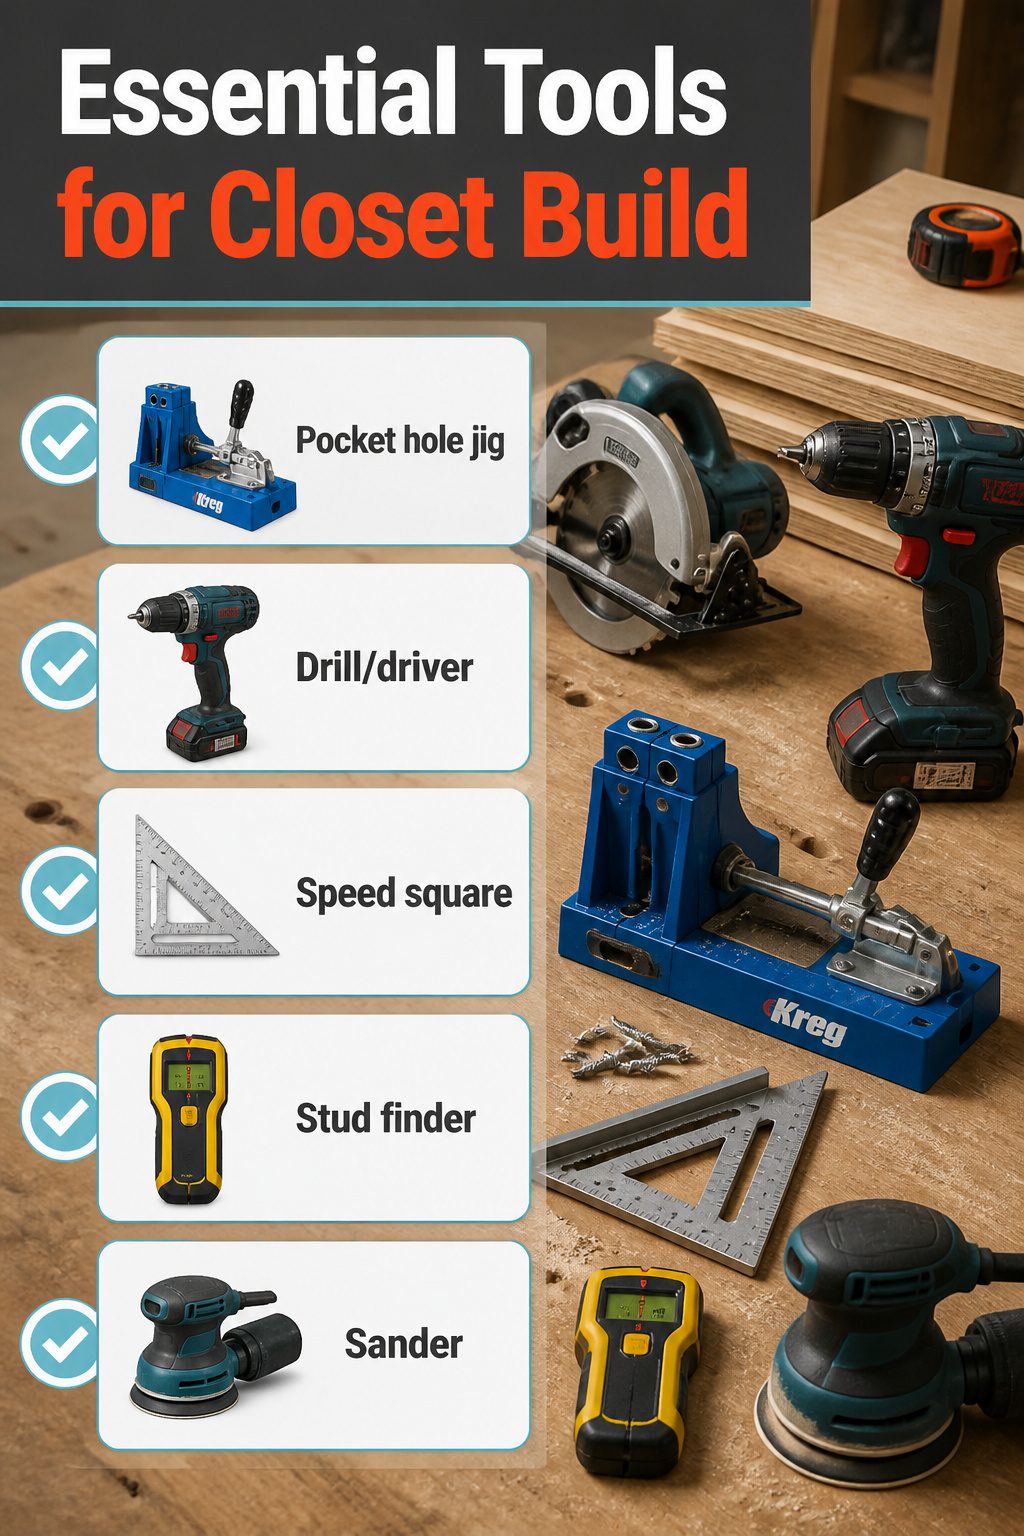
A pocket hole jig is the one tool worth owning outright if you plan more than this single closet.
The Kreg standard size handles the 1 ¼" pocket hole screws the frames demand, and the joints it makes stay hidden behind finished panels.
I borrowed a circular saw for my first build, pairing it with the Kreg Rip Cut and AccuCut guides to keep the ¾" plywood sheets square.
A miter saw speeds up repeated cuts for shelves and dividers, though the circular saw alone will manage if your cuts are few.
For the rest, rental or a neighbor’s garage works fine:
- Drill/driver with clutch control; driving pocket screws without stripping heads takes feel more than torque
- Speed square for marking square across 4′ widths
- Stud finder and level; the level especially, since modular units rack out of plumb the moment your wall isn’t true
- 1 ⅜" Forstner bit for the closet rod holes; match it to the dowel diameter exactly
- Sander for easing edges before banding
I skipped the edge banding iron on my first unit and paid for it with splinters every time I reached for a sweater. Borrow the sander if you must, but don’t skip the sanding itself.
Keep It Working
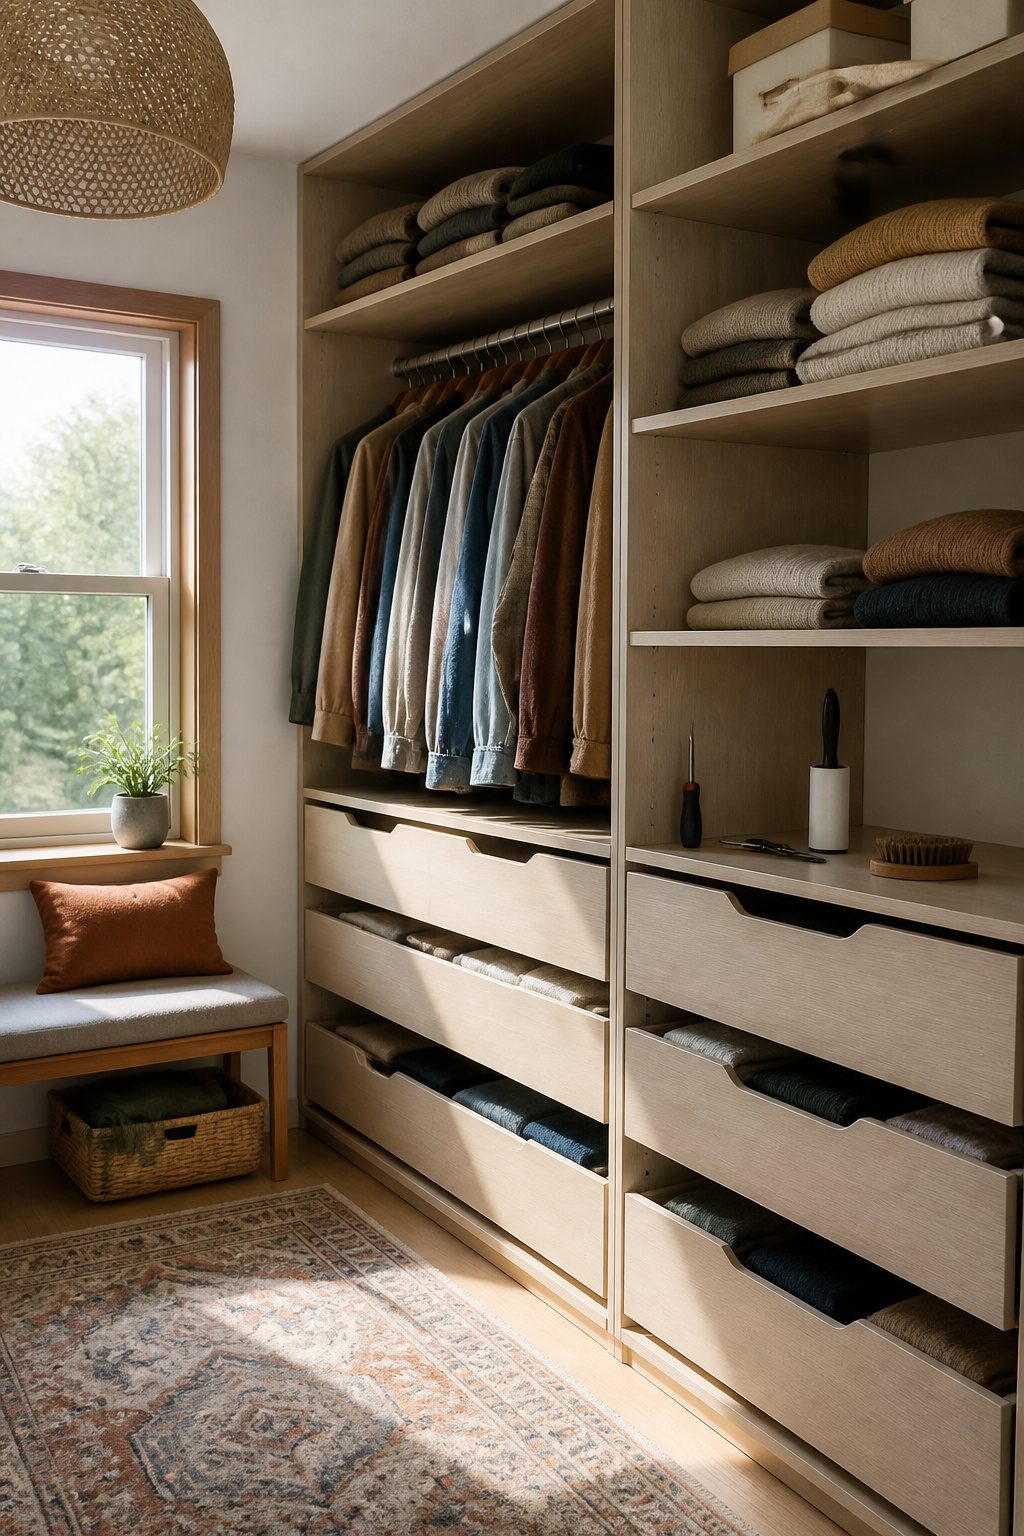
Composite edges on the white melamine panels I used are the first place trouble shows up.
The thin banding that seals the particleboard underneath swells when it meets humidity, usually from a steamy bathroom nearby or just a damp winter closet.
Once that edge lifts, the panel underneath starts to flake, and the fix is glue and a clamp, not a quick wipe.
I check mine every spring, running a finger along the corners where I first noticed the problem on my bathroom-facing unit.
Drawer slides collect dust faster than I expected. The ball-bearing tracks on my middle drawer went gritty after eight months of jeans and sweater traffic.
A dry toothbrush and a vacuum hose pull the lint out; WD-40 attracts more dust, so I skip it. The slide still catches sometimes, which tells me the mounting screws loosened.
Wall anchors need retightening after a full year of seasonal weight shifts.
I loaded summer storage bins in June, switched to coats by November, and the toggle bolts in my drywall had worked themselves a quarter-turn loose by the following spring. A screwdriver check takes five minutes.
I do it while the bins are out, before the heavy stuff goes back in.
Frequently Asked Questions
What materials do I need for a DIY closet system?
Three sheets of 3/4-inch hardwood plywood, a fourth 1/4-inch sheet for backing, 1×12 finger-jointed boards, pocket hole screws at 1 1/4 inches, 3-inch self-tapping construction screws with star-drive heads, a 1×6 French cleat, ball-bearing drawer slides, a 1 3/8-inch dowel rod with matching closet rod sockets, and iron-on edge banding.
A pocket hole jig is essential; the joints will not survive loading without it.
How do I measure my closet for a modular system?
Subtract one inch from your total width to leave wiggle room during install. Measure front, middle, and back for height, since older homes can drift low in corners; the shortest reading is where your cabinet top will actually sit.
Check depth against your baseboards and door swing arcs, and note the centerline height of light switches so they do not land inside a unit width.
What are the best DIY closet systems?
Allen + Roth, ClosetMaid, Easy Track, and Modular Closets are the main options. ClosetMaid wins on price and offers useful corner shelves.
Easy Track works best for walk-ins where you want a built-in look, though costs climb past $1,000. Modular Closets provides divided multi-compartment cubbies with removable shelves, and its free design service professionalizes layout before you cut.
How difficult is it to install a modular closet system?
A DIY build demands precision at every step: checking floor level before anchoring, finding studs or using toggle bolts, and keeping units plumb with a level in your back pocket for quick checks.
The cleat method helps by letting you position everything and step back before final screws go in. Assembly has a learning curve, especially with Modular Closets’ tower units, until you find the rhythm.