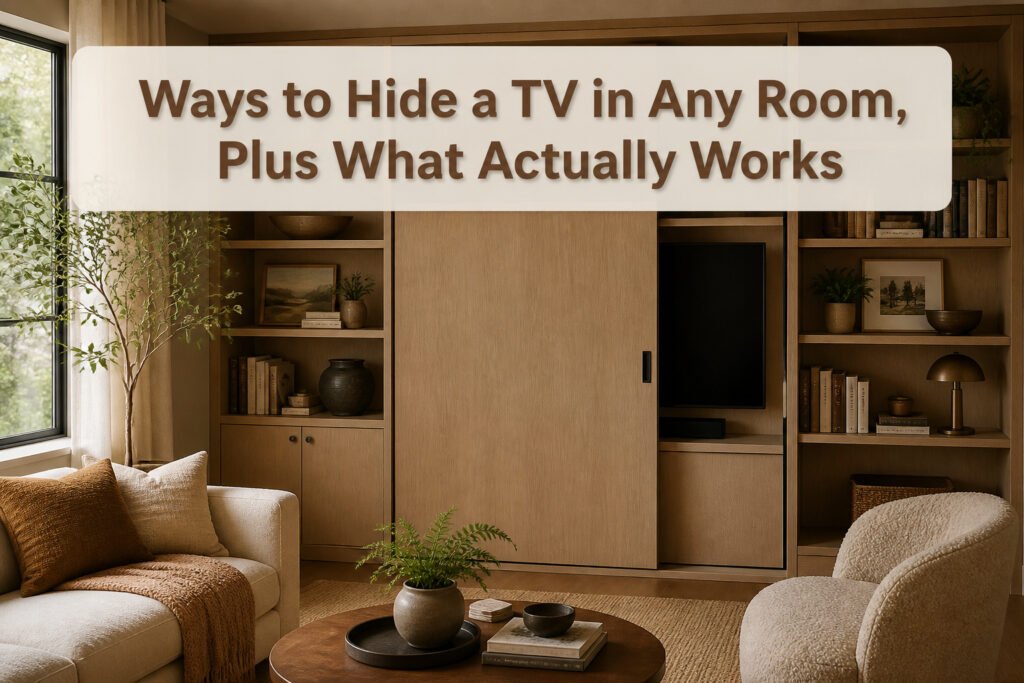
The right way to hide a TV depends on whether the room needs the screen gone completely or just visually quiet when the power is off. Most methods fall between $35 for a tension rod and velvet curtain, and $400 for a motorized lift, but the real cost is usually the thing nobody measures: the 3.5 inches of clearance a lift mechanism needs below the platform, or the half-inch gap at the bottom of sliding panels that keeps heat from warping paint over one summer. My own $12 fix was a 40mm computer fan wired to the TV’s outlet, after a cabinet install nearly cooked the set the first week.
1. Put It in a Cabinet
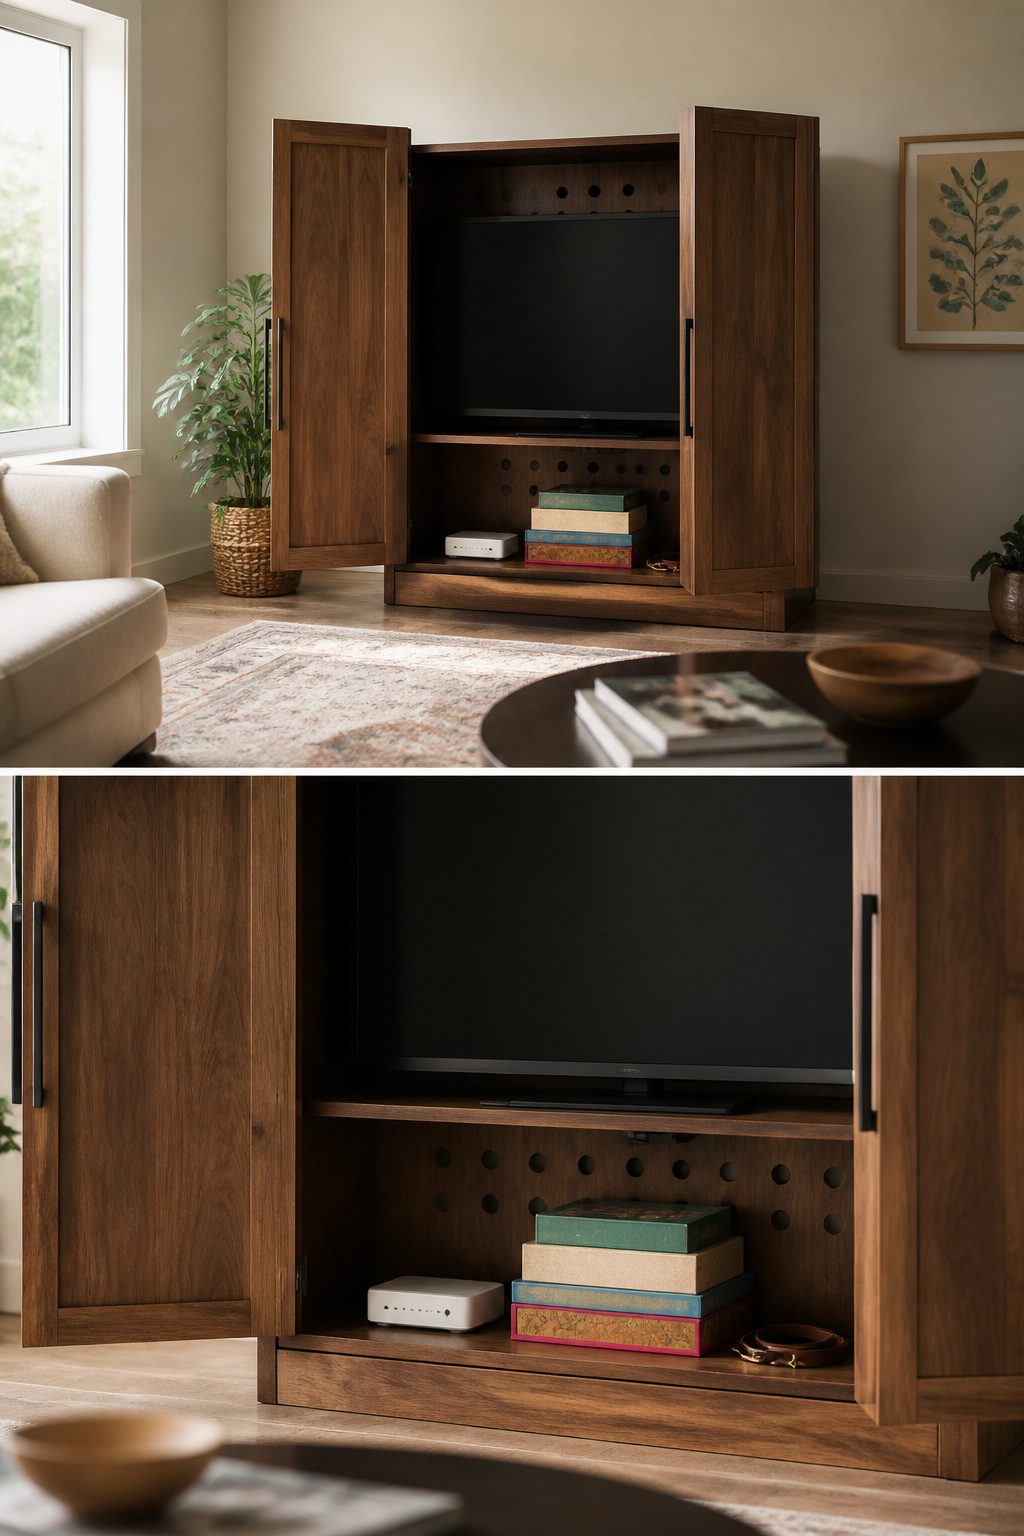
The cabinet route gives you two completely different paths depending on whether you own the place or not. Renters can hunt down a freestanding armoire or media cabinet, wheel it home, and call it done. Mine came from a secondhand shop for $180, painted to match the living room, and it still holds the TV plus the router, a stack of board games, and the dog’s leash that used to live on the coffee table. Owners have the option to build in, but a solid freestanding piece often wins on flexibility if you might move the room around later.
Ventilation was where I messed up. The first week, the cabinet doors stayed shut during a movie and the TV overheated twice. A media cabinet needs airflow, not a sealed box. I ended up routing a quiet 40mm computer fan into the back panel, wired to the same outlet as the TV so it runs only when the screen does. Cost maybe $12. Without that, the cabinet traps heat and shortens the set’s life.
For keeping the doors closed, skip the magnetic catches from the hardware store. They look tidy but slip under the vibration of a subwoofer or just sag over months. A basic roller cabinet latch, the kind with a small brass wheel that clicks past a strike plate, holds firm and costs under $3. The slight click when you close it is the sound of doors that will still be shut when you come back into the room.
2. Build a Gallery Wall
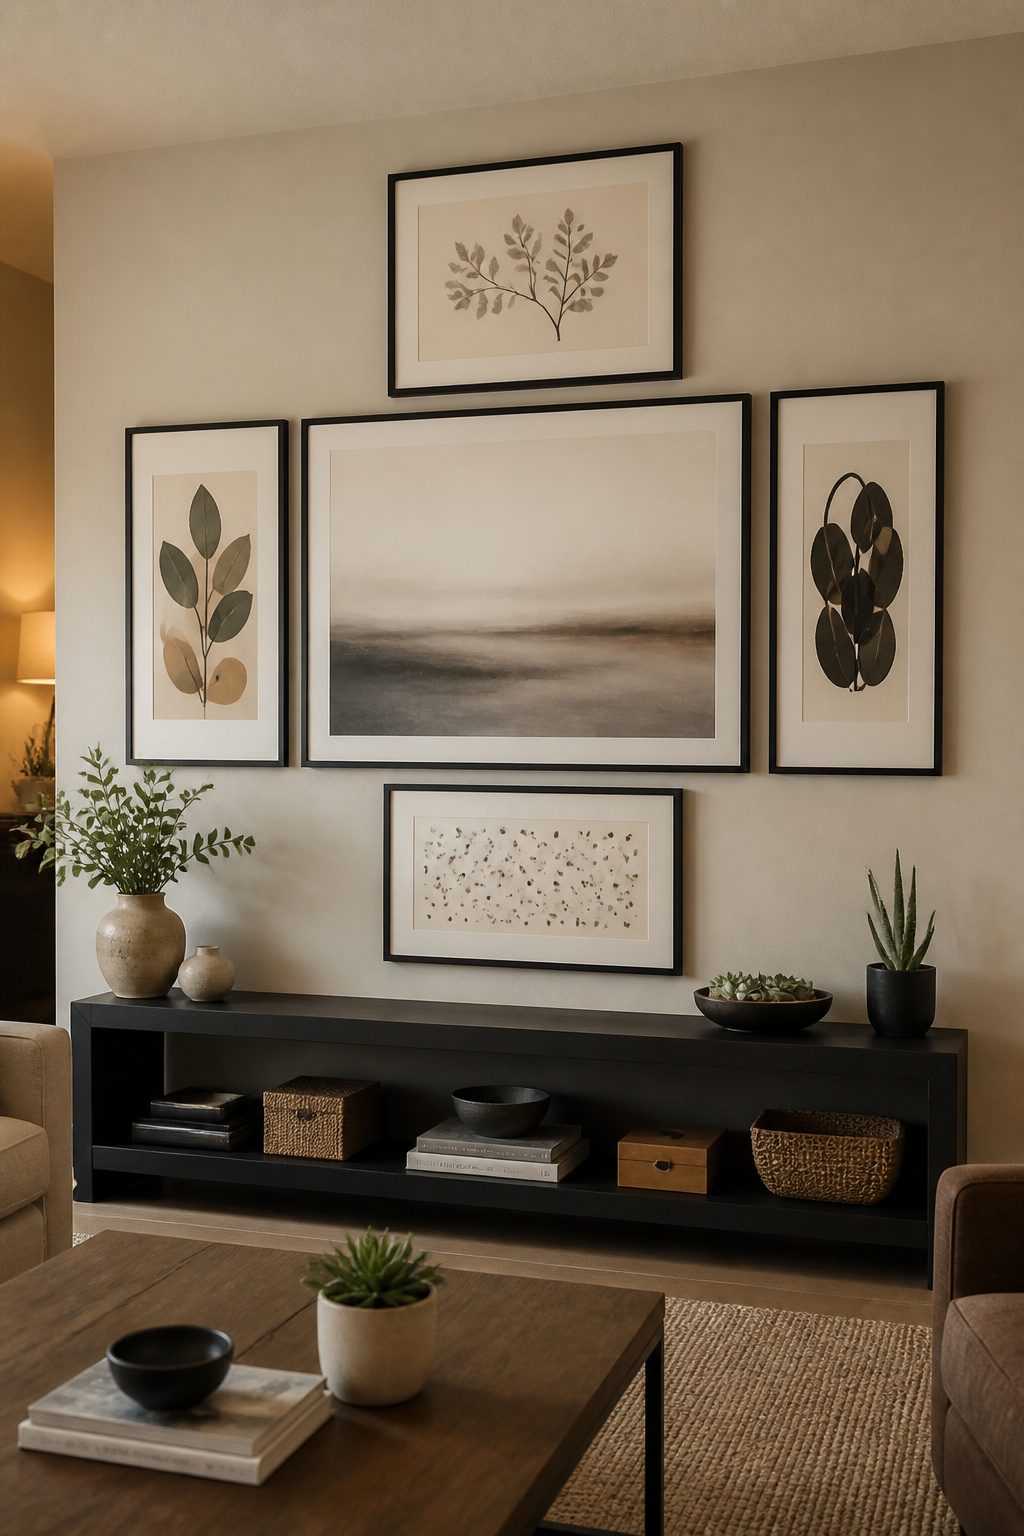
A gallery wall turns the black rectangle into just another frame among many, which is the whole point. I hung five thrift-store frames around a 55-inch screen, keeping each one 2 inches from the bezel, close enough to read as a single grouping without crowding the vents. Black frames with white mats echo the TV’s own border so the screen doesn’t jump out as technology surrounded by art. The eye moves across the whole arrangement instead of landing on one spot.
The mats matter more than the art inside. Mine came from IKEA’s RIBBA line and a Saturday morning at Goodwill, and the total sat at $87. Without the white border, the frames would have read as dark blobs competing with the screen rather than repeating it. A Frame TV would make this even cleaner, since the screen itself displays artwork when off, but a standard set still fades back when the frames around it carry equal visual weight. The trick is treating the television as the largest piece in a collection rather than an obstacle to decorate around.
3. Install Sliding Panels or Doors
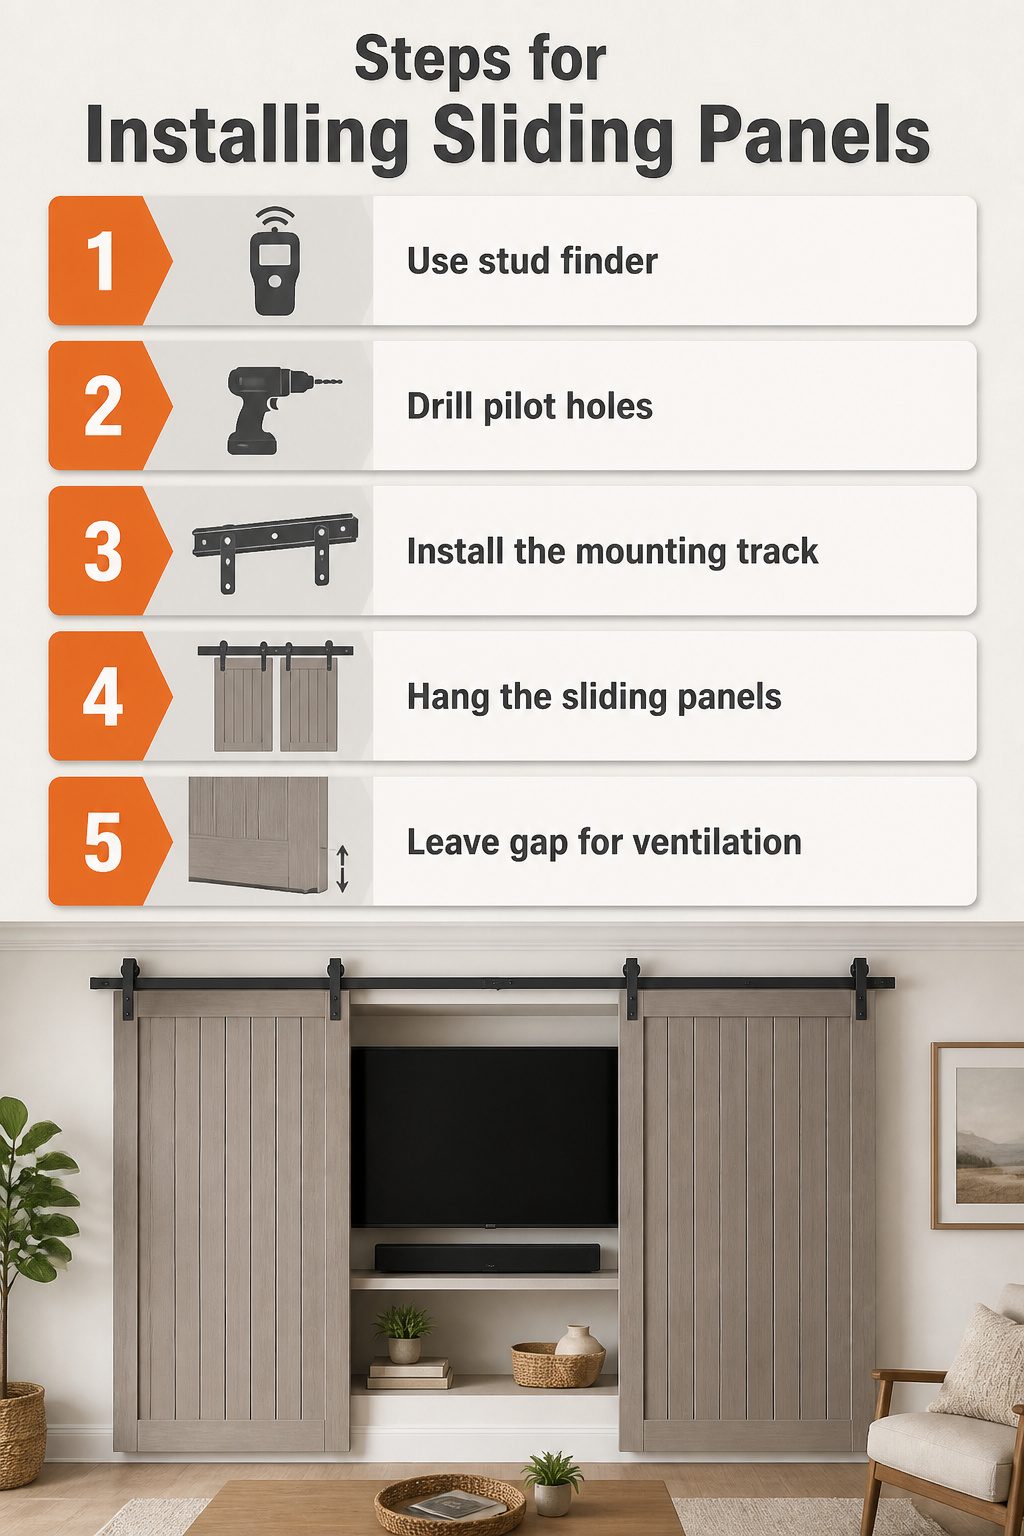
Barn-door hardware from Home Depot runs about $60 for a 48-inch track, which is what I mounted above the TV niche in my last rental. The bracket kit came with spacers that held the rail an inch off the wall, just enough room for the panels to glide without rubbing paint.
A stud finder saved me here. Drywall anchors will hold the track for a while, but the panels get heavy fast, and the last thing you want is a door dropping at 11 p.m. I found studs every 16 inches, drilled pilot holes, and lag-bolted the rail directly.
The panels themselves overlap rather than meeting in the middle. One sits on the outer track, the other on the inner, so they slide past each other and stack to the left when the TV is on. Leave a half-inch gap at the bottom for ventilation; without it, heat from the screen warps paint over a single summer. I learned that the hard way on a earlier build where the panels sat flush to the floor.
4. Hang a Mirror or Artwork on a Lift
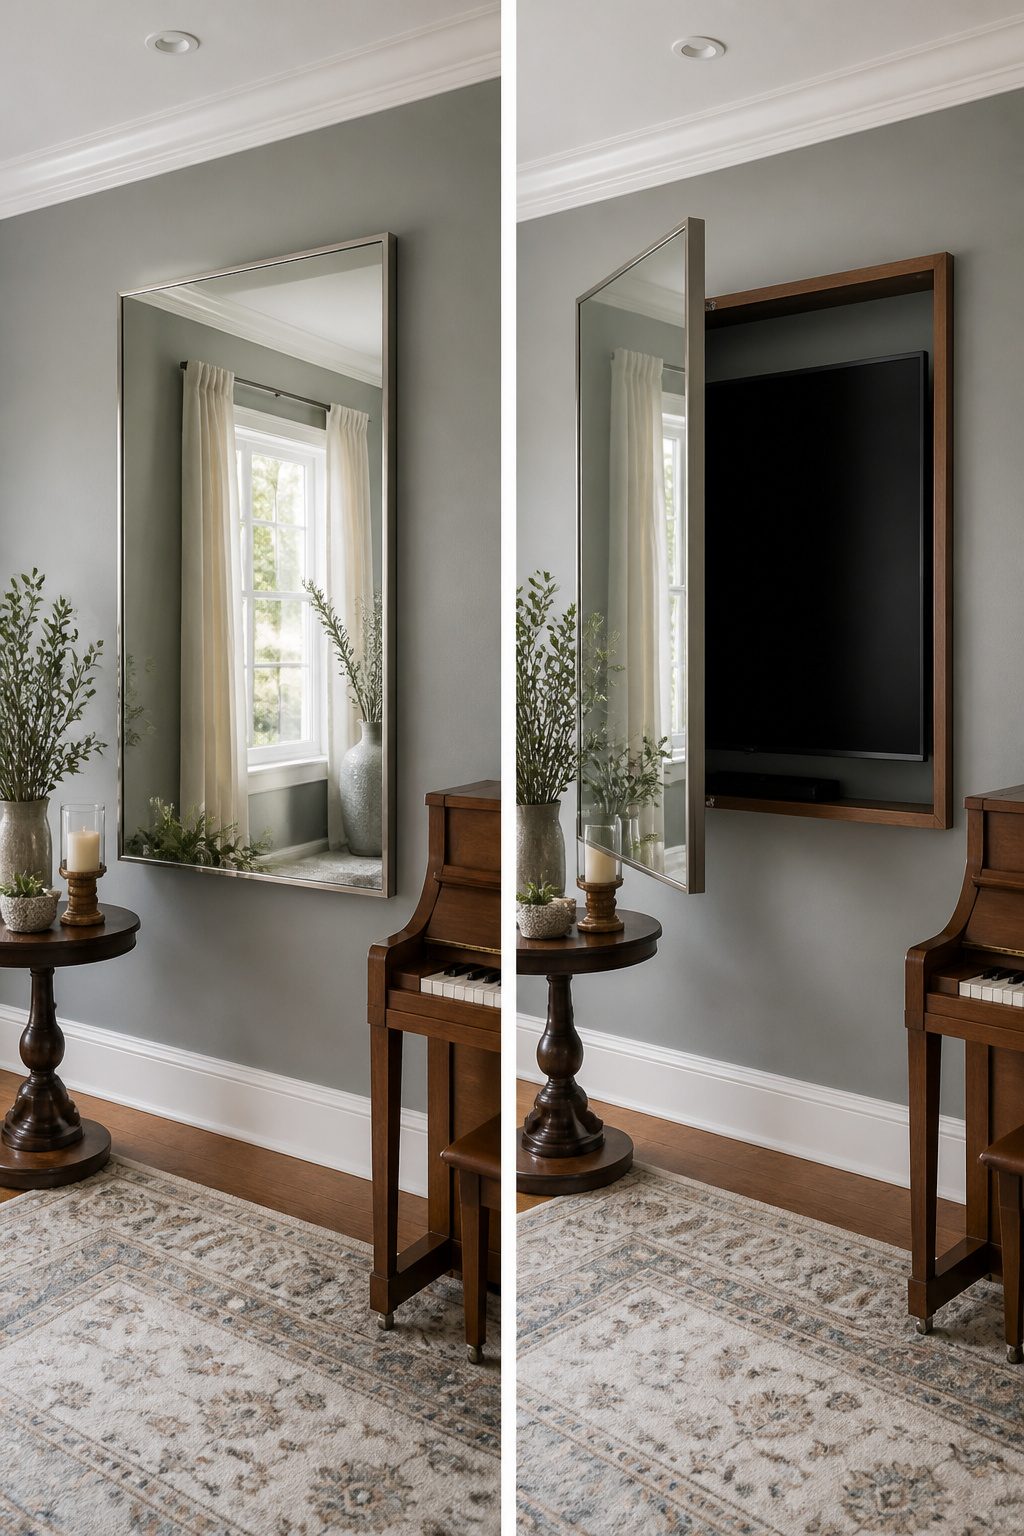
A hydraulic TV lift kit runs about $340, and that price is what pushed me to look for another way. The hardware itself works; you press a button and the screen rises like something out of a showroom. For a permanent install in a house you own, maybe that makes sense. For a weekend project with a real budget, it felt like overkill.
I ended up with a piano hinge and a magnetic lock for $23 total. The hinge runs the full height of the frame so the mirror swings cleanly, and the magnetic catch keeps it flush against the wall without visible latches. The whole setup is manual, which means no motor to fail and no waiting for the slow rise.
My first attempt failed because I ignored the weight. The mirror I chose was thick frameless glass, probably thirty pounds, and standard drywall anchors pulled loose within a week. The fix was switching to a lighter piece, an acrylic mirror with a thin wood backing, and hitting a stud for the top hinge. The bottom hinge still sits in anchors, but it carries almost no load once the top is secured.
The result is a mirror that opens like a cabinet door and hides a 43-inch TV mounted flush in the recess behind it. Total cost stayed under $60 including the second mirror.
5. Use Custom Cabinetry
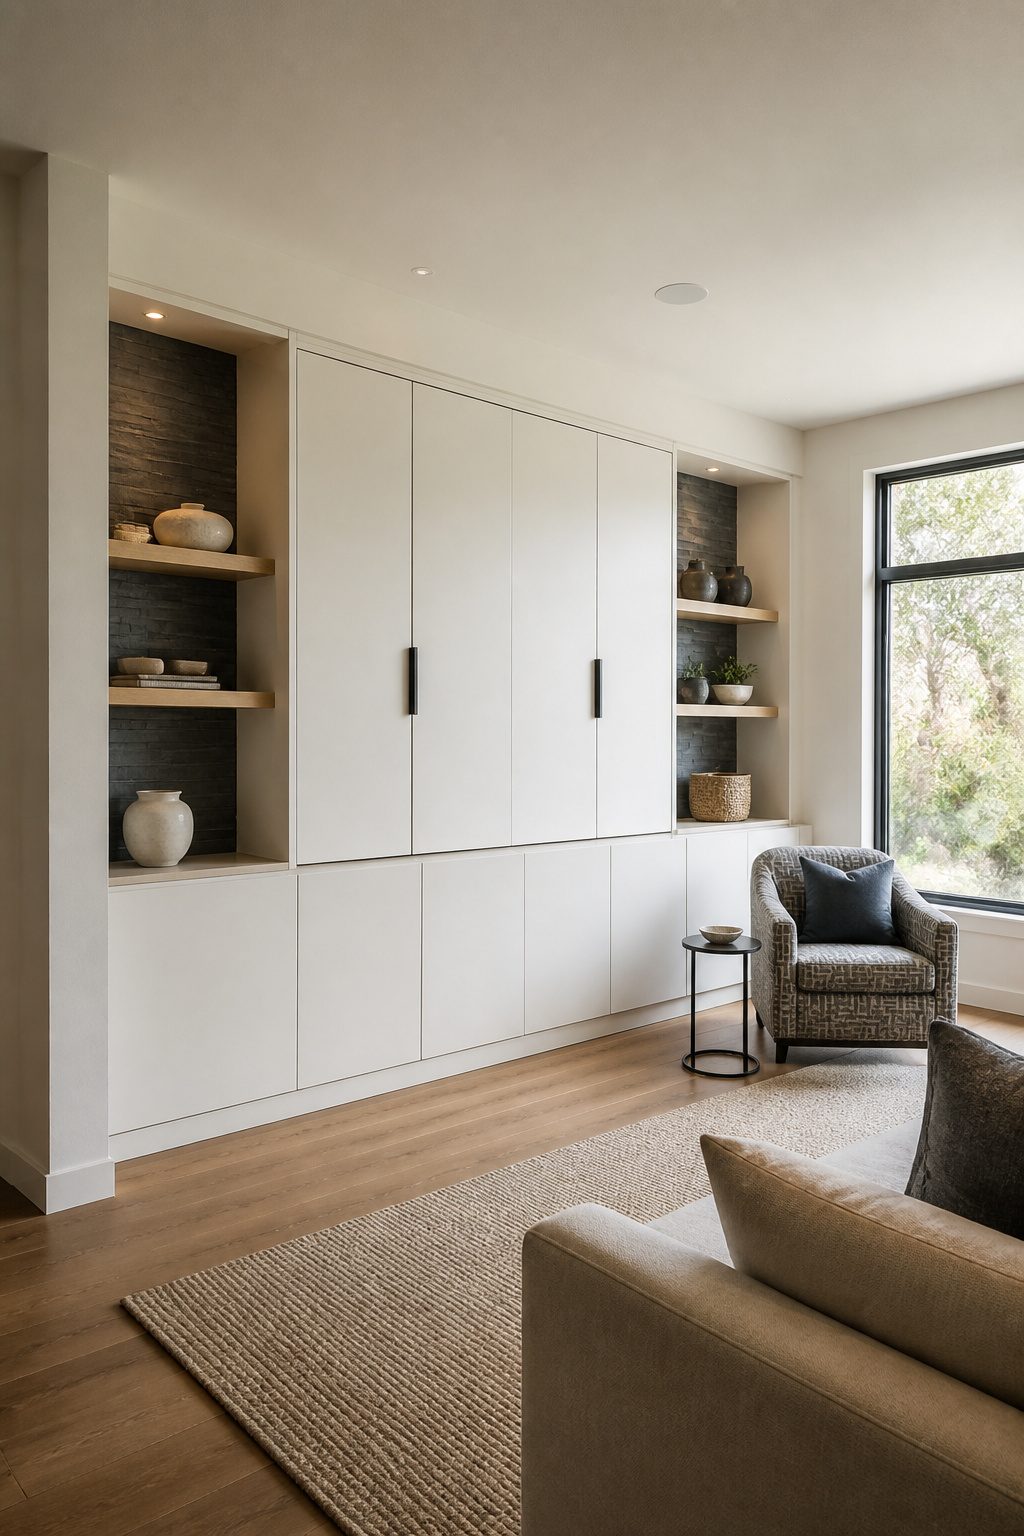
Built-in cabinetry eats square footage you do not have to spare, but it earns it back in storage and in the clean line of a wall that reads as furniture rather than appliance showroom. My brother-in-law went at it with IKEA SEKTION frames and custom doors, which lands you in the low hundreds if you already own a drill and a weekend. The frames give you the bones; the doors give you the blank face that hides the screen.
The shelf was where we guessed wrong. A 3/4-inch MDF span across a 48-inch opening sagged within a month under a 55-inch set. We added a center support after the fact, which meant pulling everything out and losing an evening to touch-up paint. Pocket doors that push back into the cabinet sides, the way interior designer Rebecca Barnes suggests, would have cost more upfront but saved the hardware headache of hinged doors that swing into the room. Two ways to play the door choice: pocket doors disappear completely, hinged doors can be built from the same MDF as the surround and hung on piano hinges for a concertina close that folds flat. The concertina eats more depth, so check your frame dimensions before you cut.
6. Drape Fabric or Curtains
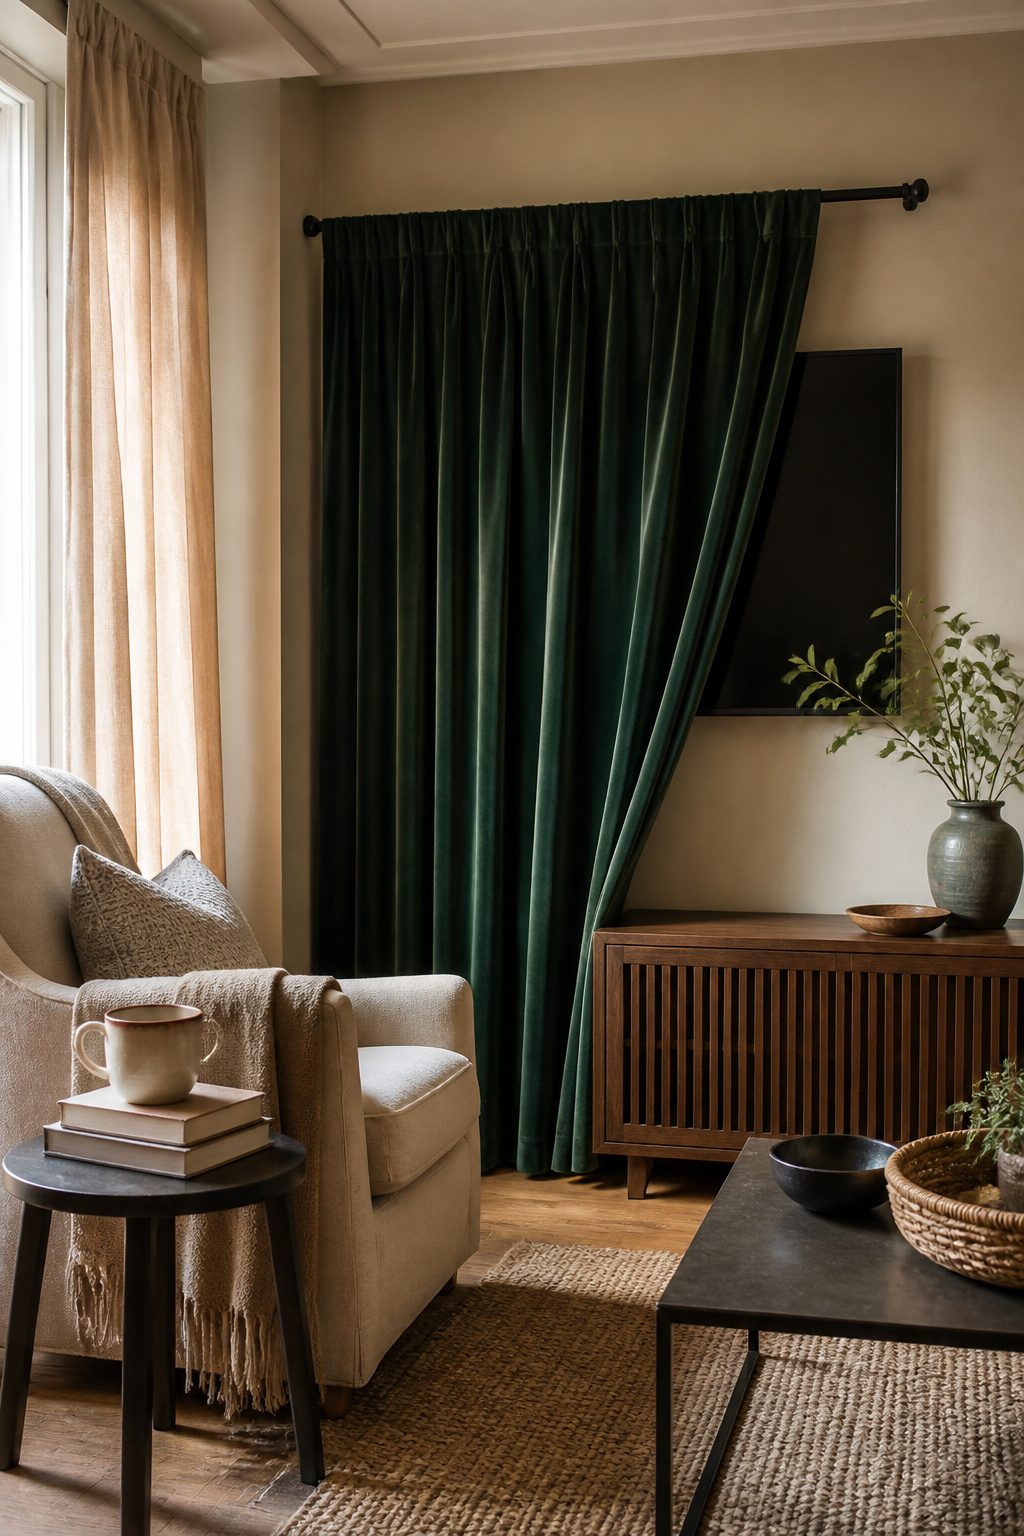
A tension rod and a length of velvet curtain was the cheapest setup I tried, running about $35 total from a hardware store and a fabric remnant bin. The weight of the velvet looked expensive, but within two weeks the face of it had collected a visible layer of dust that brushing only resettled. What saved the look, barely, was a blackout liner I sewed to the back. Without that second layer, the curtain hung too sheer and the TV silhouette showed through; with it, the drape read as a deliberate window treatment rather than a screen cover.
The real problem was the motion. Pulling the curtain aside every evening and drawing it closed after the news felt like closing a stage, and not in a good way. A smaller screen changed the equation. I moved the whole setup to the bedroom where a 32-inch TV sits, and now the curtain spans a modest width that opens and closes in one gesture. The living room screen, closer to 55 inches, needed something I did not have to perform.
7. Tuck It Inside a Closet
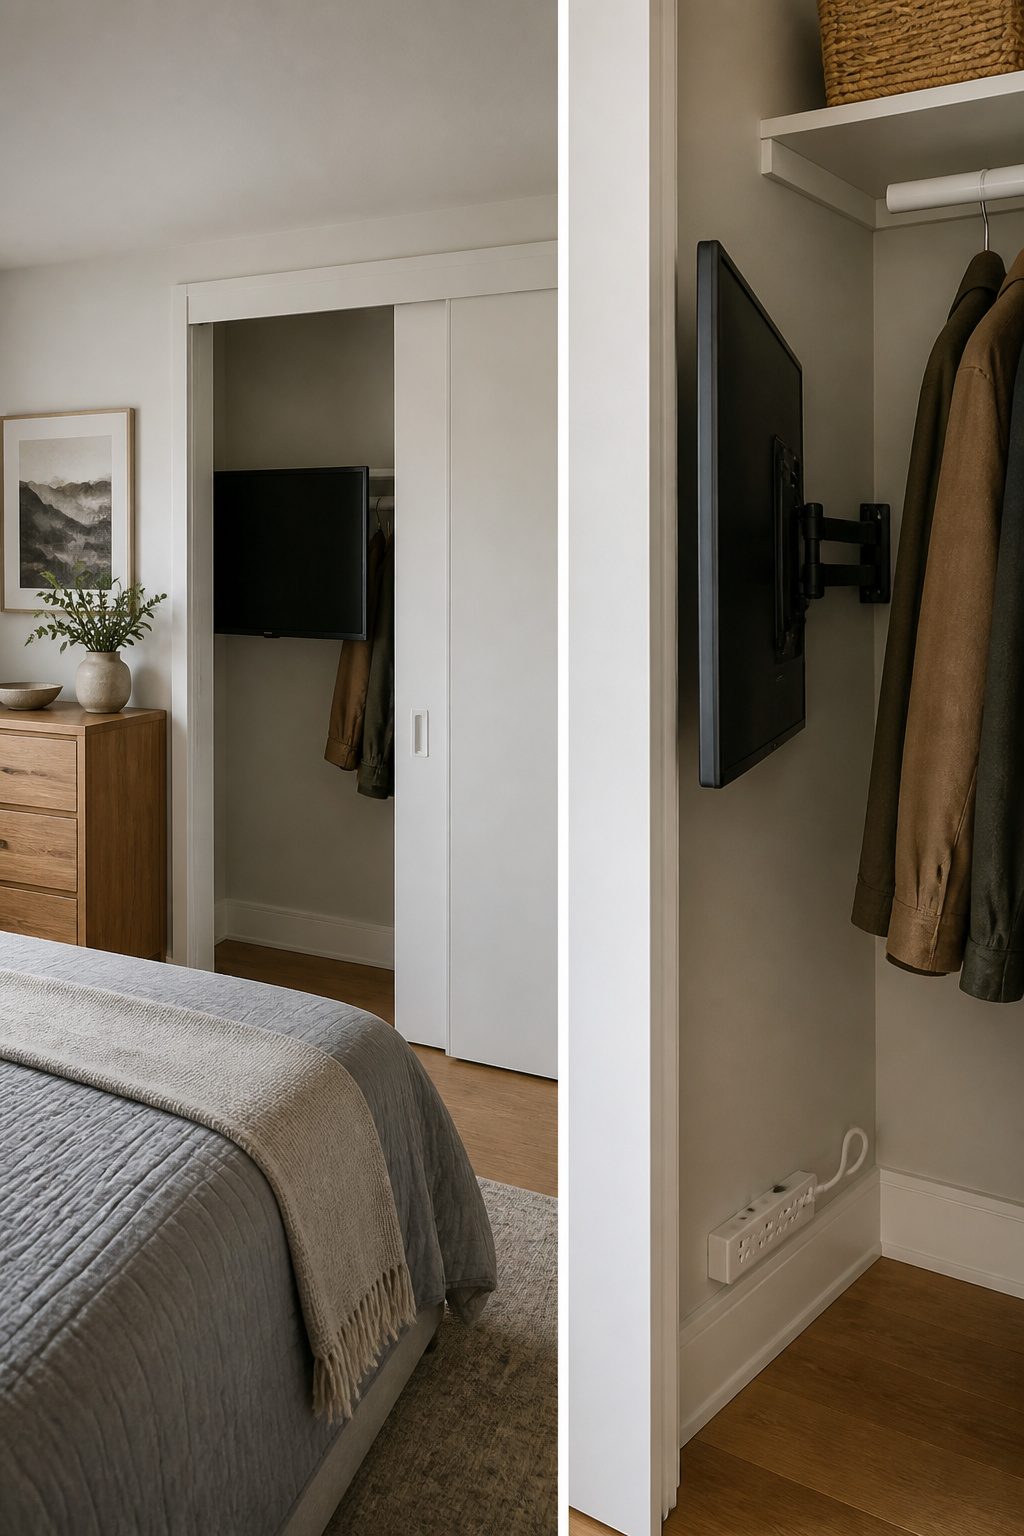
The closet in my guest room was already doing nothing but collecting off-season coats, so the space felt like fair game. I pulled out the bi-fold doors, which always seemed to knock against the bedside table anyway, and swapped in a pair of sliding bypass doors that could disappear behind the wall. The TV mount went on the back wall, and I added a small power strip inside the closet to keep the cord tangle from creeping back out into the room.
The 18-inch depth left the screen closer to the bed than I would have chosen in an open wall setup, but an articulating arm let me angle it downward enough to watch comfortably from the pillows. Airflow matters more than I expected here; I leave the doors cracked an inch or two during use, since heat builds up fast in that shallow box. The closet still holds a hanging rod and a few shirts behind the TV, so guests do not lose the storage they actually need.
8. Add a Motorized Lift
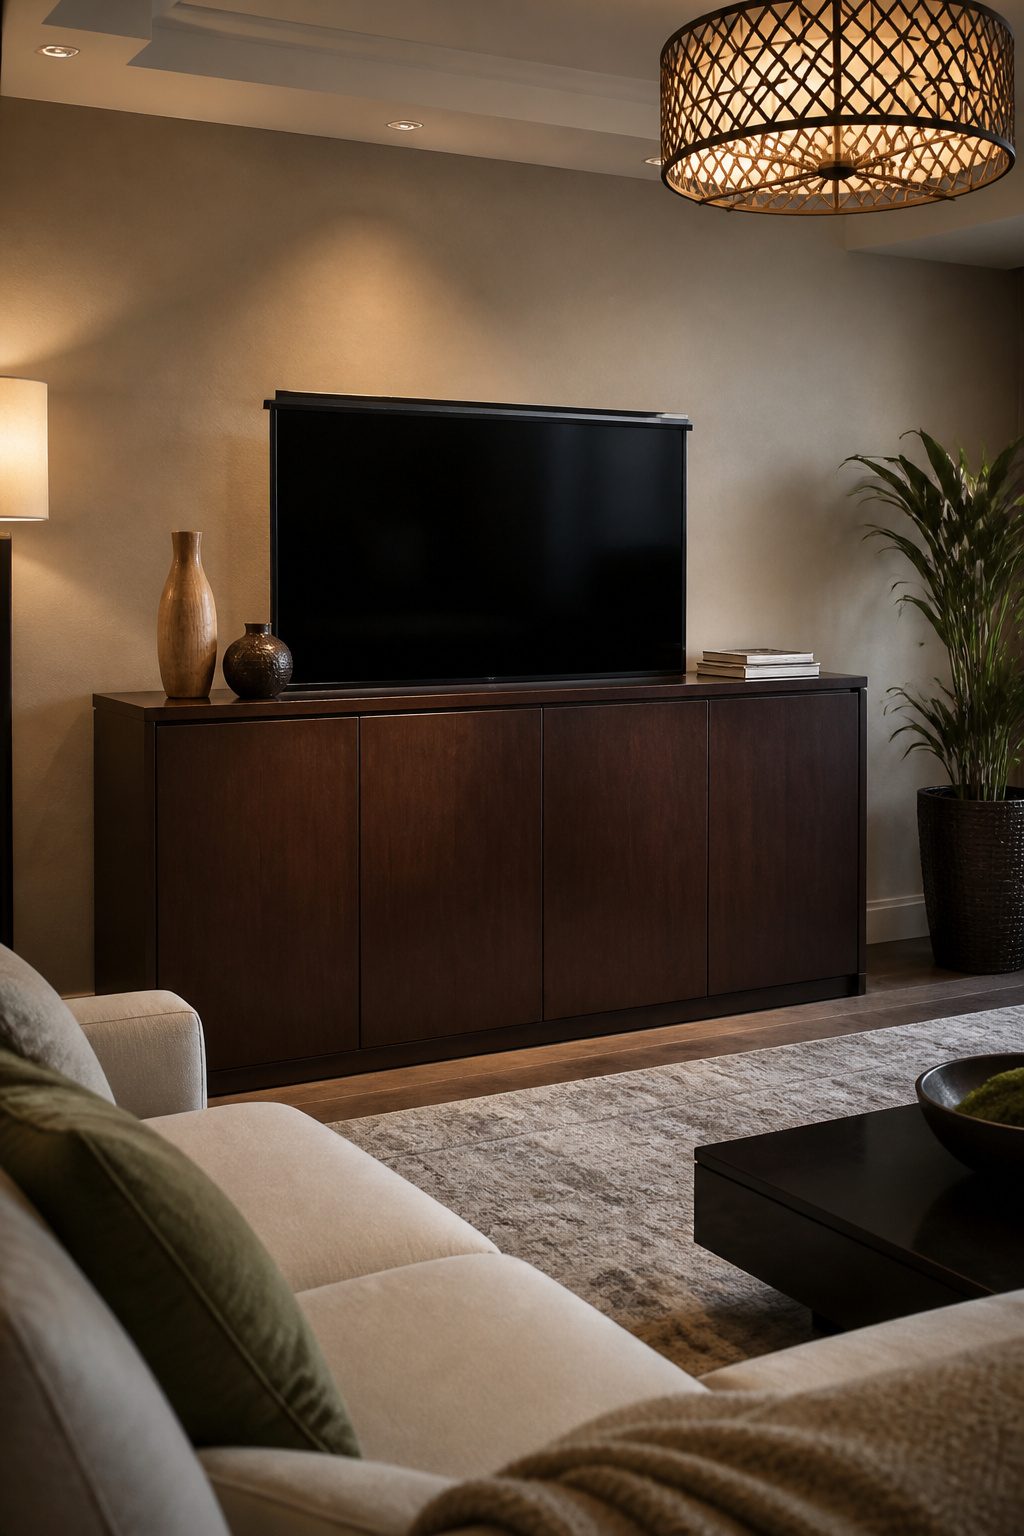
A motorized TV lift turns almost any cabinet into a hidden screen, which sounds cleaner than it actually is. The first company I called quoted $1,200 for a custom bed-lift install, so I bought a $400 Amazon unit and figured I’d handle the rest myself. I never measured the 3.5-inch clearance the mechanism needed below the TV platform. The footboard on my bed blocked the full travel, and the screen would rise only halfway before jamming against the wood. After an afternoon of frustration, I moved the whole setup to my father’s existing cabinet, where the interior height was generous and the lift still runs fine three years later. The lesson cost me a Saturday and the price difference between professional and DIY, but $400 beats $1,200 if you measure twice and pick furniture with room to spare.
9. Paint or Panel the Wall Dark
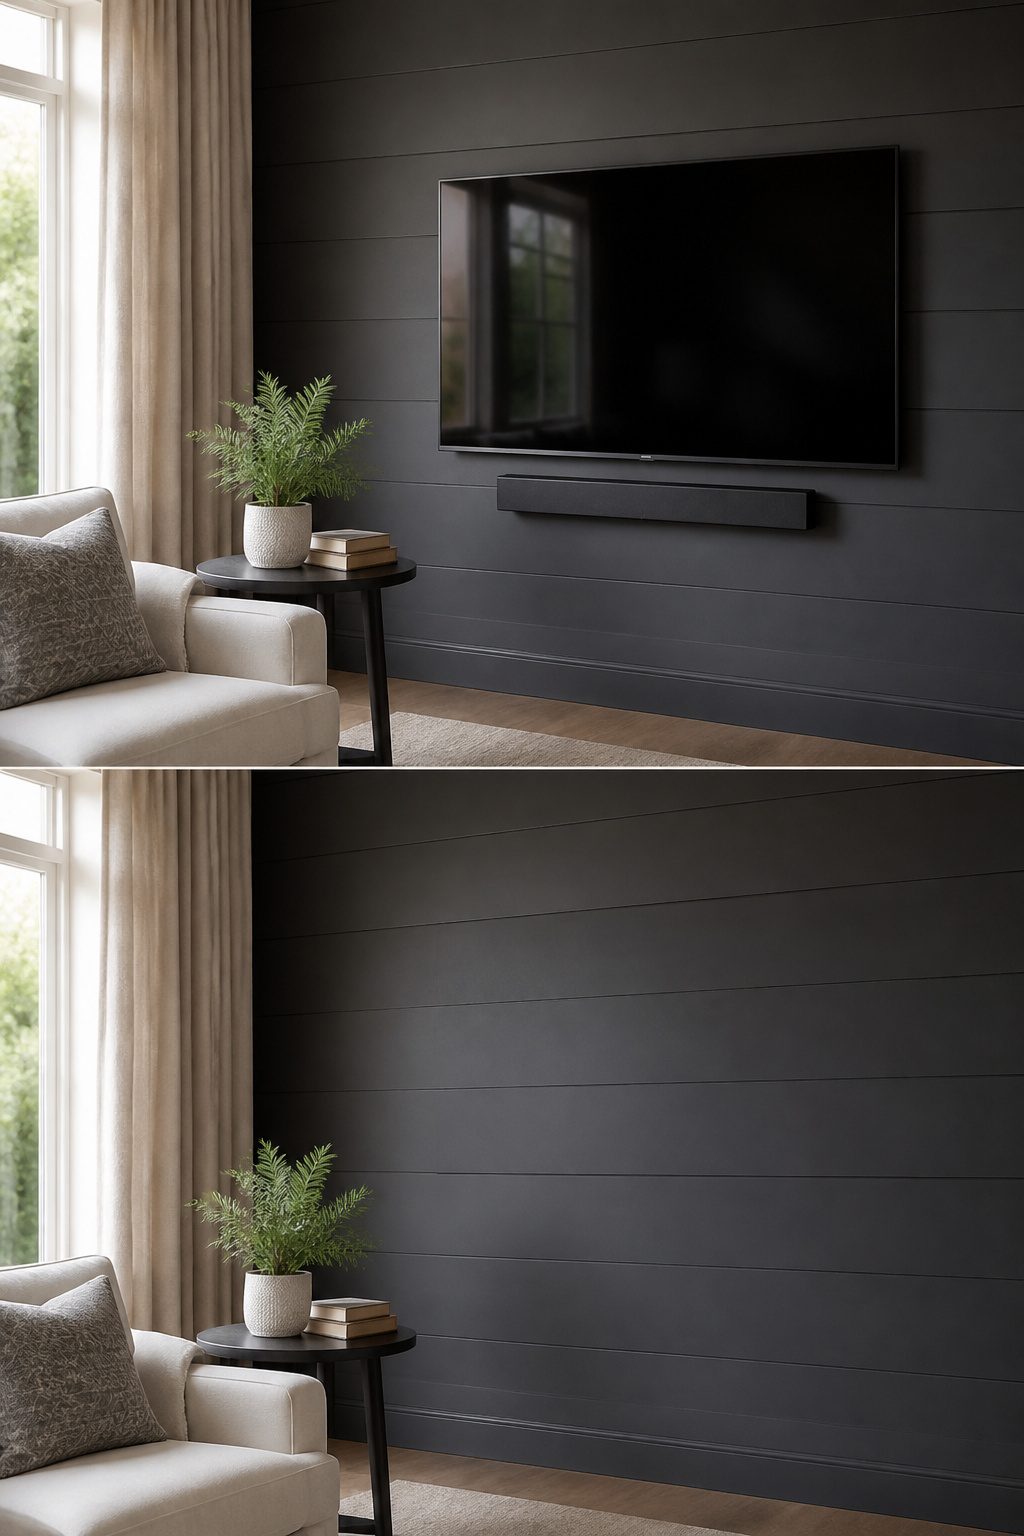
Charcoal gray behind a television does about half the work color theory promises. I used Behr’s Dark Ash, one coat over primer, and the black screen does recede against it once the sun drops. Daylight is another story. The matte finish mattered more than the exact shade, because any gloss catches window glare and turns the wall into a mirror with a TV-shaped hole in it. By evening the set nearly disappears. By morning you remember it is still there.
Matte finish matters more than the shade. Deep colors absorb light, but only if the surface does not bounce it back. Navy or forest green would play the same trick; the principle is the darker and flatter the wall, the less the screen reads as a black rectangle. I would not bother with wallpaper for this job unless you already own the paste and the patience. Paint is a Saturday, two if you prime.
10. Switch to a Projector
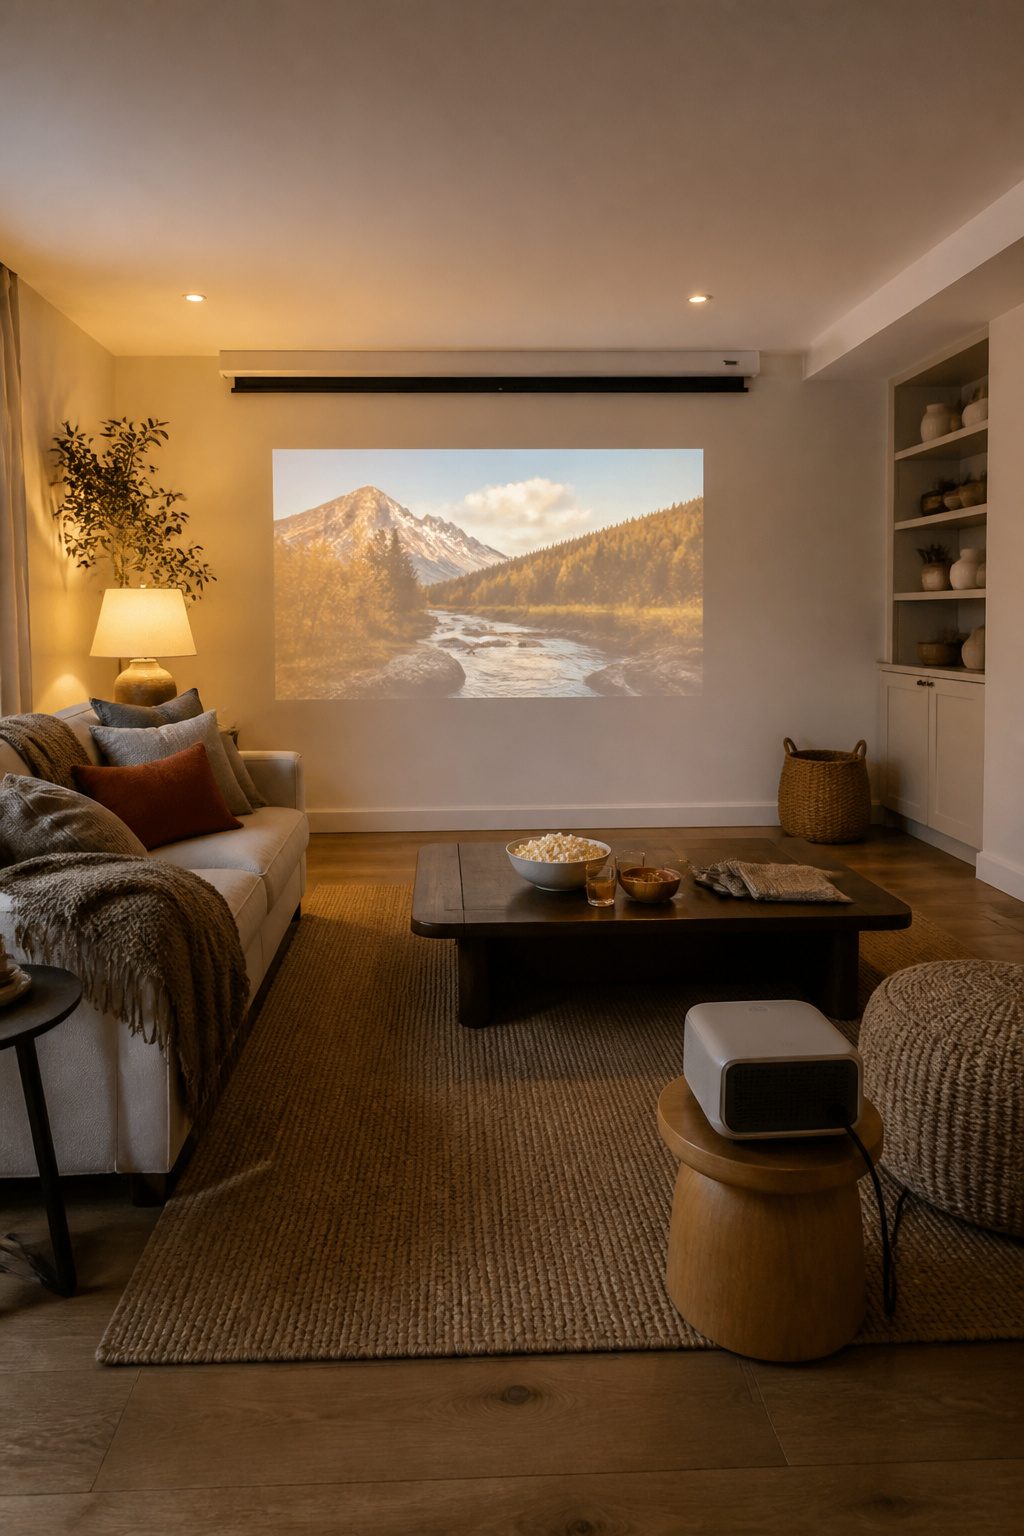
A projector erases the box entirely, but the swap comes with tradeoffs most posts skip. I found a refurbished Epson for $280, then spent another $60 on Sherwin-Williams ProClassic in Extra White and rolled a 100-inch screen directly onto the wall. The paint gave a flat, even surface that beat any cheap pull-down screen I had tried before.
Morning news is where the romance breaks down. A projector needs darkness, and blackout shades cost me more than the projector itself. I still miss flipping on the TV for headlines while coffee brews, half-awake and not ready to seal the room into a cave.
For films after dinner, the setup wins. For everything else, you are managing light instead of just pressing power. If your room faces east or you watch during the day, budget for shades first or you will own a very large blank wall.
What Design Integration Actually Means
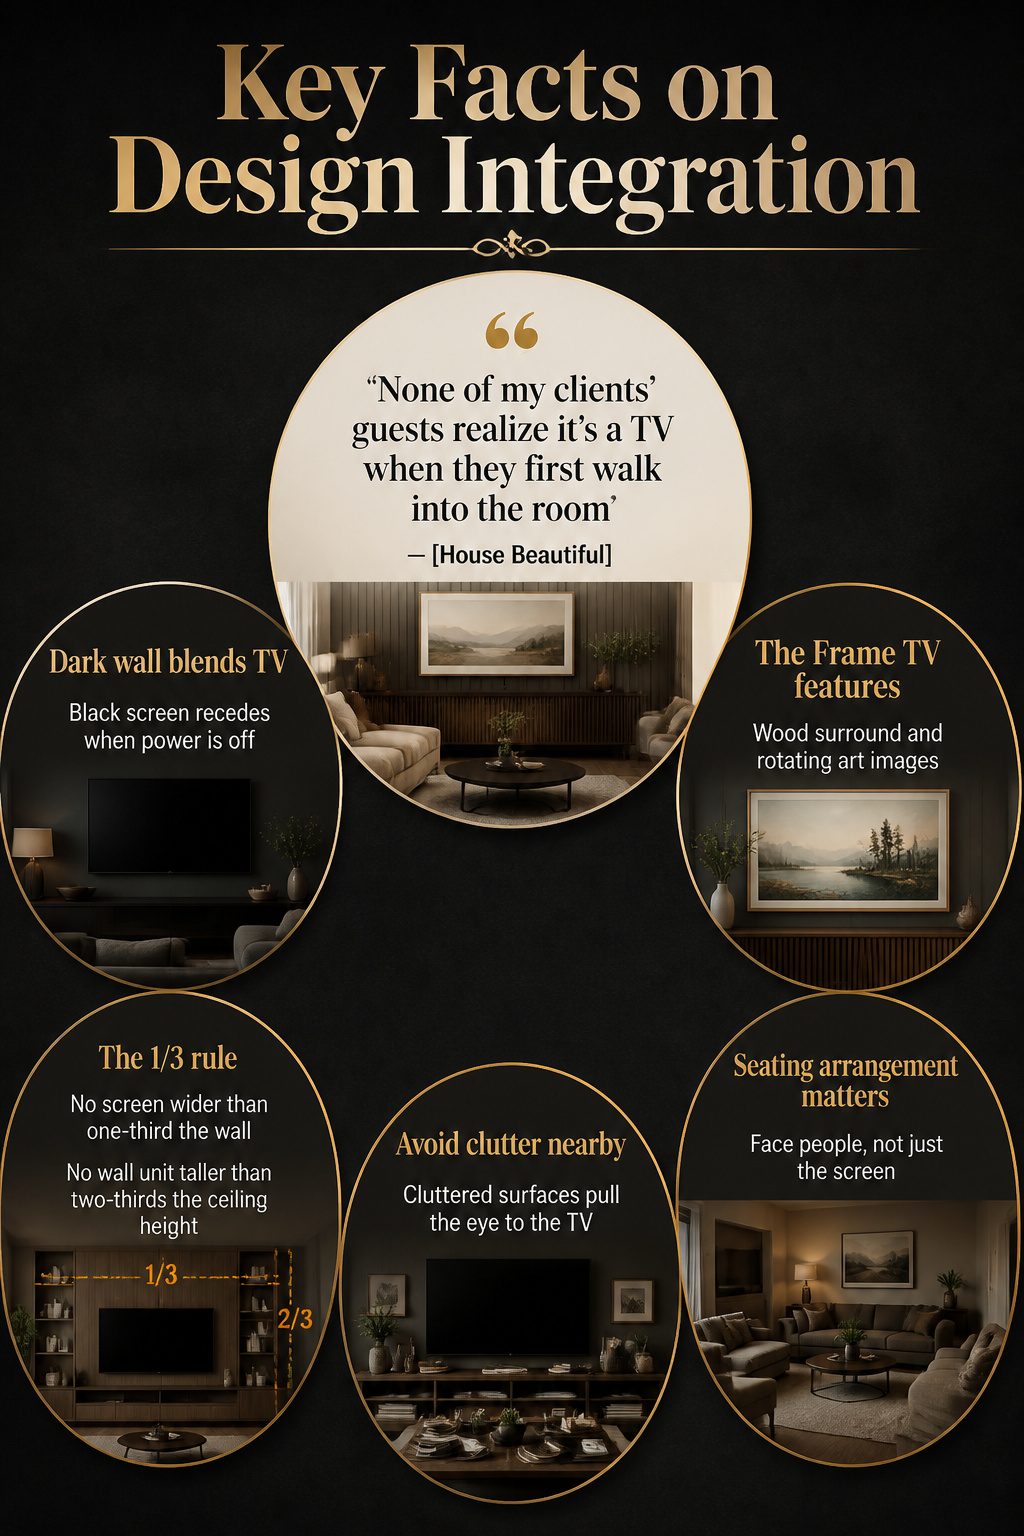
The wall behind your TV matters more than the TV itself. A dark accent wall lets the black screen sink back visually when the power is off, the contrast dropping so the rectangle stops shouting for attention. That works in moody, modern rooms where a feature wall already anchors the space.
"None of my clients’ guests realize it’s a TV when they first walk into the room"
The Frame TV with its wood surround and rotating art images pulls this off because the wall around it is treated as a gallery, not a storage dump. The 1/3 rule keeps it from dominating: no screen wider than one-third the wall it sits on, no wall unit taller than two-thirds the ceiling height. Break that ratio and the eye goes straight to the rectangle every time. Integration also fails when every surface nearby is cluttered. A TV recessed into a corner, angled away from center, becomes part of the layout rather than the focal point only if the seating around it faces people, not just the screen. Cozy arrangements that facilitate conversation do more to hide the television than any frame ever could.
DIY Skills and Budget Reality
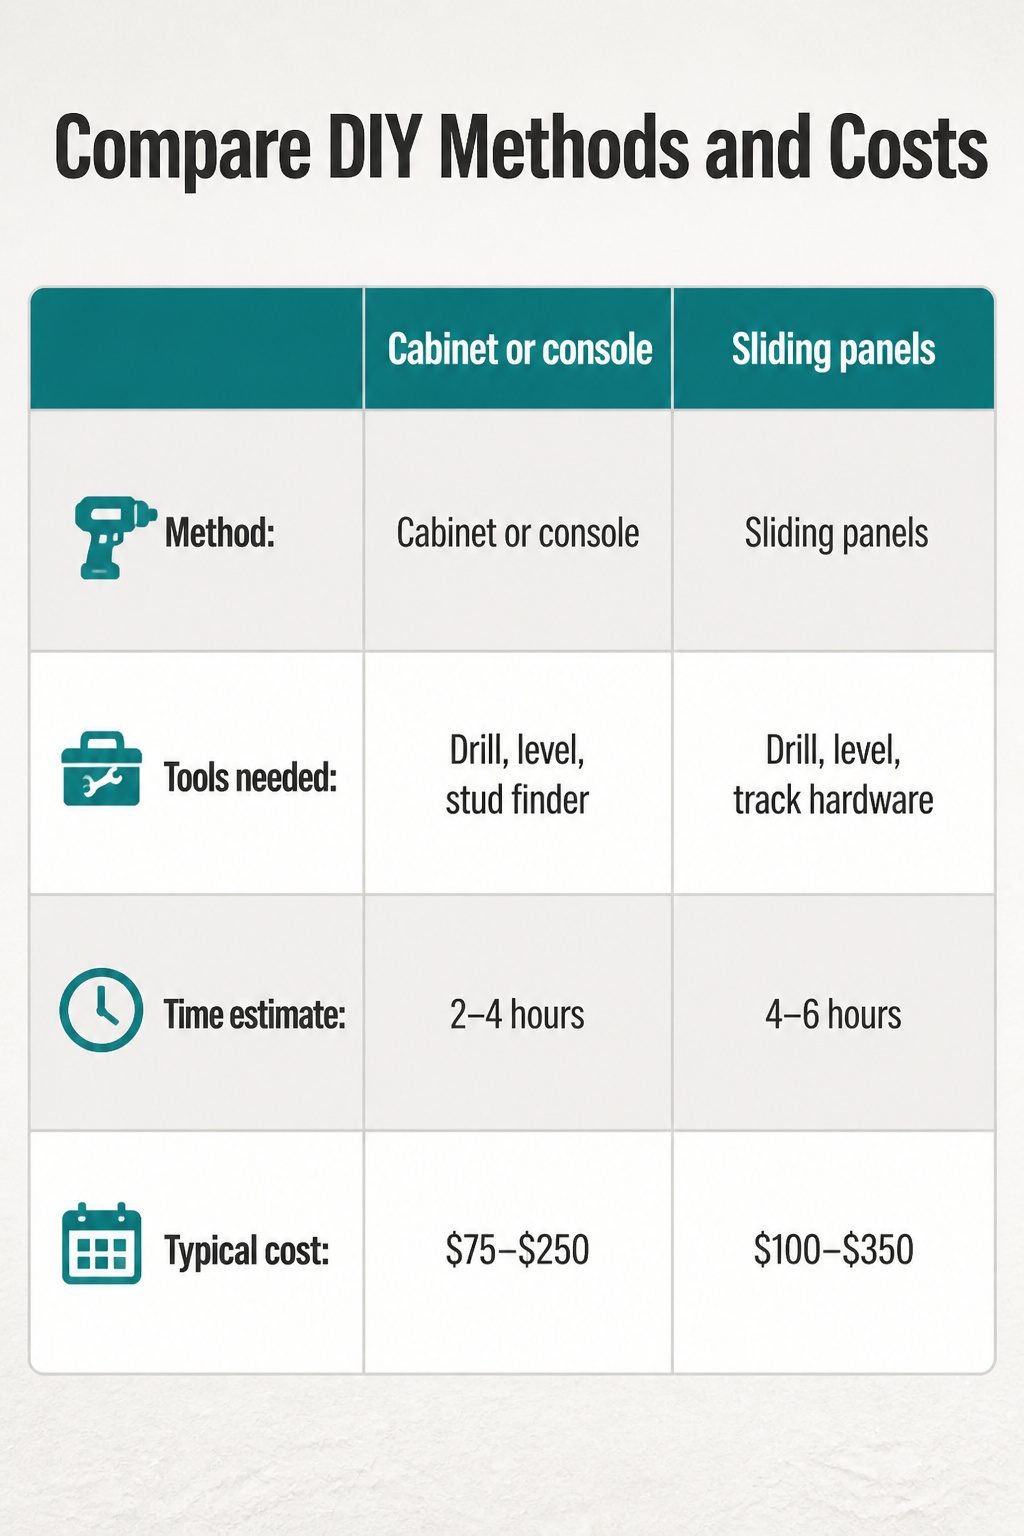
Most of these projects land in a $50–$400 range, and the same two tools handle nearly all of them: a drill and a level. I used to think I could knock any of these out in a single Saturday. Then I spent six hours building a sliding panel only to realize the track was half an inch off, which meant Sunday was gone too.
| Method | Tools needed | Time estimate | Typical cost |
|---|---|---|---|
| Cabinet or console | Drill, level, stud finder | 2–4 hours | $75–$250 |
| Sliding panels | Drill, level, track hardware | 4–6 hours | $100–$350 |
| Gallery wall | Hammer, level, maybe anchors | 3–5 hours | $50–$200 |
| Motorized lift | Drill, level, wiring | 6–10 hours | $200–$400 |
| Fabric or curtains | Drill, level, rod brackets | 1–2 hours | $50–$150 |
The lift projects especially taught me to stop promising myself a weekend. Between measuring twice, waiting for paint or caulk to dry, and the moment you realize your wall studs are not where logic says they should be, I now assume any mount or track project costs me two days or one very late night.
When Function Fights Aesthetics
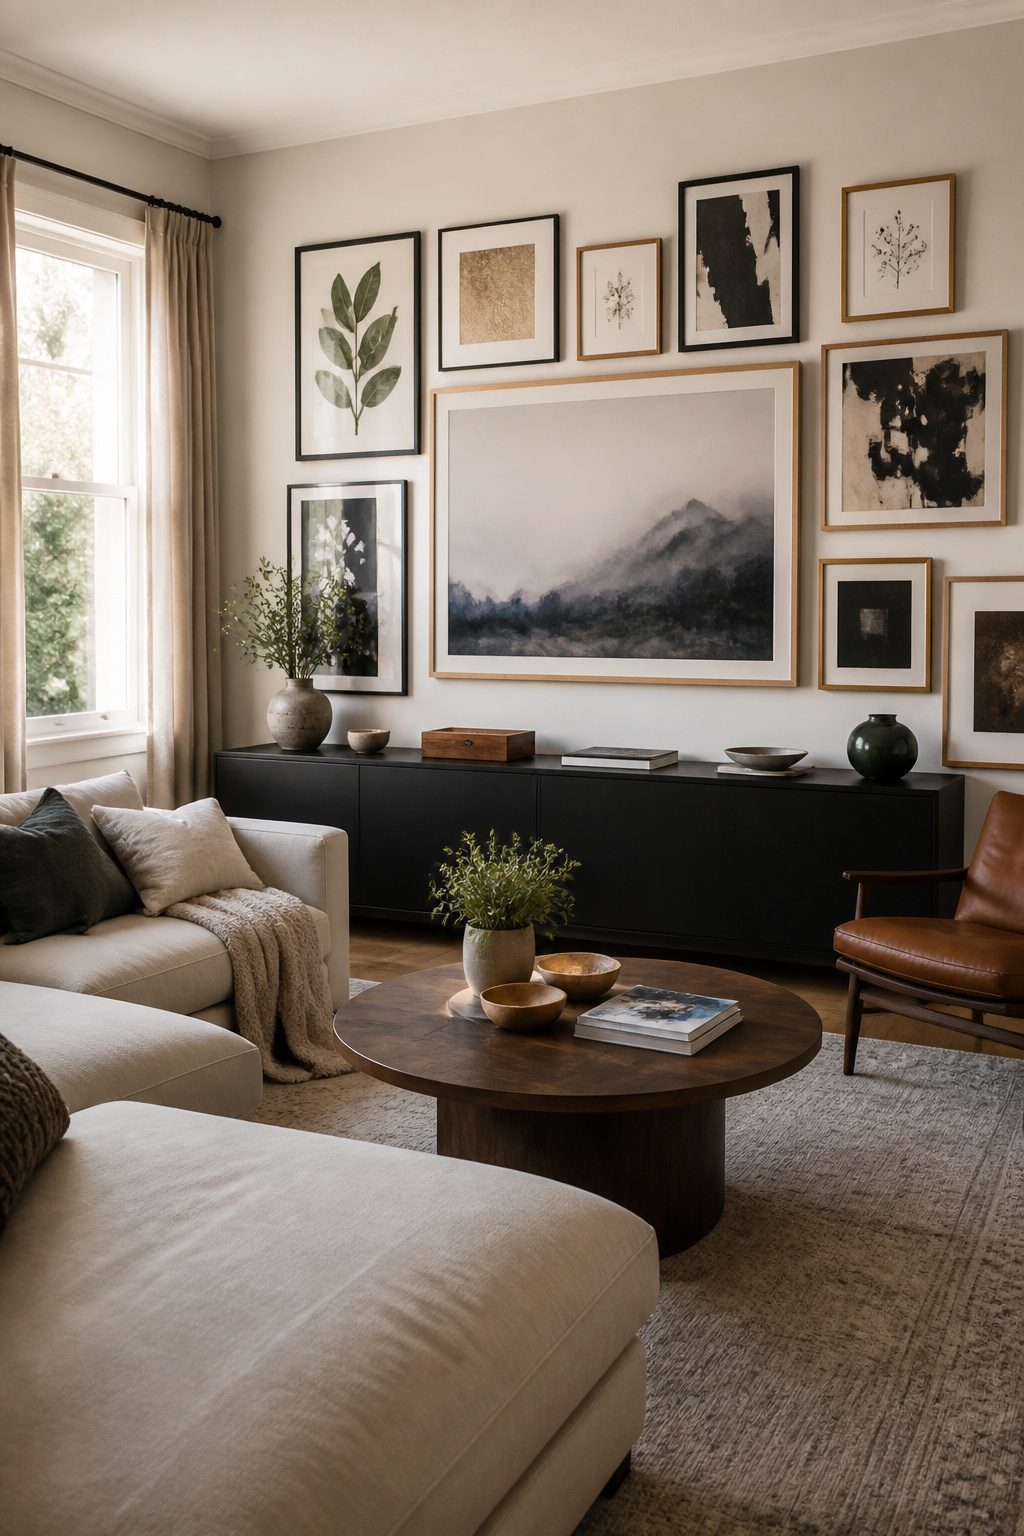
A living room wall is for living in, not for staring at a black rectangle when the power is off. That tension is what sends most people searching for how to hide a tv in the first place. The Samsung Frame TV has become the usual answer for shared spaces: it mounts flush, displays art when idle, and a wood bezel lets it slip into a gallery wall of mixed frames and prints. One designer noted that guests often do not recognize it as a screen on first walkthrough. The catch is the price of admission, and the fact that you still own a television that happens to dress well.
My own compromise has been to match the method to the room’s real job. The living room gets the gallery treatment because people actually gather there and the screen earns its keep. The bedroom got a simpler fix: the closet already had sliding doors, and mounting the set inside turned a dead corner into a hideaway that costs nothing beyond a wall bracket. For the basement, where light control is already poor and seating is flexible, a projector and a pull-down screen eliminated the wall fight entirely. No single method works everywhere because no two rooms ask the same thing of you. A renter in a studio cannot build into a closet they do not have; someone who watches news over breakfast needs the screen accessible, not artfully disguised. The mistake is choosing the prettiest solution first, then forcing the room to adapt.
Frequently Asked Questions
How can I hide my TV?
You can use a cabinet or console with doors, build a gallery wall around the screen, install sliding panels on a track, tuck it inside a closet, or mount it behind a mirror or artwork on a hinge. Each method fits different budgets and skill levels, from a $35 tension-rod curtain to a $400 motorized lift kit.
What is the best way to conceal a TV?
The best method depends on your room and how you use it. A gallery wall works well in shared living spaces, a closet mount suits bedrooms, and a projector eliminates the box entirely in dark basements. Match the solution to the room’s real function rather than forcing the prettiest option.
Can I use a projector instead of a TV?
Yes, a projector removes the visible screen entirely, but it requires darkness to perform well. A refurbished unit can run about $280, though you may need blackout shades that cost more than the projector itself. Daytime viewing suffers unless you seal the room from light.
How do I create a gallery wall around my TV?
Hang framed art and photos within 2 inches of the TV bezel so the grouping reads as one unit rather than art surrounding a screen. Black frames with white mats echo the television’s own border; without that contrast, the frames compete with the screen instead of absorbing it. A Frame TV makes this even cleaner, but standard sets still fade back when treated as the largest piece in a collection.