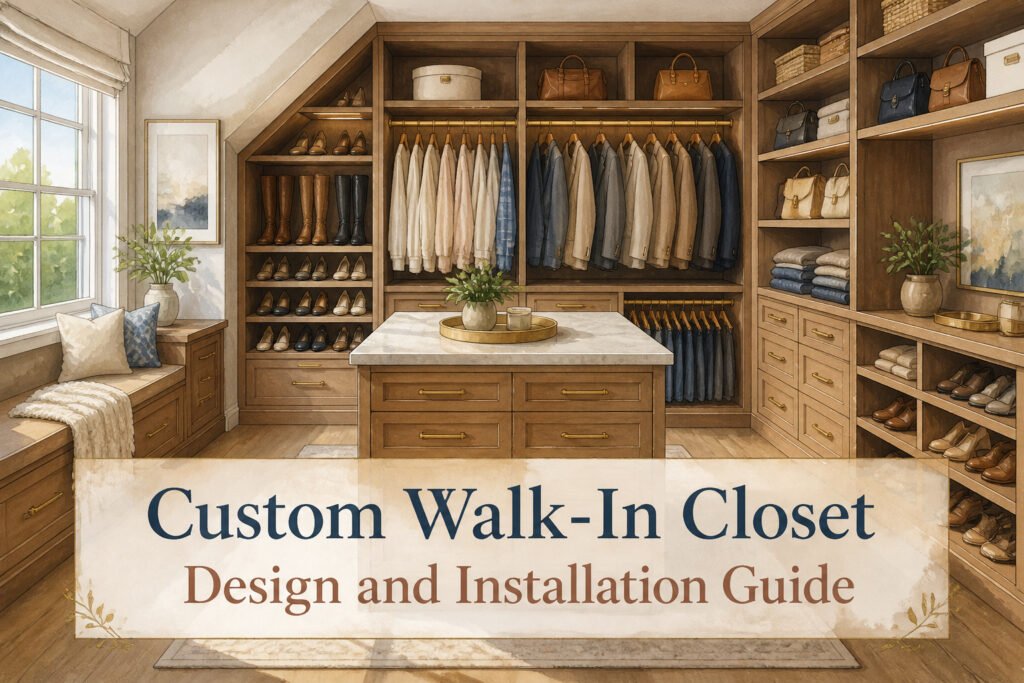
A custom walk in closet is a storage system measured to your walls and wardrobe, not a kit you force into a rectangle. The difference matters most when your ceiling slopes or your boot collection outgrows a 14-inch shelf. That $559 modular starting point looks tempting until you measure your walls at 12, 36, and ceiling height and find the lean that turns standard parts into a gap you cannot hide.
Design the Layout Before You Buy Anything
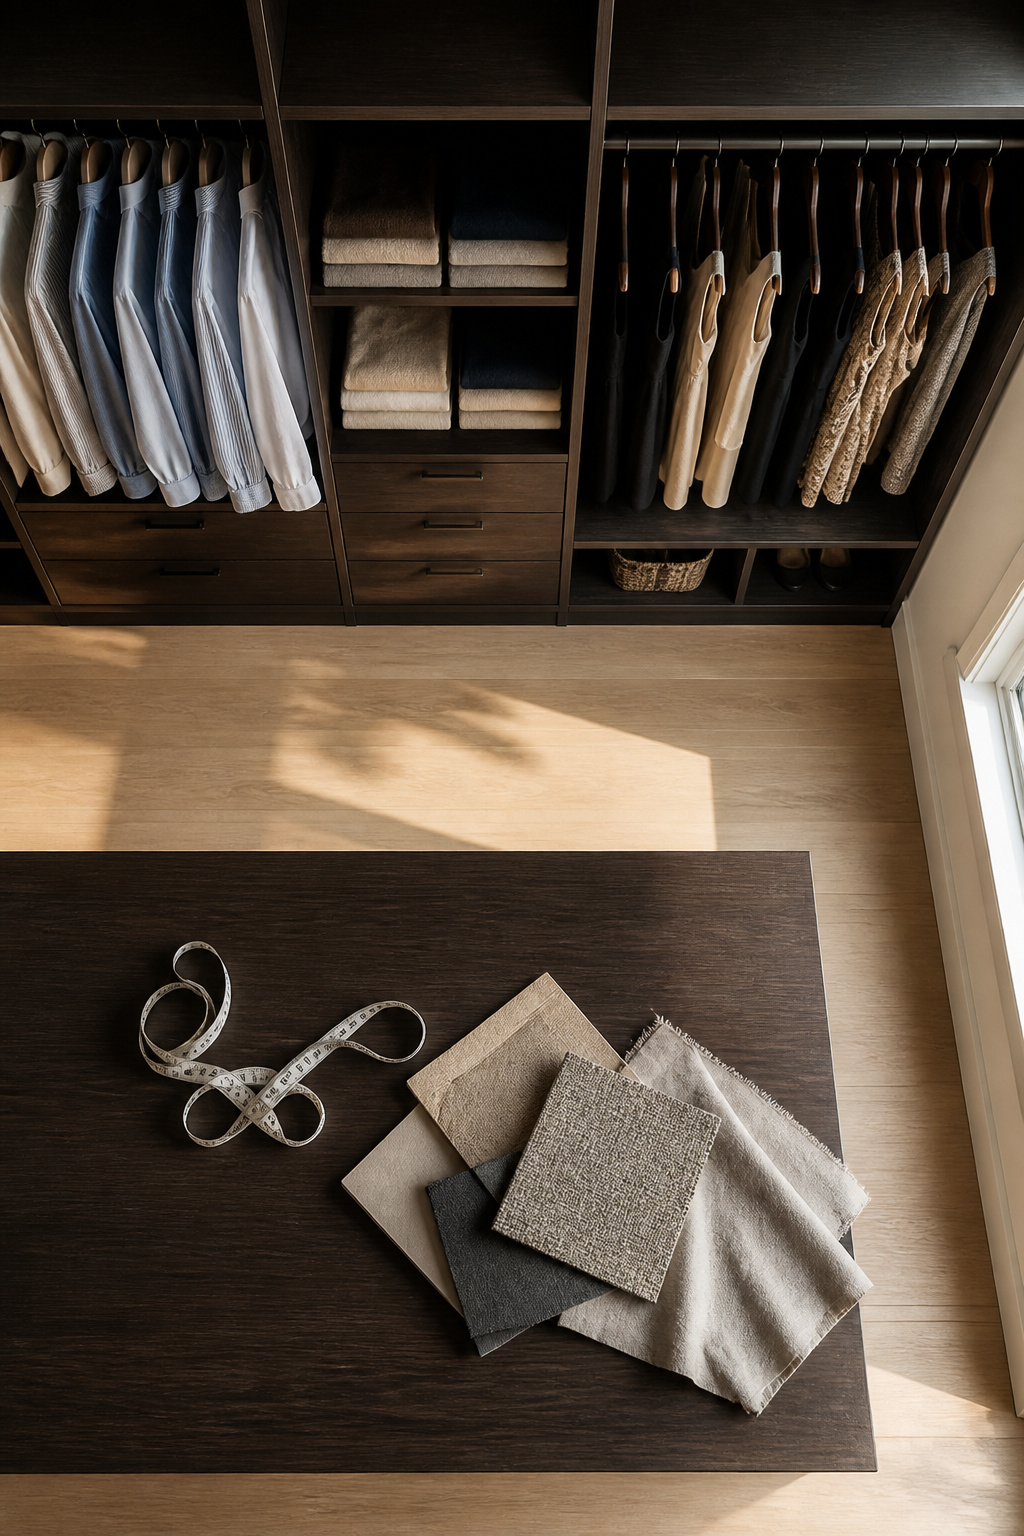
A custom walk in closet only works if the layout answers your actual morning routine, not a showroom fantasy. The first step is a long, specific conversation about what you own: long-hanging dresses versus folded sweaters, shoe count, whether you need island seating or just clear floor space. I have seen too many closets where the rods ended up too high for the person using them daily because nobody asked about reach during that first meeting.
Most companies offer free design consultation for self-directed layouts, and this is where you should spend your time before a tape measure ever comes out. The designer maps your wardrobe categories to the space, assigns logical zones, and only then measures. The alternative is buying standard parts and discovering your boot collection has nowhere to live. Finishes and hardware come last; the layout is the decision that locks everything else in.
Measure What You Actually Have
A typical walk-in closet runs about 5 by 8 feet, but that figure is close to useless when you’re standing in your own space with a tape measure. The walls are what matter, not the averages. I learned this the hard way after assuming my closet was "standard" and ending up with a tower unit that blocked the door swing by three inches.
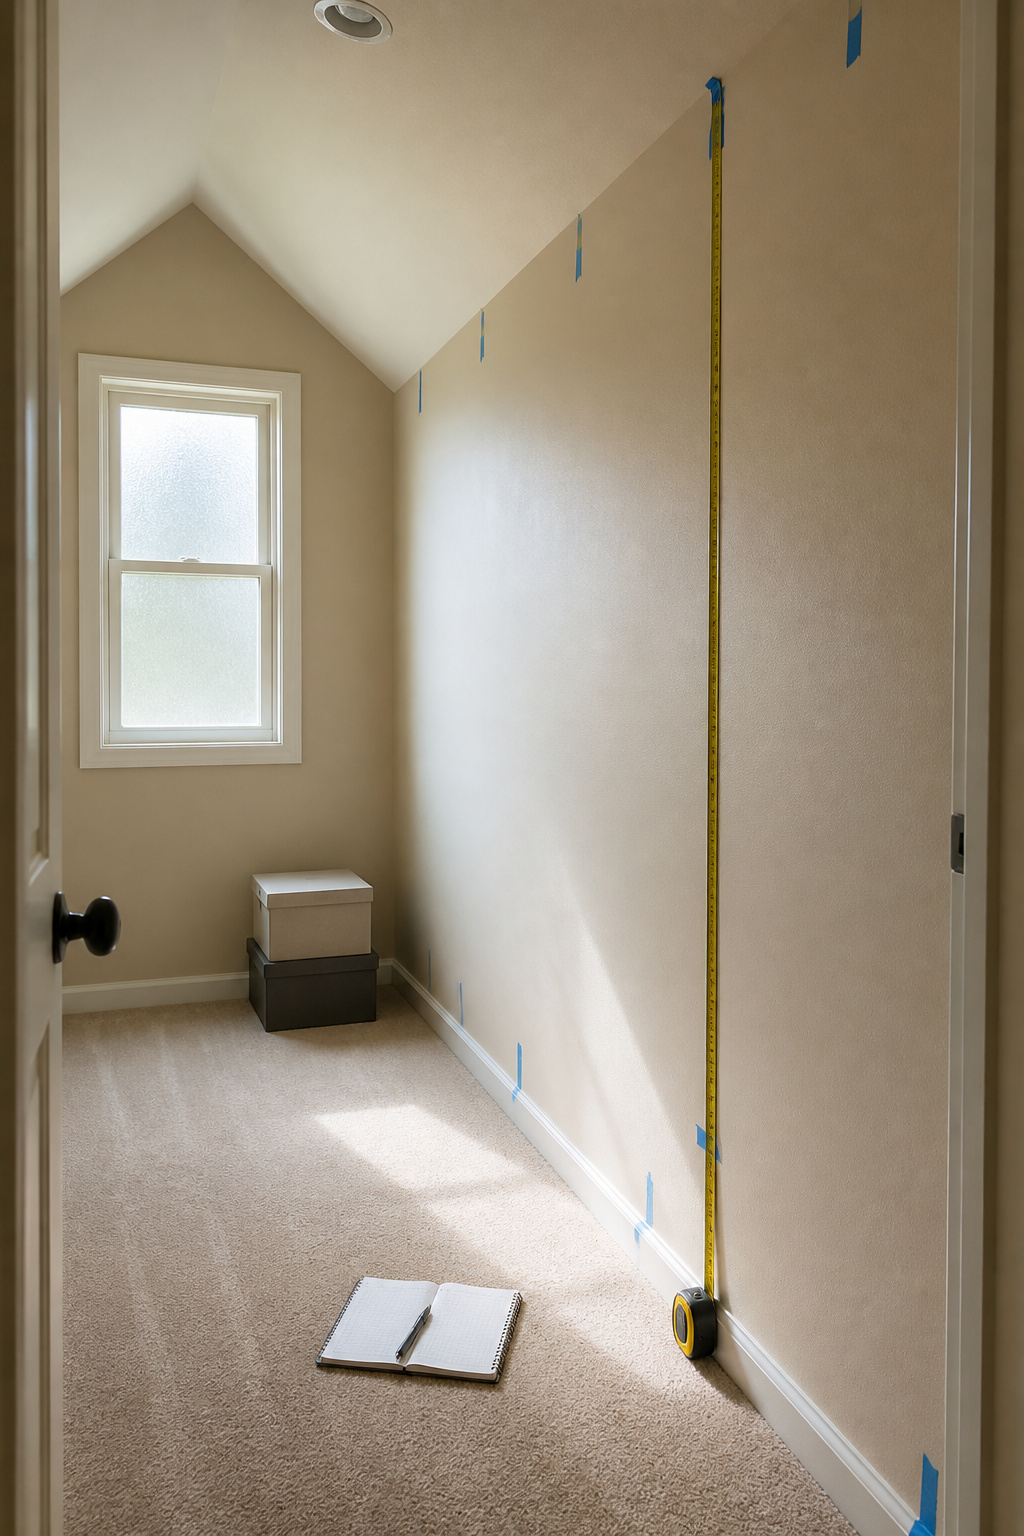
Start with the obvious: width, depth, and ceiling height at the tallest point. Then measure again at 12 inches off the floor, 36 inches, and at the ceiling. Walls that look straight rarely are, and a half-inch lean across five feet turns into a gap you can’t hide with caulk. For sloped ceilings, record the height every 12 inches along the wall; storage that works at the center of the room may be impossible where the roofline drops.
Existing features constrain more than they help. Baseboards, outlets, vents, and window casings all eat into the dimensions a system needs. I mark these directly on the wall with painter’s tape rather than trusting my notebook, because "left wall, near corner" becomes ambiguous fast when you’re tired and the light is bad. Measure to the nearest 16th of an inch, or don’t bother measuring custom at all; the modular systems will fit about as well and cost half the headache.
Irregular walls reward patience. A narrow return beside a chimney breast or a jog where an addition meets the old house can become useful shoe storage or a jewelry drawer if you record it accurately instead of treating it as a flaw to work around. The inventory of your wardrobe comes later, but it won’t matter if the box that holds it doesn’t match the room.
Pick Materials That Survive Real Use
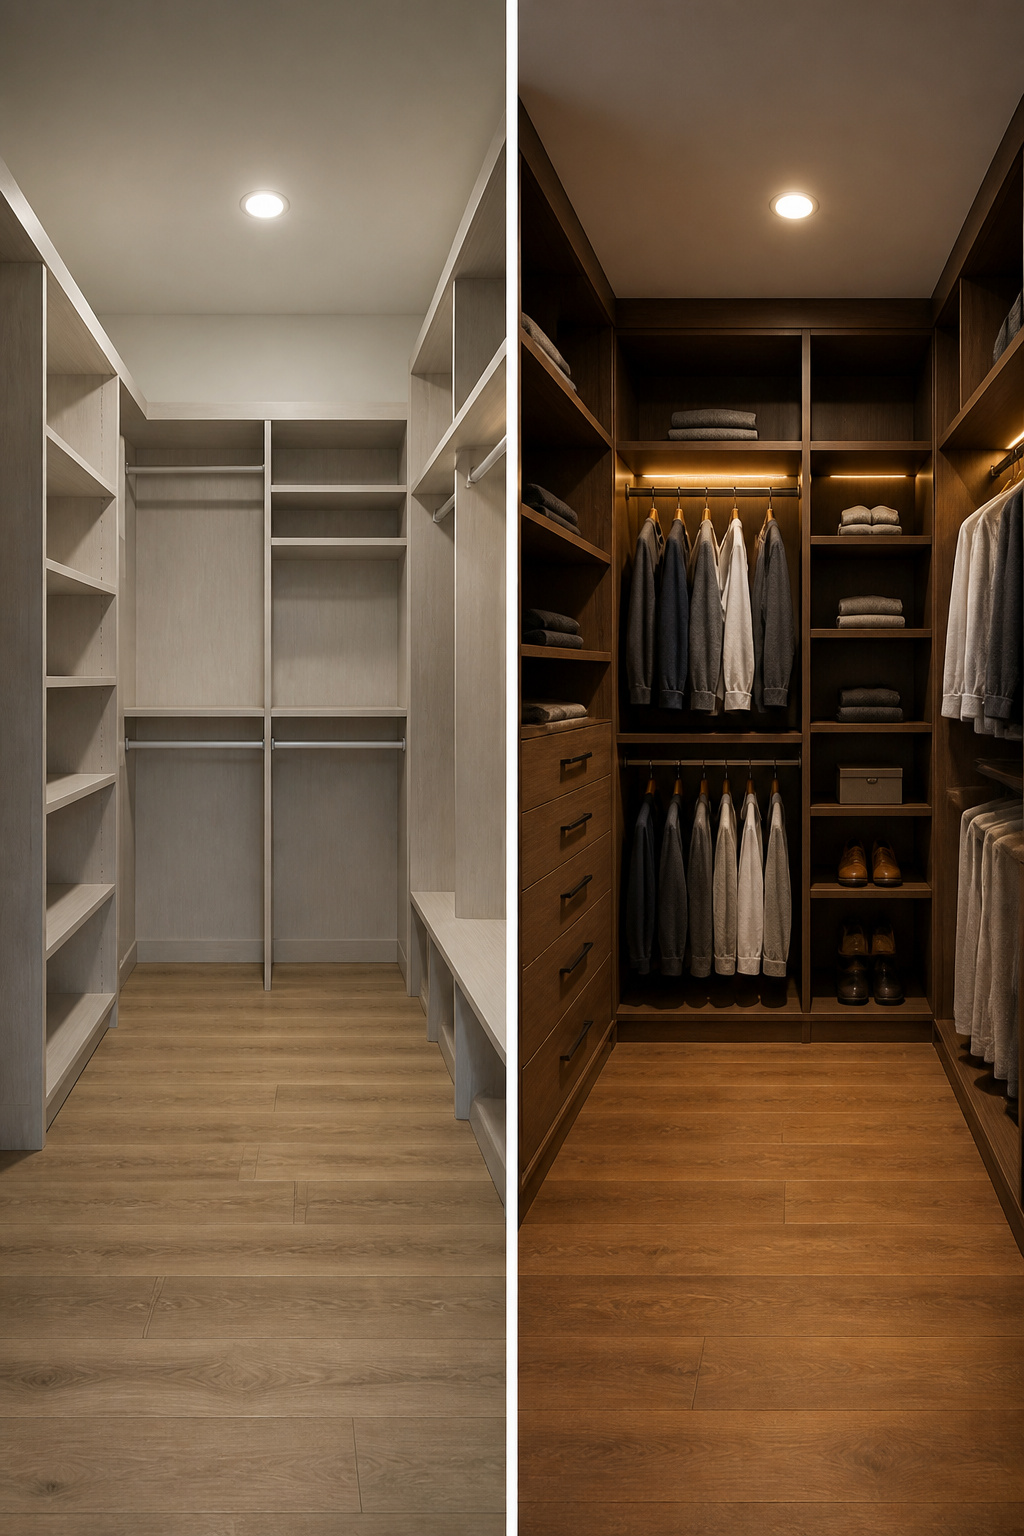
Engineered wood, solid wood, laminate, and MDF each carry a different price tag and a different tolerance for being cut wrong on a Saturday afternoon. The 4x8x3/4 inch MDF sheets are the easiest to find and the easiest to lift through a bedroom door without help, which is why I started there on my first closet. What I learned was that an 8-foot section needs to hold 1,200 lbs if you plan to stack winter coats, shoe boxes, and the inevitable bin of things you will sort later. MDF at that span will sag unless you keep the runs short or add a center support. The premium composite wood components with laminate or woodgrain finishes that show up in most ready-to-install systems solve this by layering a stiffer core under a surface that looks like maple or white oak without the grain-matching headache. Solid wood looks richer and takes a screw more forgivingly if you misdrill, but it moves with humidity and it costs enough that a mistake hurts. Laminate over particleboard is the middle path: the surface resists scuffing from belt buckles and the edges stay clean if you buy iron-on banding and take the ten minutes to apply it. For a weekend project, the composite with a quality finish wins because the factory already handled the finishing work you would otherwise still be sanding on Sunday night.
Install It Solidly in a Weekend

A custom walk in closet install usually takes one to two days, depending on room size and how many drawers, islands, or specialty features you packed into the design. Secure anchoring to wall studs matters more than any other step; the system has to stay stable once loaded with clothes, and that means finding studs, not just drywall, for every vertical panel.
The DIY versus professional decision splits on two things: tools you already own, and whether your walls are plumb. Most modular systems are built so a first-time DIYer can handle the install with basic tools, no framing or demolition needed. If your room is older and the corners are out of square, though, you will spend more time shimming than hanging, and that is where a crew earns its fee.
Renters can absolutely do this. The components anchor like standard closet systems and detach later with only minor wall patching to worry about. No dust, no drywall replacement, no construction project to explain to a landlord.
Organize So It Stays Useful
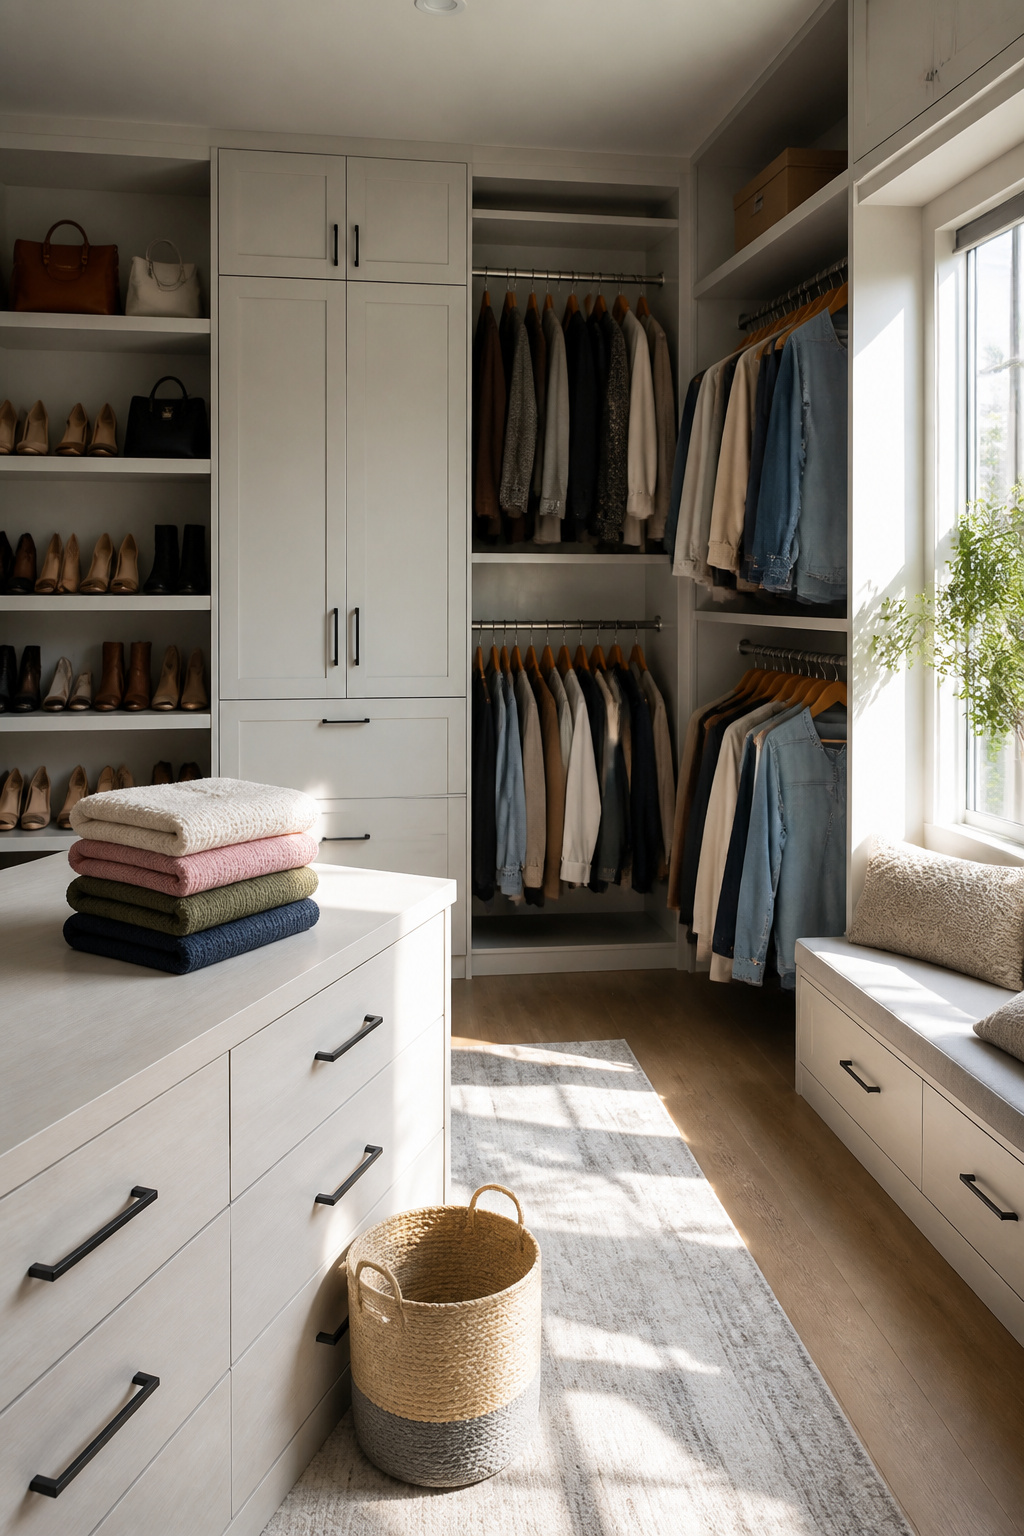
A beautiful empty closet and a closet that functions at 7 a.m. on a Tuesday are two different rooms. I learned this the hard way after installing what looked like a boutique display, only to find my everyday overflow spilling onto the floor because I had nowhere to hide garment bags and laundry. Reserve open shelving for items that benefit from visibility, like shoes and handbags or a rotating selection of clothing, and keep the daily mess behind closed doors.
The real test is whether the system still works when your wardrobe shifts. Adjustable shelves let you raise or lower as boot heights change or as folded knitwear replaces hanging shirts. Hanging rods at two heights, one around 42 inches for shirts and jackets and another near 70 inches for dresses and coats, keep the proportions right without wasting vertical space. I now start any plan with an inventory of what I actually own: short hanging, long hanging, folded items, shoes by type and height, and the small accessories that collect in corners. Storage should follow that wardrobe, not force it into standard modules.
Custom Shelving and Hanging Rods

Shoe shelves at 12 inches deep waste less space than the 14-inch standard most systems default to, and that two-inch difference matters in a closet under six feet across. I learned that the hard way after installing a modular unit whose fixed depths left my flats swimming in air while boots hung off the edge. Custom shelving lets you assign 8 inches to flats, 12 to sneakers, 14 to boots, and full 16-inch returns for folded sweaters or handbags.
Hanging rods at varied heights separate the garments that actually live in your closet. A rod at 70 inches clears long dresses without dragging; a second at 42 inches doubles shirts and blouses in the same vertical span; a third at 36 inches keeps pants folded at the cuff, not crushed at the knee. The tallest placement, up near the ceiling, handles out-of-season coats you reach for maybe twice a year.
One detail I missed on my first pass: rods need returns, those short wall sections at each end, and custom work can cut them to 3 or 4 inches where modular systems demand 8 or more. In a narrow closet, that reclaimed width is the difference between a door that closes and one that doesn’t.
Drawers and Islands
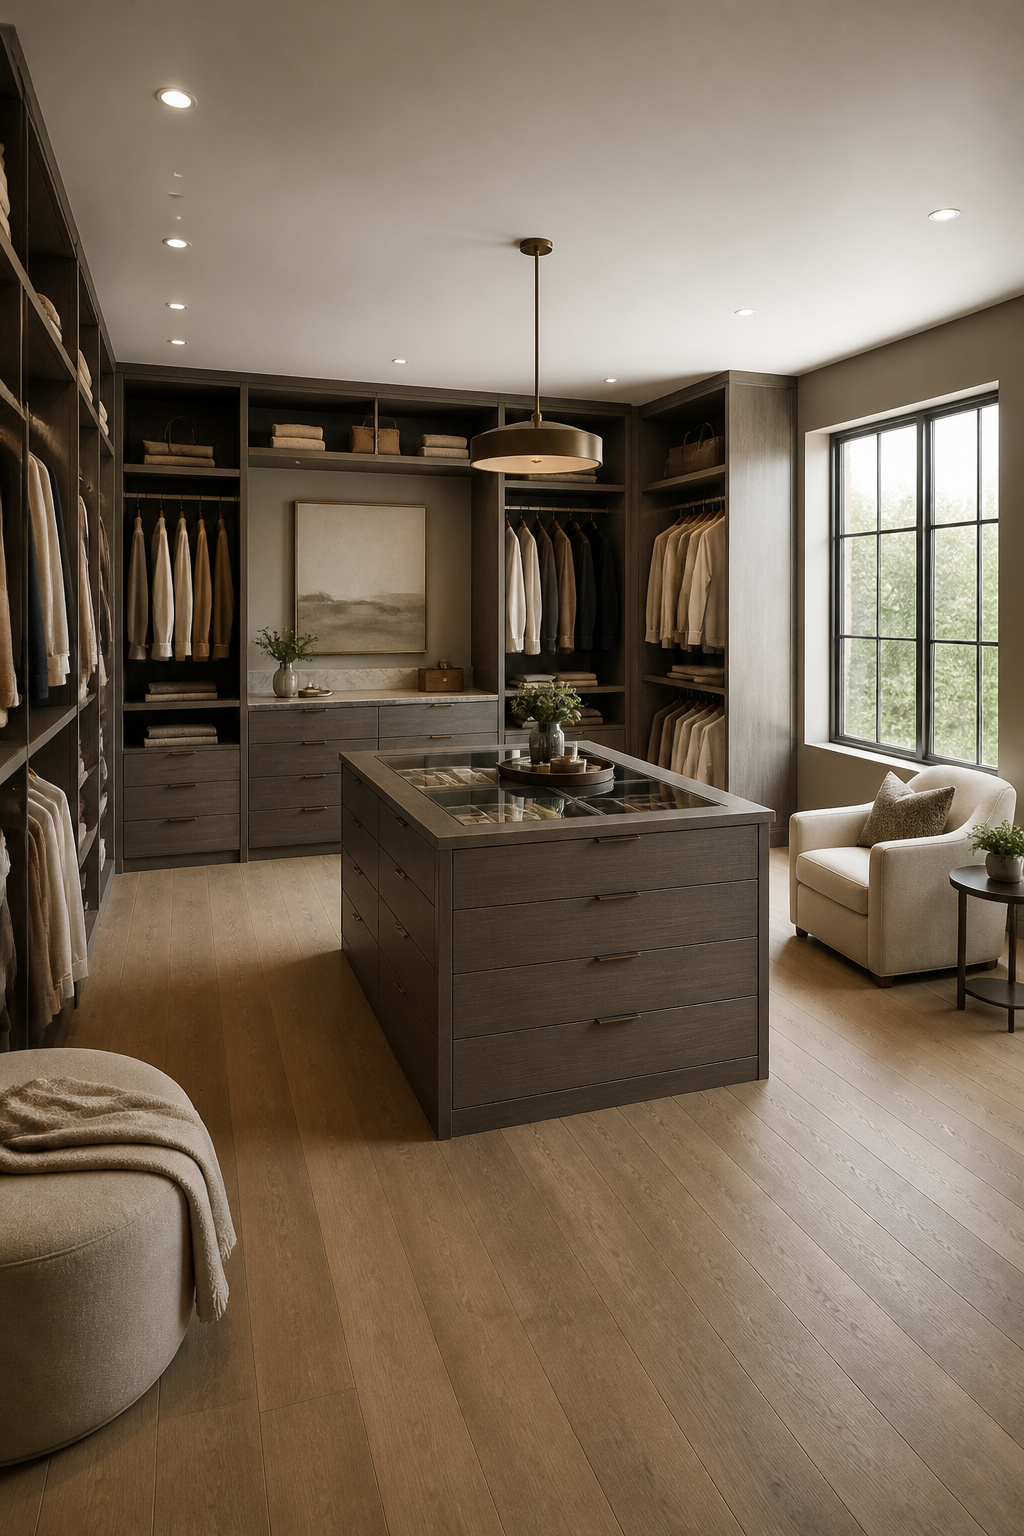
Drawers in a custom walk-in closet need to earn their square footage. I learned this the hard way after specifying three identical depths for a friend’s build, only to watch shallow jewelry trays rattle around inside cavernous 8-inch boxes while folded sweaters spilled out of undersized 4-inch fronts. The right move is sizing each drawer to what actually lives inside: 4 to 6 inches for accessories and watches, 8 to 10 inches for tees and sweaters, deeper only if you store bulky items like denim stacks or offseason bedding. Glass inserts on the top drawer tier let you spot a watch or pair of earrings without pulling the box, though the glazed surface shows dust by Tuesday and demands you keep the interior tidy enough for display.
An island sits at the center of the fantasy, and sometimes the center of the room. Stone or a durable wood top gives you a flat surface for laying out tomorrow’s outfit or packing a bag, and the body can hold folded items, seasonal accessories, even jewelry trays below. A 5 by 8 foot closet, the approximate standard, usually cannot fit one without turning the aisle into a shoulder-width squeeze. The test is simple: with island drawers open on both sides, you still need comfortable clearance to walk past and to open any facing doors. In a narrower footprint, a shallow peninsula off one wall or a wall-mounted ledge gives you that flat prep surface without eating the circulation path. Skip the island entirely if it means brushing past open drawers; the frustration will outlast the glamour every morning.
Lighting and Small Accessories

Lighting in a small walk-in closet is where a few hundred dollars either disappears into something you barely notice or actually makes the room feel bigger than it is. Recessed ceiling lights eat up too much of that budget for the punch they deliver in a space under forty square feet. LED strips tucked above the door frame or along the underside of a shelf run about thirty to fifty dollars and bounce light back off pale walls, which does more to open up a cramped footprint than any fixture pointing straight down.
Valet rods, tie racks, and jewelry trays fall into the same sorting. The pull-out valet rod I installed near the door gets used almost daily; the tie rack beside it mostly holds scarves now because I stopped wearing ties to work two years ago. Jewelry trays with divided liners keep earrings from sliding into a pile, but a shallow drawer with a twenty-dollar velvet insert does the same job as the seventy-dollar branded version. If the budget is tight, skip the name-brand accessories and put that money into the light strips first. You can always add the rods later; wiring is a project, sticking strips up is not.
Custom versus Modular Systems

A custom walk in closet built to your walls solves sloped ceilings and odd corners that modular units leave as dead space, but that precision costs more and locks the parts in place. Modular systems start around $559 and ship with pre-drilled holes, pre-cut shelves, and cams already inserted, which means you can hang sections yourself in an afternoon and break them down when the lease ends.
| Attribute | Custom Built-In | Modular System |
|---|---|---|
| Design origin | Measured to your walls, ceiling, obstructions | Pre-designed modules in standard widths |
| Installation | Requires planning, possible crew | Pre-drilled, pre-cut; wall-mount or floor-mount |
| Starting cost | Higher; not specified in sources | From $559 |
| Flexibility | Fixed; permanent architecture | Reconfigurable, moves with you |
| Best for | Odd geometry, specialized storage, matching home finishes | Straightforward rooms, limited timelines, renting |
The tradeoff is real: custom work assigns different depths to shoes, bags, and hanging clothes while hiding clutter behind matched doors, but every measurement and hardware choice has to be resolved before fabrication. Modular sacrifices some capacity and finish options for a cost you can see in real time and a system you can revise later. For a renter with a few hundred dollars and a Saturday, modular usually wins; for a first homeowner staying put and building around a window or vent, custom repays the extra decisions.
What Installing One Actually Costs

A $559 entry point gets you a modular system you cut and mount yourself, which is where most weekend projects land once you count the melamine panels, hanging rails, and the drill bits you probably do not already own. Custom work, built to the room’s exact corners and fitted with drawers or an island, runs higher because every dimension is cut to order and the hardware is integrated from the start.
Financing can spread either route across payments, though the break comes from doing the install yourself. Pre-drilled holes and pre-cut shelves drop the labor to a Saturday; the real cost jump is not the system, it is realizing mid-project that your walls are not square and you need shims or a second trip for brackets.
Tools and Preparation Checklist
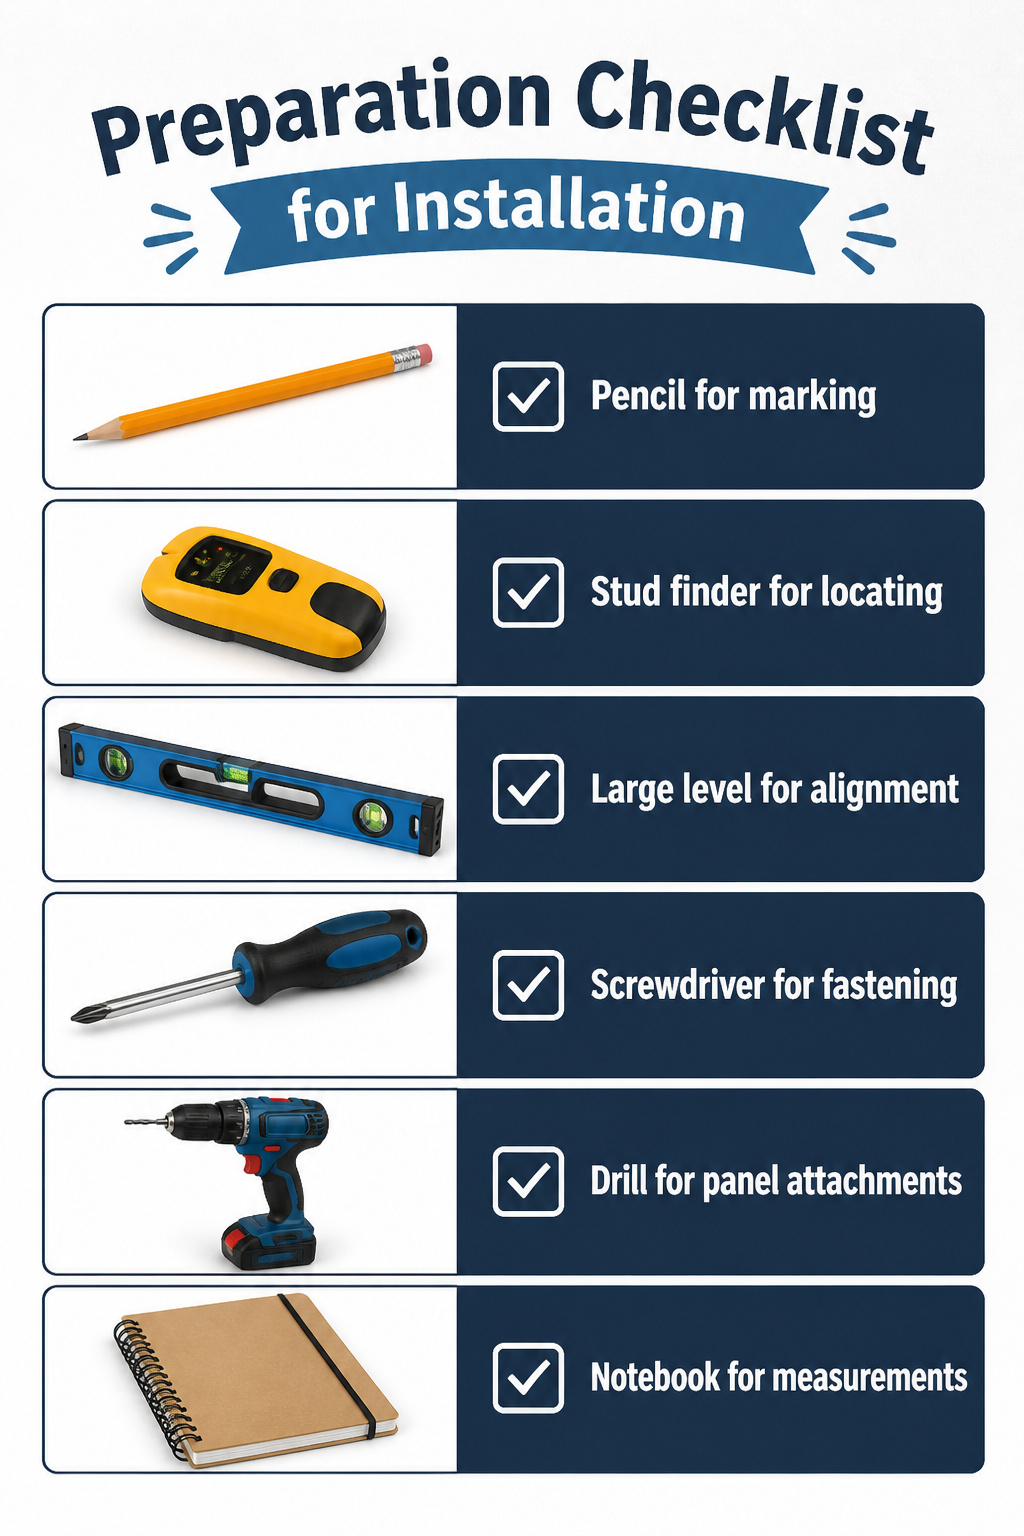
A pencil, screwdriver, large level, drill, and stud finder cover most of what a standard closet system asks for. I keep a small notebook with the wall measurements and a rough sketch of where each panel will land, because once the room is empty, the studs are the only fixed reference left.
Clearing the space means pulling everything out, not just shuffling it sideways. I use a rolling rack in the hallway or the guest bedroom for the two or three days the install actually takes; a pile on the bed turns into a pile on the floor by night one.
Before any rail or panel goes up, run the stud finder along every wall you plan to mount to. Mark each stud center with painter’s tape, then check again with the level held vertically; old drywall can hide uneven studs that will throw a long hanging rail off true. If the stud spacing is irregular, note which locations will need toggle anchors so you aren’t guessing with a drill bit in hand.
Frequently Asked Questions
How long does a custom walk-in closet installation take?
Most installs finish in one to two days, depending on room size and how many drawers, islands, or specialty features you included. A straightforward wall-mounted system with pre-drilled holes can go up in a single Saturday; adding an island or dealing with out-of-square walls pushes it toward the second day. Professional crews earn their fee when shimming takes longer than hanging.
What materials are used in a custom walk-in closet?
Custom walk-in closets use premium composite wood components with laminate or woodgrain finishes, though you will also see solid wood, MDF, and laminate over particleboard depending on budget and preference. The composite systems with factory finishes are stiff enough to handle 1,200 lbs across an 8-foot span without sagging, and they spare you the Sunday-night sanding. Solid wood looks richer and forgives misdrilled screws, but it moves with humidity and costs enough that mistakes sting.
How are walk-in closet designs tailored to individual needs?
Designers start with a detailed conversation about your actual wardrobe: long-hanging dresses versus folded sweaters, shoe count, whether you need island seating or just open floor. They map those categories to zones before measuring, so the layout answers your 7 a.m. routine instead of a showroom fantasy. Finishes and hardware come only after the layout is locked.
Can I design the layout myself?
Yes, and most companies offer free design consultations to help you do it. The designer guides the wardrobe-to-zones mapping and measures only after the logic is set, which saves you from buying standard parts that have nowhere for your boots to live. Self-directed layouts work best when you spend real time on that first conversation about what you own and how you move through the space.
Is financing available for walk-in closets?
Financing is available to spread payments over time for both custom and modular systems. Because walk-in closets often include islands, drawers, accessory storage, and multi-level hanging, financing can make the difference between a basic setup and one that actually fits your routine. A designer will discuss specific options during the free consultation.