
Winter projects range from a $10 door sweep to a full kitchen countertop swap, and the one worth doing depends on whether your house is losing heat you can actually feel. The 15 percent savings Energy Star cites for air sealing only holds if you find the cracks behind furniture, not just the obvious windows. I missed the threshold plate entirely the first time I knelt down with a sweep, and the cold shot straight through the middle seam anyway.
1. Improve Your Entrances

The front door is where winter hits first, and the gap underneath is usually the worst offender. A door sweep takes ten minutes to install and costs next to nothing; I used a basic adhesive-backed vinyl one from the hardware aisle and it cut the draft noticeably. Weatherstripping around the jamb came next, the peel-and-stick foam kind, pressed into the corners where the door meets the frame. Caulk finished the exterior trim, any hairline crack between molding and siding.
"Energy Star estimates that homeowners can save an average of 15 percent on heating and cooling costs by adding insulation and air-sealing their homes."
That 15 percent is the difference between weatherstripping that actually seals and weatherstripping that looks tidy but leaks. The mistake I made: I skipped the threshold plate entirely. Cold air still crept through the center seam where the two sides of the adjustable sill had worn apart. Fixing that meant a replacement threshold, not a weekend patch, and I should have checked it while I was already on my knees with the sweep.
2. Add a Kitchen Backsplash
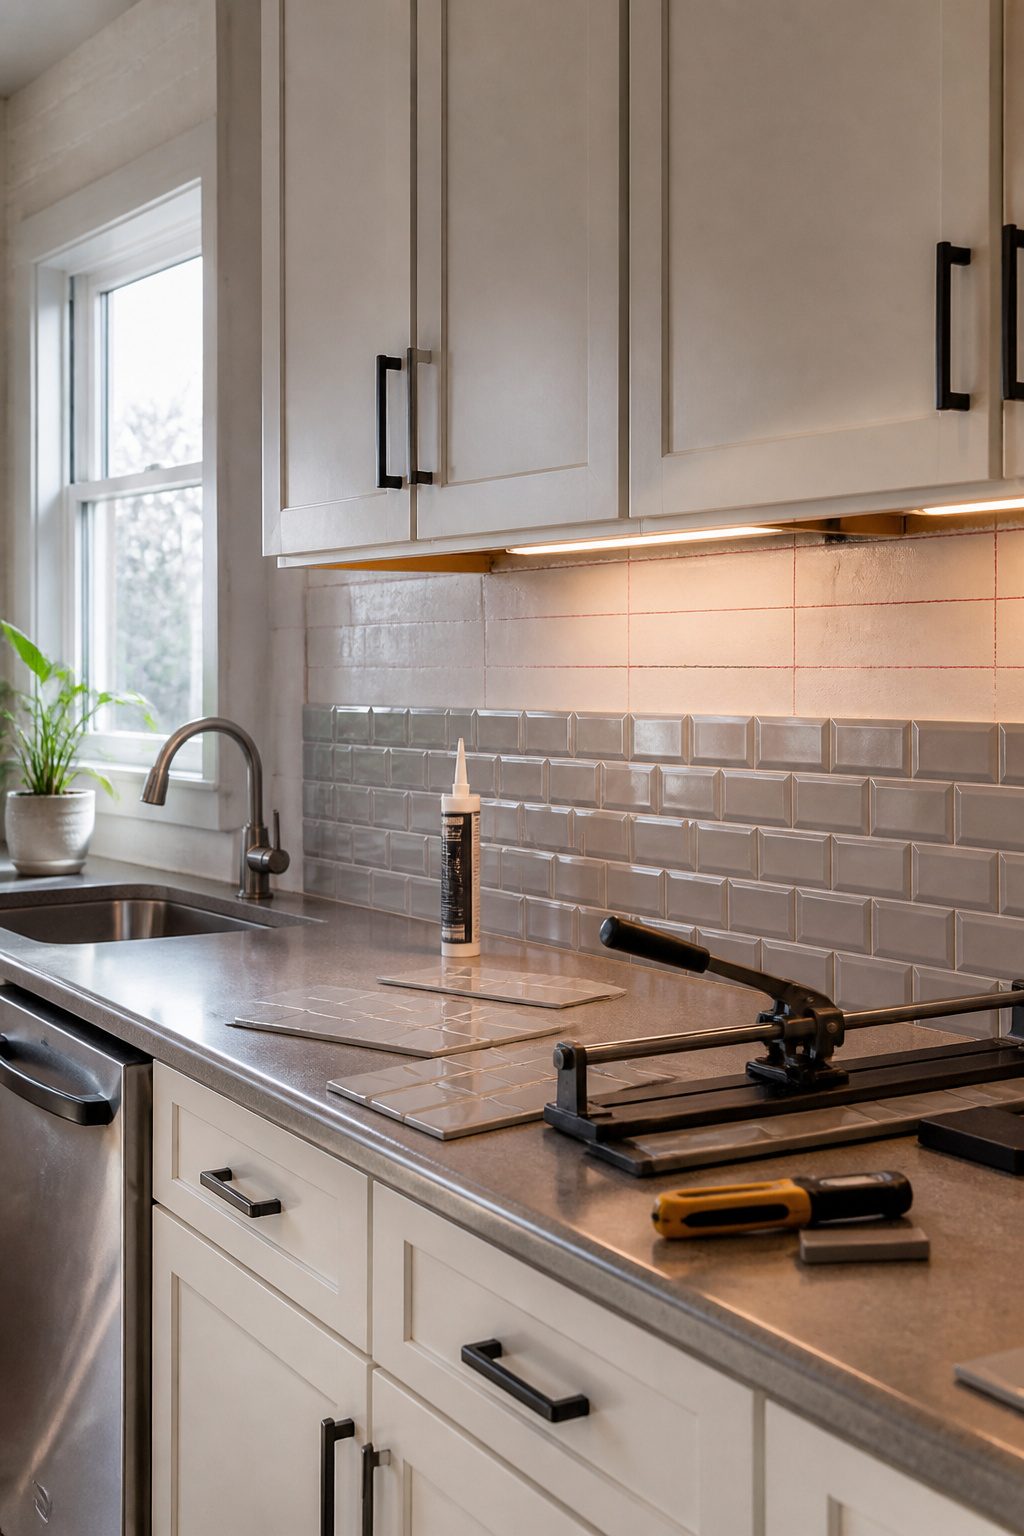
Peel-and-stick tile is the only backsplash project that fits a real weekend, and even then the Saturday morning prep work eats more hours than the videos suggest. The wall needs degreasing, light sanding, and a level reference line before the first sheet touches it. I spent about $180 on a 10-foot run of decent vinyl peel-and-stick, plus a $25 tile cutter and a $9 tube of caulk. Thin-set ceramic would have pushed the material cost closer to $340 and added a full day for curing before grouting, which is not a weekend in winter when your kitchen window is already cracked for ventilation.
Order 15% extra tile, not 10%, and keep the unopened boxes until you are done. I learned this the hard way: the second batch I needed to finish the corner behind the stove came from a different dye lot, and the warm gray read as lavender against the first batch. The store took it back, but the replacement took ten days and the half-finished wall collected dust and grease the whole time. Now I buy the overage, store it in the closet, and return what I do not use once the job is actually finished.
3. Indoor Painting
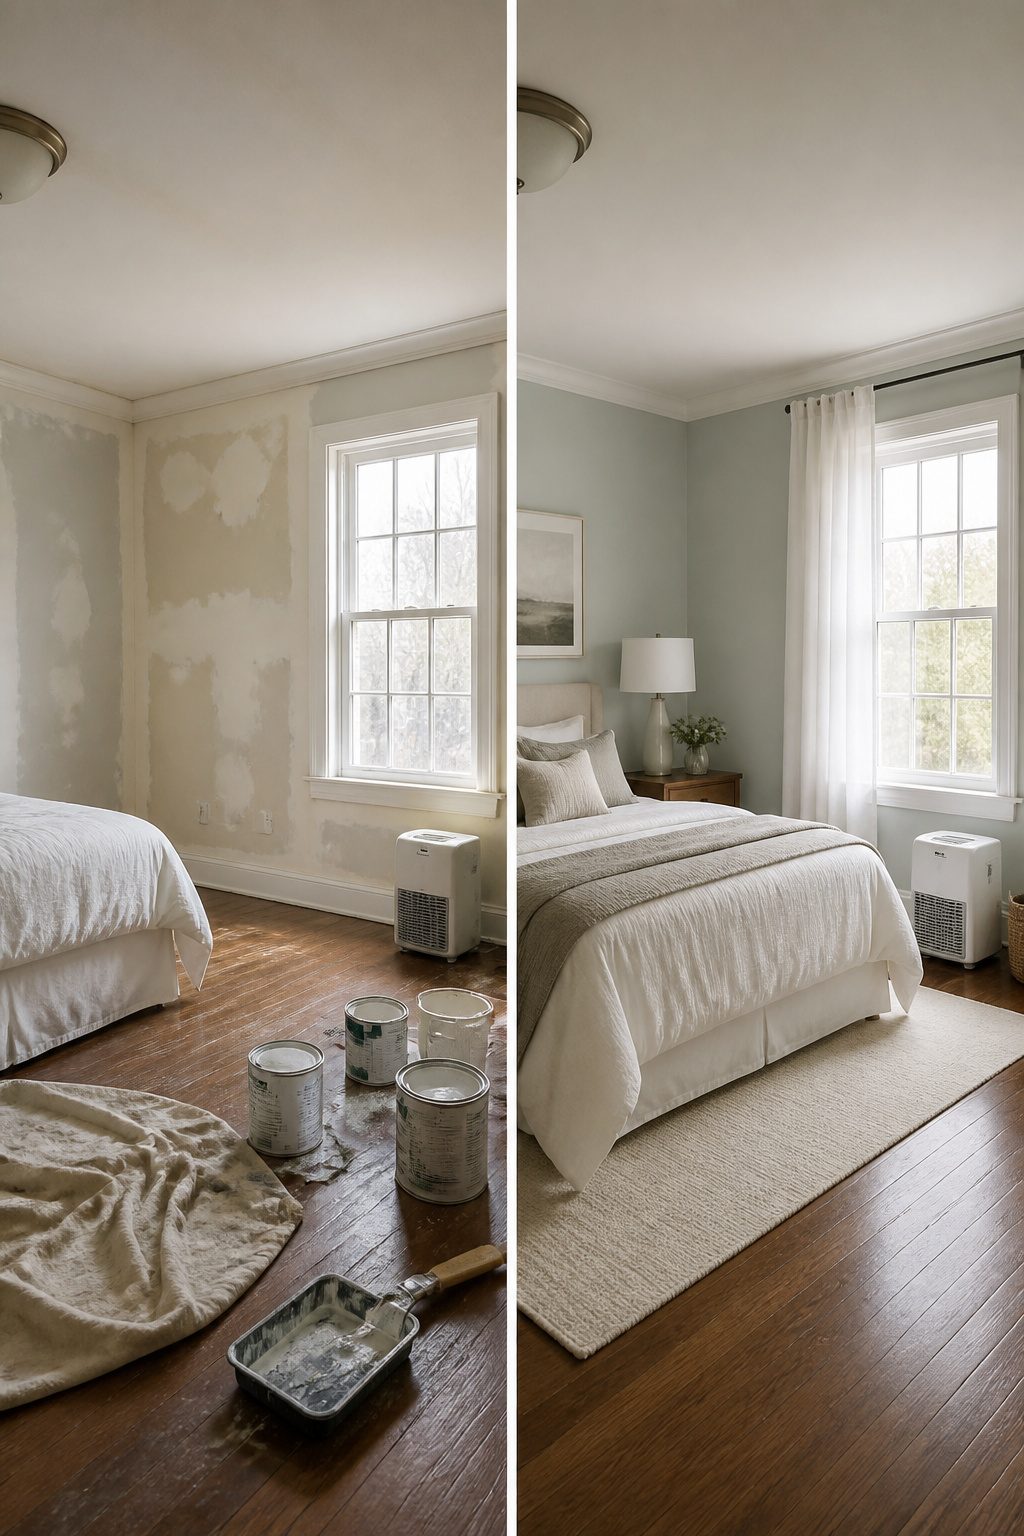
Dry winter air speeds up paint drying time, which is why January became my default month for interior walls. Two years ago I repainted the bedroom in a weekend for roughly $500 in paint and supplies, though a full house refresh can push toward $2,000 if you are covering dark colors or doing trim work too.
The mistake I made was skipping the humidity check. The room felt dry enough, but condensation collected on the windows overnight and the paint near the sills stayed tacky for days. Low-VOC formulas cut the fumes, yet they still need airflow: I cracked the window and ran a box fan, but the real fix came after the job. Now I run a dehumidifier for twenty-four hours before I open a can of paint in winter. The surface dries evenly, and the finish holds up without the soft spots that trapped moisture left behind.
4. Insulate Your Attic
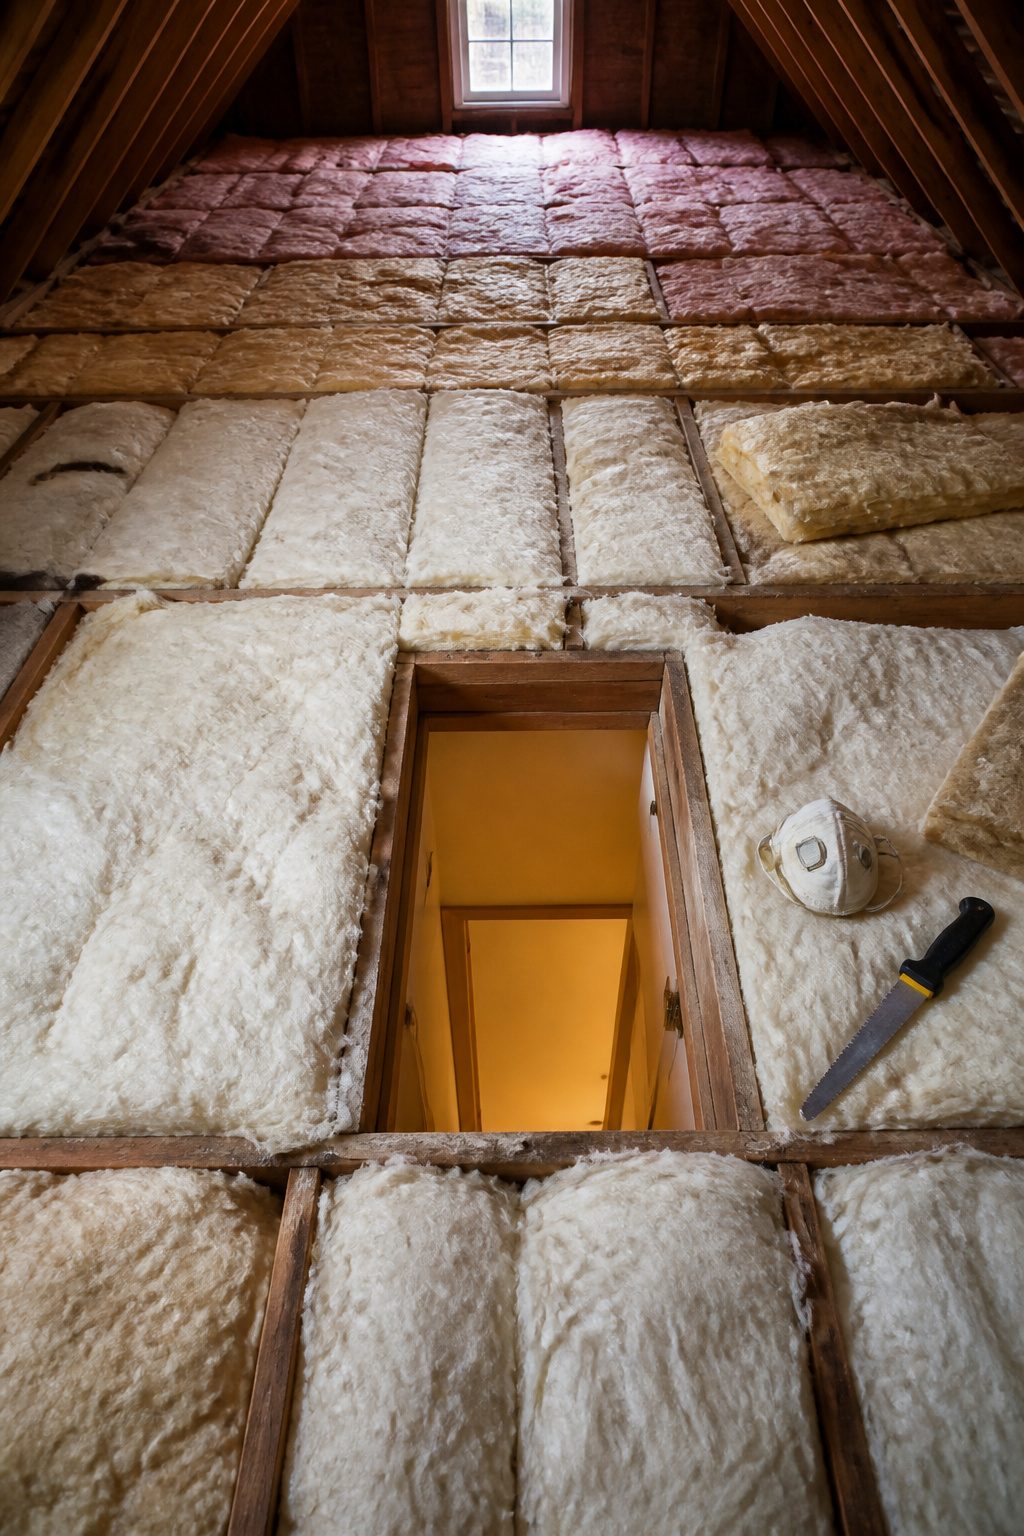
Attic insulation is one of those winter DIY home projects that sounds bigger than it plays out. R-value measures how well insulation blocks heat flow; the higher the number, the less heat escapes through your ceiling. Most sources suggest an attic needs between R-38 and R-60, though what you actually find up there rarely matches the chart. In my case, the existing batt insulation had compressed to maybe half its original thickness and left gaps wide enough at the eaves to feel a draft on a windy January day.
The choice comes down to blown-in versus batt. Blown-in fills corners and covers the joists completely, but it requires a machine rental and a respirator mask I definitely should have worn the first time I disturbed old fiberglass. Batt is slower to install and leaves more seams, yet you can carry it home in a sedan and cut pieces to fit around your hatch and vents. I added batts perpendicular to the old layer, which took a Saturday and about $280 in materials. The second floor stopped running three degrees cooler than downstairs by the following week, and the furnace cycled less often in the evenings.
5. Seal Cracks Around the House
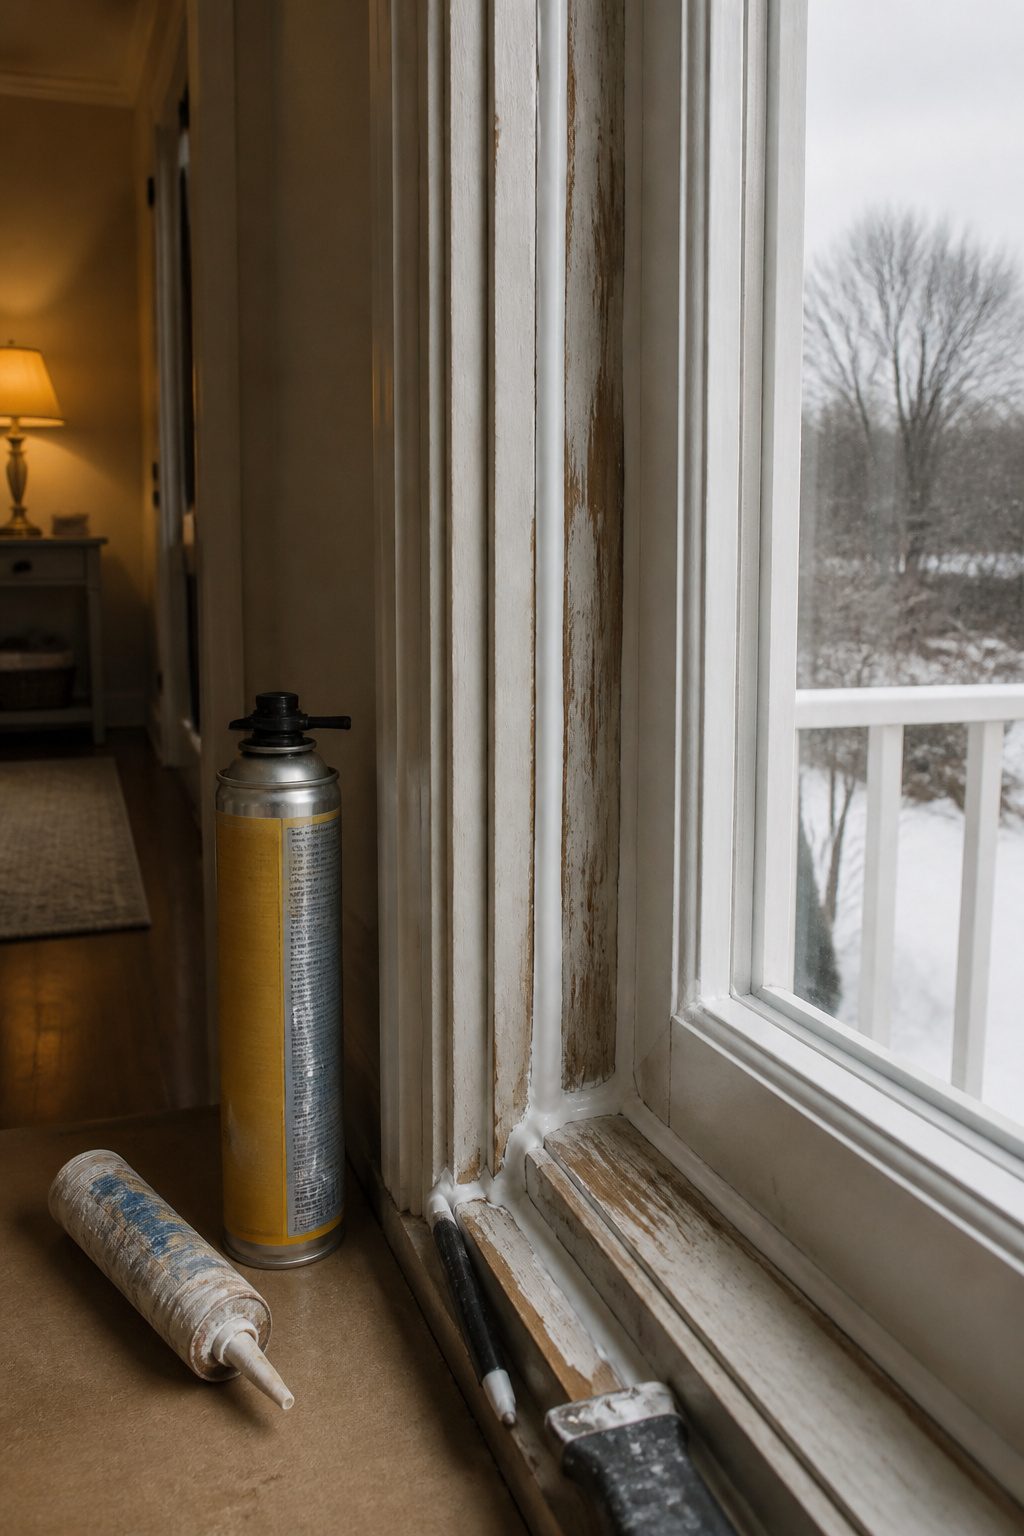
Cold air finds the gaps you stop noticing. Two winters ago I finally bought a smoke pencil and walked the house slowly, watching the thin trail bend and disappear wherever the pressure dropped. The windows and doors were obvious enough, caulk pulling back from the frames in that predictable pattern. Vents and pipe openings took longer, crouched in corners behind appliances. The real find was behind the dryer, a crack wide enough to slide a pencil into that I had missed for two years because the machine sat flush against the wall and I never moved it. The basement foundation had its own set, mostly where the concrete met the sill.
I used silicone caulk around the windows and doors, the kind rated for exterior movement, and expanding foam for the larger gaps around pipes and that foundation seam. The foam cures hard and can be trimmed flush once it sets; caulk stays flexible and can be tooled with a wet finger in one pass. Plastic window kits add another layer on the glass itself, though on my south-facing windows the tape left residue that took mineral spirits to remove in spring.
Energy Star estimates that air-sealing and insulating together save about 15% on heating and cooling costs. Caulk runs a few dollars a tube, foam cans maybe eight to twelve. The work takes a weekend afternoon if you move methodically, longer if you keep finding new cracks behind furniture you have not shifted in years.
6. Update Light Fixtures

Swapping a light fixture in January makes immediate sense: the sun sets earlier, and the lamp that felt adequate in July suddenly leaves corners in shadow. I started with the dining room pendant last winter, and the first step was the one I almost skipped. Flip the breaker, not just the wall switch. I learned that the hard way when I touched live wire to bracket and saw the spark that could have been worse.
The new fixture I bought had a mounting bracket that sat wider than the old junction box. The box was original to the house, too small for modern hardware, and the bracket overhung on both sides. I spent an hour trying to force it before driving back for a replacement. Now I hold the bracket up to the box in the store aisle before I buy. It saves the second trip.
Dimmer compatibility matters more in winter, when you actually want that middle setting at 4:30 p.m. The swap itself takes about two hours if the box cooperates. Measure your canopy diameter against the ceiling footprint the old fixture leaves, or you will be patching drywall instead of eating dinner.
7. Change Smoke Detector Batteries

December is the peak month for house fires, which makes the first cold Sunday morning an easy time to remember this job. A few years back, the chirping started at 6:30 AM in the hallway outside the bedroom. The battery was low, but the real problem came after I pulled the unit down and checked the back: it had expired three years earlier. Two more in the house were past the 5–7 year replacement window as well.
Smoke and carbon monoxide detectors should be tested monthly and replaced every 5 to 7 years. The National Fire Protection Association found that 71% of smoke alarms that failed had disconnected, missing, or dead batteries. Winter is when you want them working, not when you’re finding out they aren’t. I now swap batteries on the same weekend I turn the clocks, and I write the install date on the back of every new unit with a Sharpie so I don’t have to hunt for the stamped code later.
8. Revamp Laundry Room
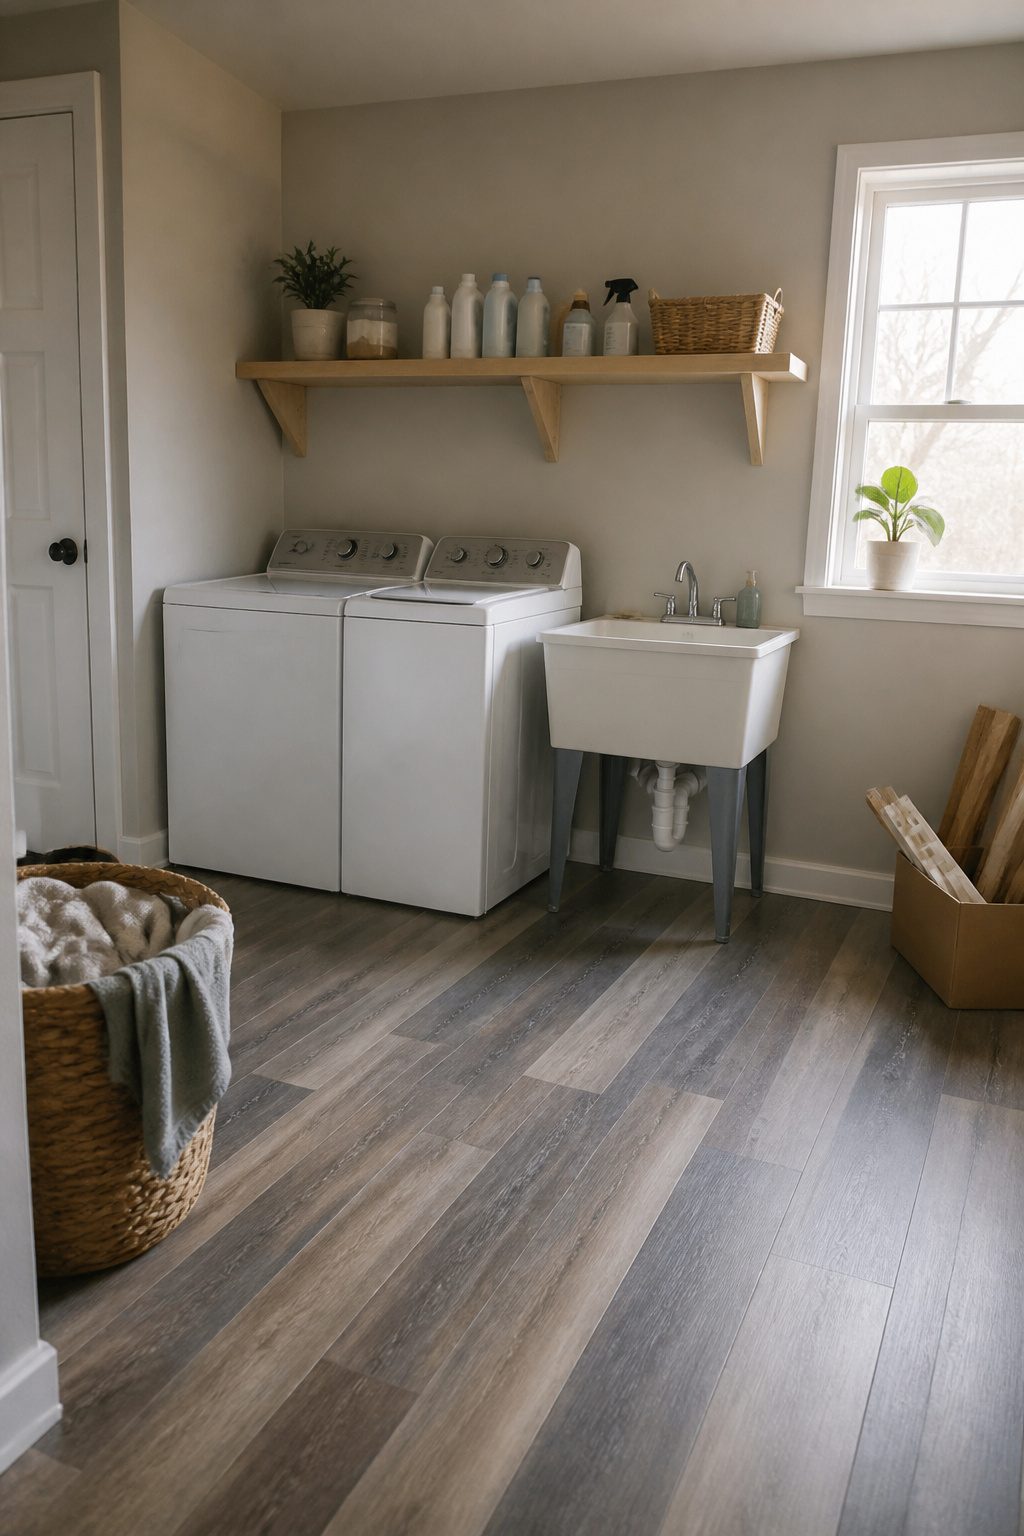
Wet coats in January were what finally broke the laundry room shelf. The particle board had been sagging for months, but three soaked wool jackets and a dripping dog bed did the rest, sending brackets, boots, and a half-full detergent bottle into the utility sink below. The drain was already slow, so that collision turned the basin into a standing pool I spent an hour snaking with a $25 drum auger before I could even assess the damage.
I replaced the shelf with a 16-inch pine plank from the home center, sanded it smooth, and finished it with deck sealer so water beads instead of soaking in. The brackets went into studs this time, not drywall anchors. For the floor, I laid peel-and-stick vinyl planks directly over the old cracked tile after a weekend of leveling compound work. The utility sink stayed, but I swapped the corroded P-trap for PVC and added a hose bib so I can fill buckets without hoisting them.
The whole redo ran about $340. The shelf alone would have cost less if I’d done it right the first time.
9. Install Crown Molding
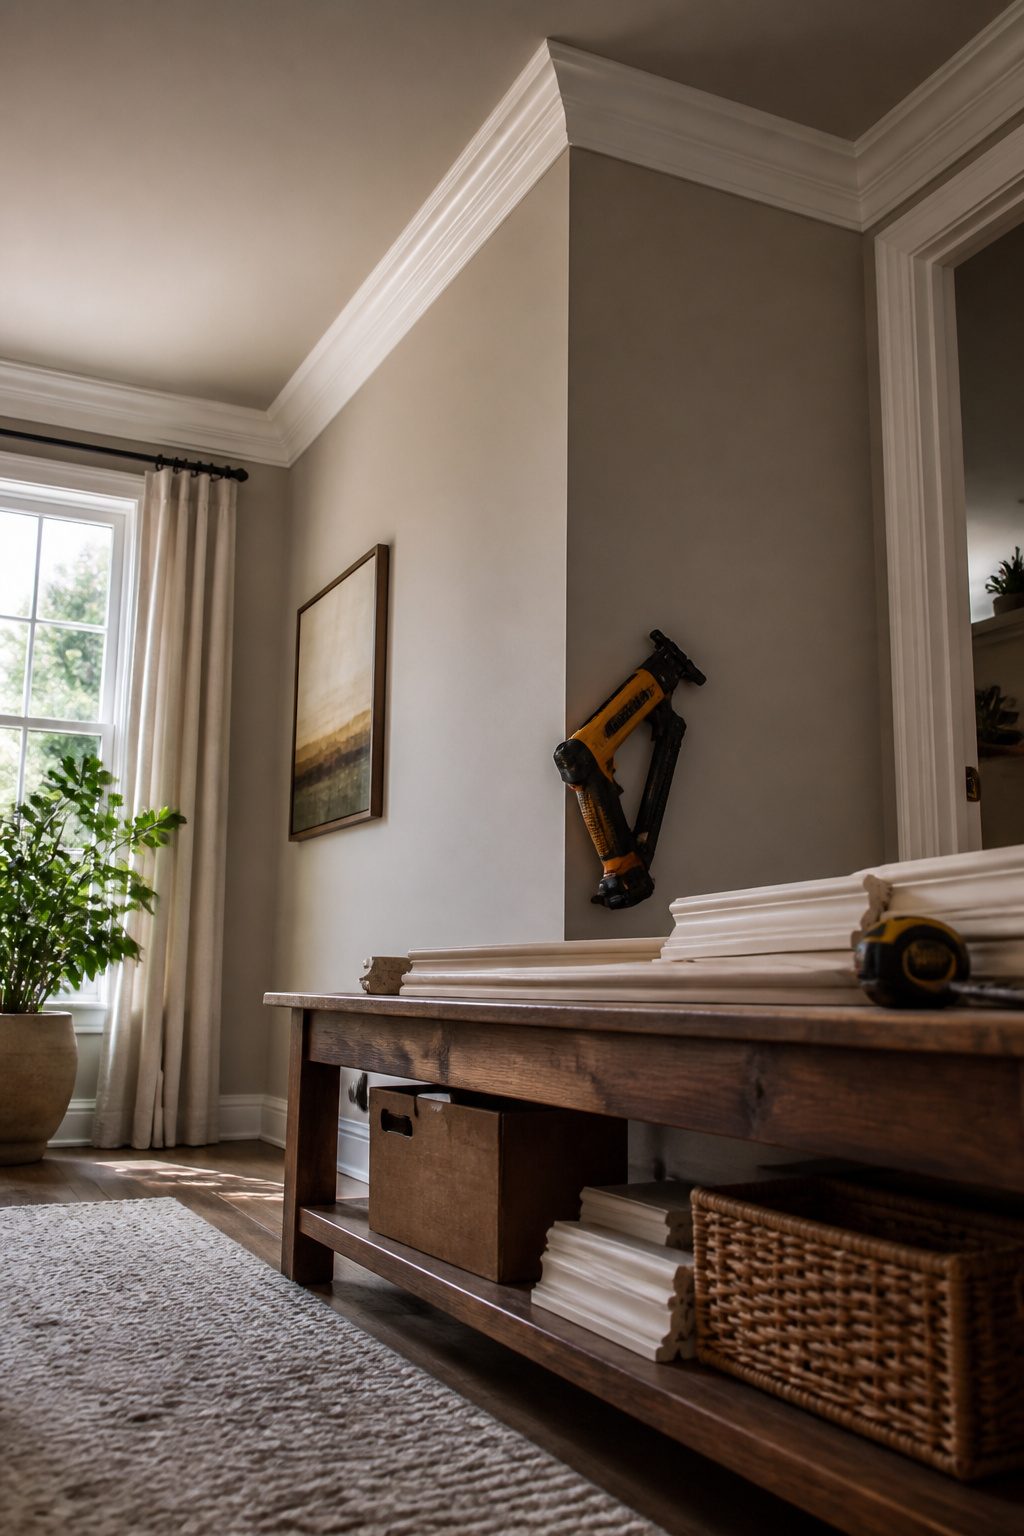
Crown molding sits in that odd middle ground between a weekend project and a real commitment. The tutorials call it four hours, and maybe it is if you have done it before, know your walls are square, and do not stop to second-guess every corner. My first room took two Saturdays, and the second Saturday only happened because I had started in the back bedroom where the mistakes would live behind a door I usually keep closed.
The corner joints are where time disappears. You can miter both pieces at 45 degrees and hope the wall corner is actually 90, or you can cope one piece so it fits over the face of the other. Coping looks harder on paper but forgives more in practice. I tried mitering first. The gaps told me which wall was not square, and by then I had already cut the piece too short. Coping took longer per joint but needed no redo.
A nail gun changes the pace completely. I rented one from Home Depot for about the cost of a mid-range dinner, and the speed of fastening let me focus on holding the molding in place rather than working a hammer at arm’s length above my head. Without it I would have needed a third Saturday, or simply quit. Rent the nail gun. The time it buys back is not theoretical; it is the difference between finishing and abandoning the project in a half-caulked corner.
10. Upgrade Kitchen Countertops
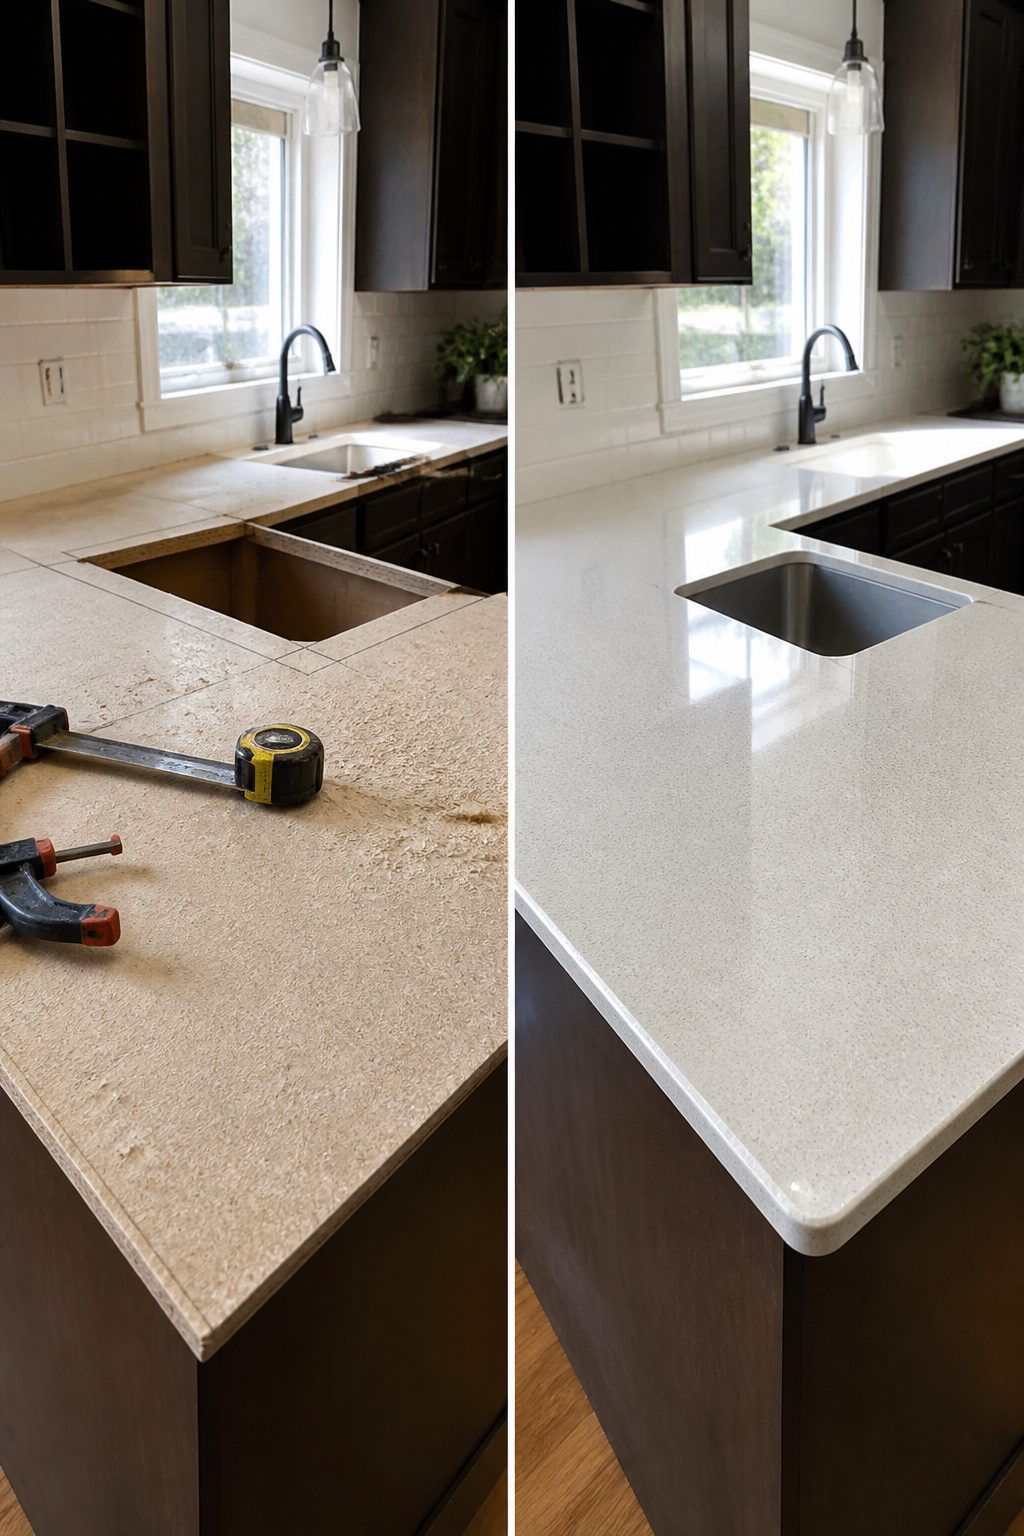
Kitchen countertops take a beating during holiday cooking, and January is when I notice every scorch mark and knife scar left behind. Swapping them out keeps you inside where it’s warm, and contractors have more open slots this time of year if you want help with the sink cutout.
I measured that cutout twice after watching a tutorial where the guy bragged about nailing it on the first try. He probably did. I did not. The template from the sink manufacturer said one thing, the actual rim said another, and a half-inch gap would have cost me a second slab of laminate. Measure the sink itself, not just the paper template, and leave the pencil line shy so you can shave to fit.
Laminate runs about $15–$25 per square foot for the material, butcher block closer to $30–$50, solid surface $40–$60. I went with laminate for a rental kitchen because the next tenant will not care about my taste in stone. Winter humidity mattered more than I expected: the adhesive for the contact cement needs air below 50% relative humidity or it stays tacky too long and shifts while you’re positioning. My basement shop hit 65% in December, so I ran a dehumidifier for two days before the pour. The seam landed where I wanted it, not where gravity decided.
11. Create a Reading Nook
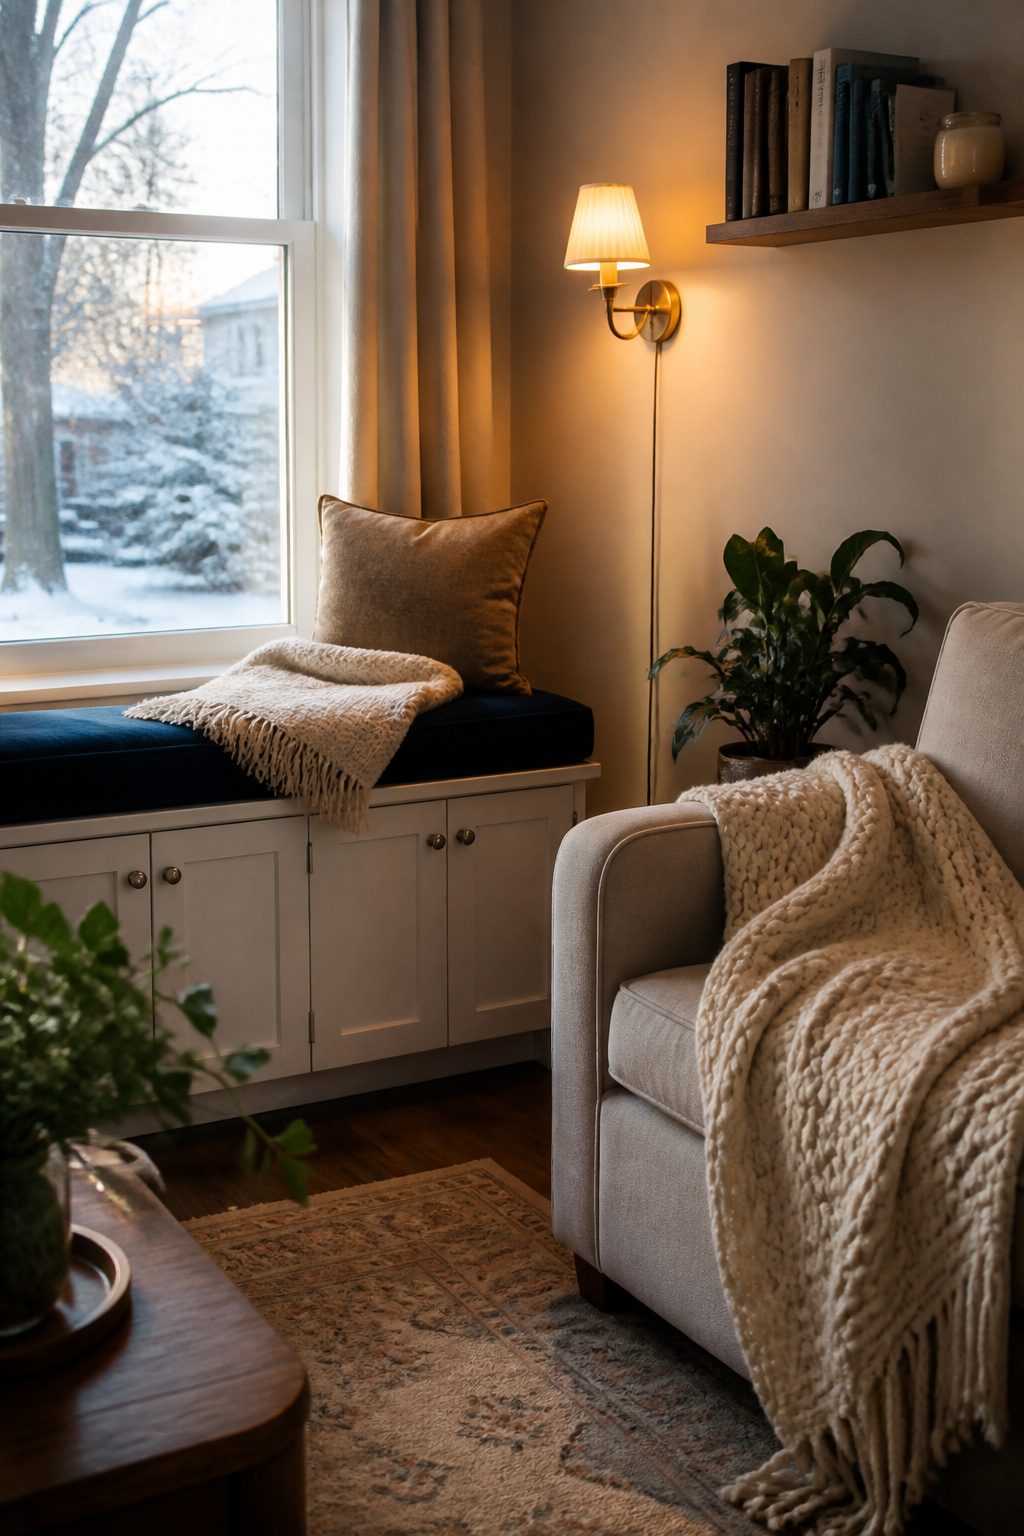
A reading nook only needs three things: somewhere to sit, light you can actually read by, and a place to set down your tea. The rest is padding.
I built mine from a stock cabinet I found on clearance, turned it on its side, and added a 2-inch pine top that hangs over the front like a bench. The wood ran me about $35. The cushion, which I had cut at an upholstery shop in a deep navy velvet, cost $78. That still annoys me. The cabinet itself was cheaper than the thing sitting on it.
The wall behind the seat holds one floating shelf, deep enough for a stack of books and a mug. I skipped brackets and used a French cleat instead; it sits flush and takes ten minutes to level.
The light matters more than the chair. By 4:30 in December, the sun drops behind the neighbor’s roofline and the window becomes useless. I added a plug-in sconce with a warm bulb, positioned high enough that the page stays lit but the bulb itself sits outside my line of sight. The difference between reading at 4:30 and giving up by 5:00 is about $22 in hardware.
The whole corner took one Saturday and part of a Sunday. The cushion took three weeks to arrive.
12. Start an Indoor Herb Garden

South-facing windowsill light is the difference between herbs that survive January and herbs that turn to compost. I learned this the hard way when my first basil, planted in a glazed pot with no drainage, sat in a saucer of water and rotted from the roots up within ten days. Thyme in the same window, same schedule, same forgetfulness about watering, lived through the whole winter because its woody roots tolerate drying out between drinks.
A windowsill that faces south and catches four hours of direct sun will keep rosemary, thyme, and parsley alive without extra hardware. My kitchen window faces east, so I added a basic LED grow light on a timer, running fourteen hours a day. The monthly cost came to about four dollars on my electric bill, less than a single supermarket basil clamshell.
The light sits six inches above the pots on a wire shelf I already owned. Basil, started again in a terracotta pot with a drainage hole, grew slower than it would in July but produced enough leaves for weekly cooking by March. The real expense is not electricity; it is resisting the urge to overwater when nothing outside is growing.
13. Personalized Wall Art and Decor

Wall projects eat up a January afternoon without breaking the bank, but the cheap shortcuts have a way of failing invisibly. I learned that with Command strips above the radiator, where the heat cycles softened the adhesive enough that my mounted map slid sideways over three weeks. The damage was small, a scuff where the corner caught the chair rail, but it was damage I caused by choosing the wrong hardware for the conditions.
For anything with real weight, a French cleat has become my default. Two interlocking beveled boards, one screwed to the wall and one to the piece, lock together and distribute the load across studs instead of drywall. I built one from a pine 1×4 ripped on a table saw at 30 degrees, and it holds a 24×36 framed print with no visible bracket.
The map I tore was a different lesson. Stretching paper over a canvas frame requires patience I did not bring that day; the tension needed to keep it flat pulled a corner past its limit. Now I wet the paper first, let it relax, then stretch and staple in stages around the perimeter rather than finishing one side at a time.
14. Furniture Facelift
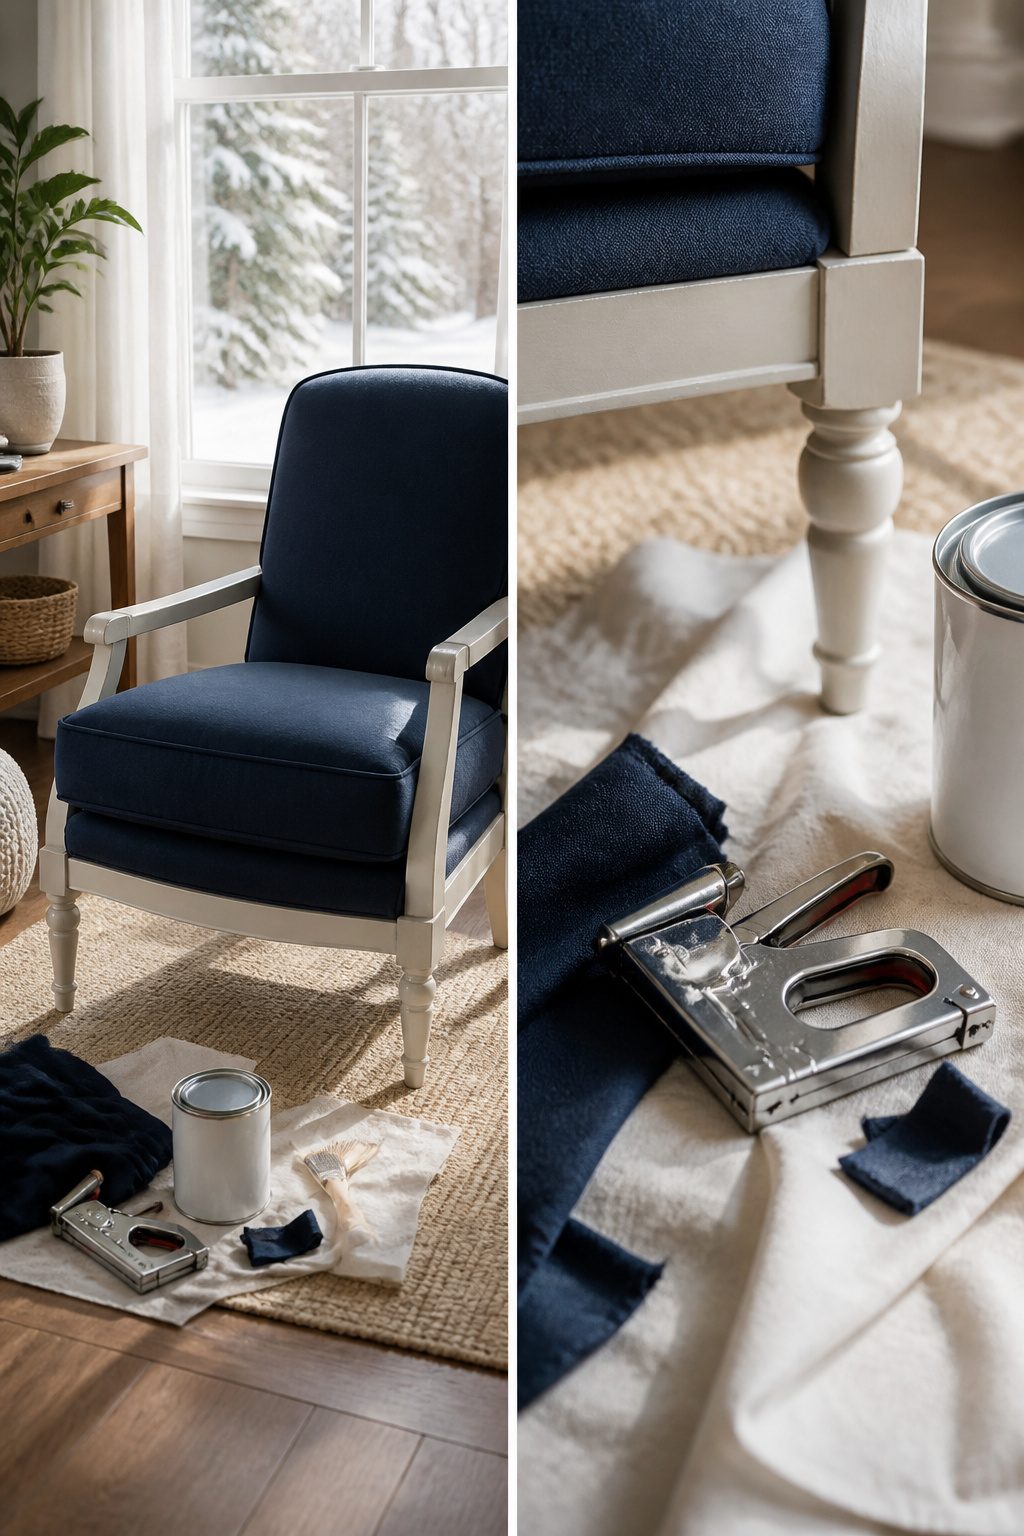
A chair in the corner of my living room had springs poking through the seat cushion, so last January I dragged it into the kitchen to see what I was dealing with. The fabric I ordered online looked charcoal gray on my monitor, but under the ceiling light it read almost black, too heavy for the room. I worked with it anyway. The staple gun jammed twice, and each time I had to stop, pry the bent staple out with pliers, and realign the fabric before the tension pulled it crooked. Low-VOC paint matters more in winter because you are keeping windows cracked in a room you still have to sleep in. Dry winter air does help paint cure faster than humidity ever will, so the chair frame, which I sanded and painted while the new fabric settled, was ready to reassemble in about two days. The seat still sits a little left of true, but the springs stay buried now, and the lamp next to it is bright enough that the dark fabric reads as navy instead of void.
15. Make Homemade Fire Starters

Lint from the dryer screen, cardboard egg cartons, and leftover candle wax turn into fire starters that actually work once you stop treating the wax like glue. My first batch smoked because I filled every cup to the brim, thinking more wax meant longer burn. What I got was a sputtering, acrid mess that left residue on the grate. The second round, I used just enough melted wax to soak the lint without pooling at the bottom, maybe a tablespoon per cup if I had to guess. One standard carton cuts into twelve starters, enough for a couple weeks of evening fires if you burn most nights. Tear the cups apart once the wax sets cold, stack them in a tin by the hearth, and they light with a single match. The wax type matters less than the amount; paraffin, old birthday candles, even the dregs from a scented jar all burn fine as long as you keep the ratio stingy.
What Winter Renovation Actually Means

The dry air that pulls moisture from your skin in January does the same thing to a fresh coat of paint, which is why winter can actually beat summer for interior work. Keep a window cracked even with low- or no-VOC paint, since fumes still build up enough to cause headaches without ventilation. I learned that the hard way after painting a bathroom with the sash shut and wondering why I felt foggy for two days.
Curing times need watching too. Cold exterior walls slow down water-based finishes, so a piece of trim against an outside-facing wall may stay tacky longer than the can promises. I move those projects to interior walls or wait for a mild stretch.
The garage workbench I planned to use in November got dragged into the basement instead once the concrete floor dropped below fifty degrees. Wood glue and stain behave differently in the cold, and my fingers stop cooperating long before the materials do. Basement projects, kitchen tweaks, and anything that fits on a folding table near a vent keep moving through February while the porch waits for March.
Energy Efficiency Checks
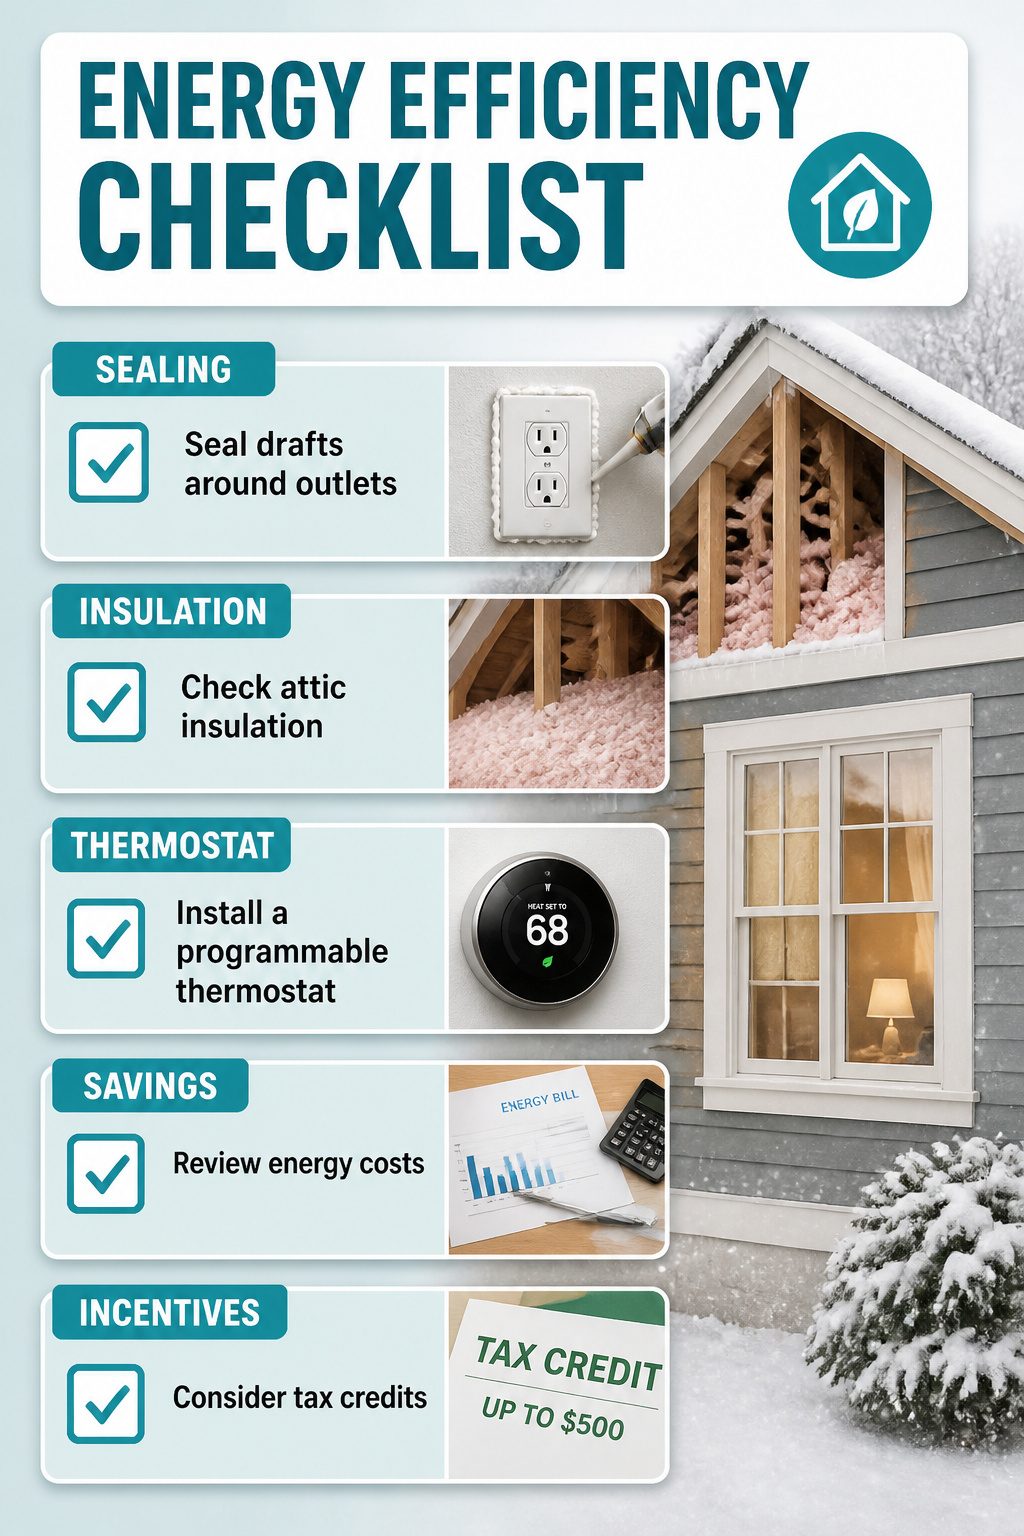
Drafts around outlets and window frames are easy to ignore until the heating bill arrives. Sealing those gaps with insulating spray foam or caulk is the first move, and it pairs naturally with checking what is already in your attic. Insulation degrades over time, especially in older builds, and adding more there can qualify for up to $500 in tax credits.
The third piece is the thermostat. I installed a programmable model last winter, the kind controlled from a phone app, and it is the one upgrade that keeps showing up on lists of what prospective homebuyers actually want. Used together, sealing, insulation, and scheduled temperature drops can cut energy costs by about 15%. That is real money on a real budget, and most of it happens in a single weekend.
Safety and Comfort Systems

December is the peak month for house fires, which makes the first weekend of winter a good time to pull every smoke and carbon monoxide detector and check the date stamped on the back. Units need monthly testing and replacement every 5 to 7 years. If yours are nearing expiration, a combination detector saves wall space and cuts down on the number of batteries to track.
While you have the step ladder out, swap the HVAC filter. A clogged filter in January forces the system to work harder and pushes dust around the house. A maintenance call runs about $99 on average, but the filter itself is a five-minute job that keeps air moving properly until you schedule the full inspection.
The short days will stay short until March, so lighting matters more now than in any other season. Dimmer switches are the upgrade that pays off here. They let a single fixture move from task brightness to something softer for evenings, and the hardware costs less than most people guess.
Frequently Asked Questions
Can you do home renovations in the winter?
Yes, many renovations can be done indoors during winter without worrying about cold weather. The article focuses on interior projects like painting, adding backsplashes, and updating light fixtures that keep you warm inside while still improving your home. Contractors also tend to have more open availability during slower winter months.
What are some easy DIY projects for winter?
Indoor painting, updating light fixtures, and adding a kitchen backsplash are all manageable winter DIY home projects. The article also covers installing door sweeps and weatherstripping, changing smoke detector batteries, creating a reading nook, and starting an indoor herb garden. Most of these fit into a weekend and need minimal outdoor exposure.
How can I make my home more energy efficient in winter?
Sealing cracks with caulk and expanding foam, adding attic insulation, and using a programmable thermostat are the main moves the article recommends. Together these steps can cut heating and cooling costs by about 15 percent. The article also notes that attic insulation upgrades can qualify for up to $500 in tax credits.