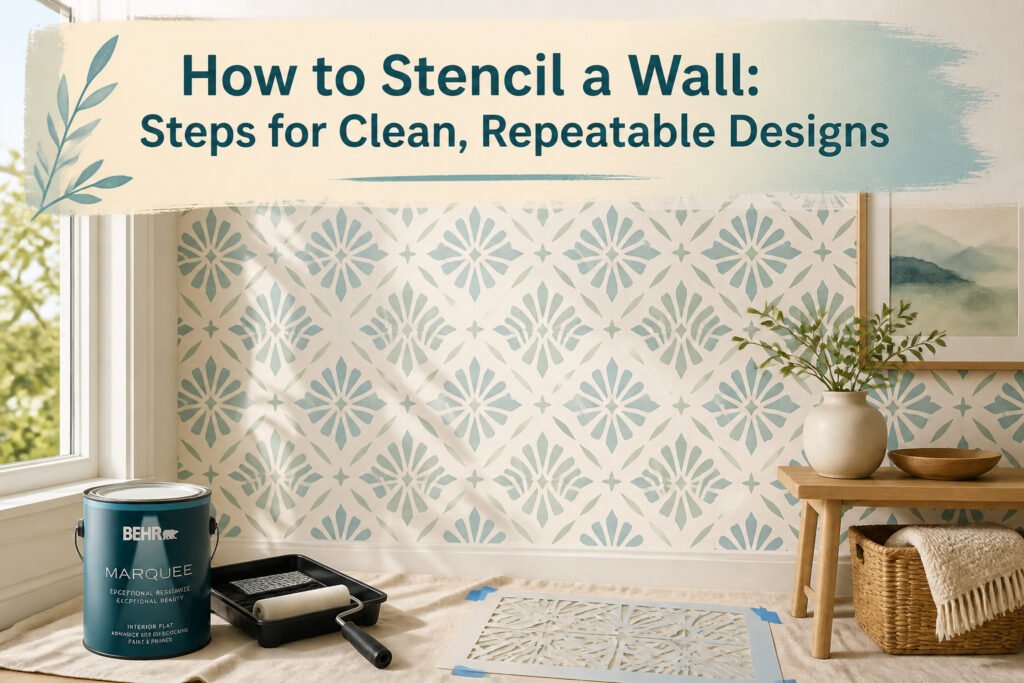
A wall stencil that reads as intentional, not accidental, takes about a weekend and under a hundred dollars in supplies, but only if the first row stays level. Most people get the paint wrong, not the pattern: too much on the roller, applied once, and the edges bleed like watercolor. The fix is a foam roller offloaded until it sounds almost dry, then two or three sheer passes instead of one heavy coat. Mylar stencils and Behr Marquee flat latex are what hold up through the repetition.
1. Gather Supplies
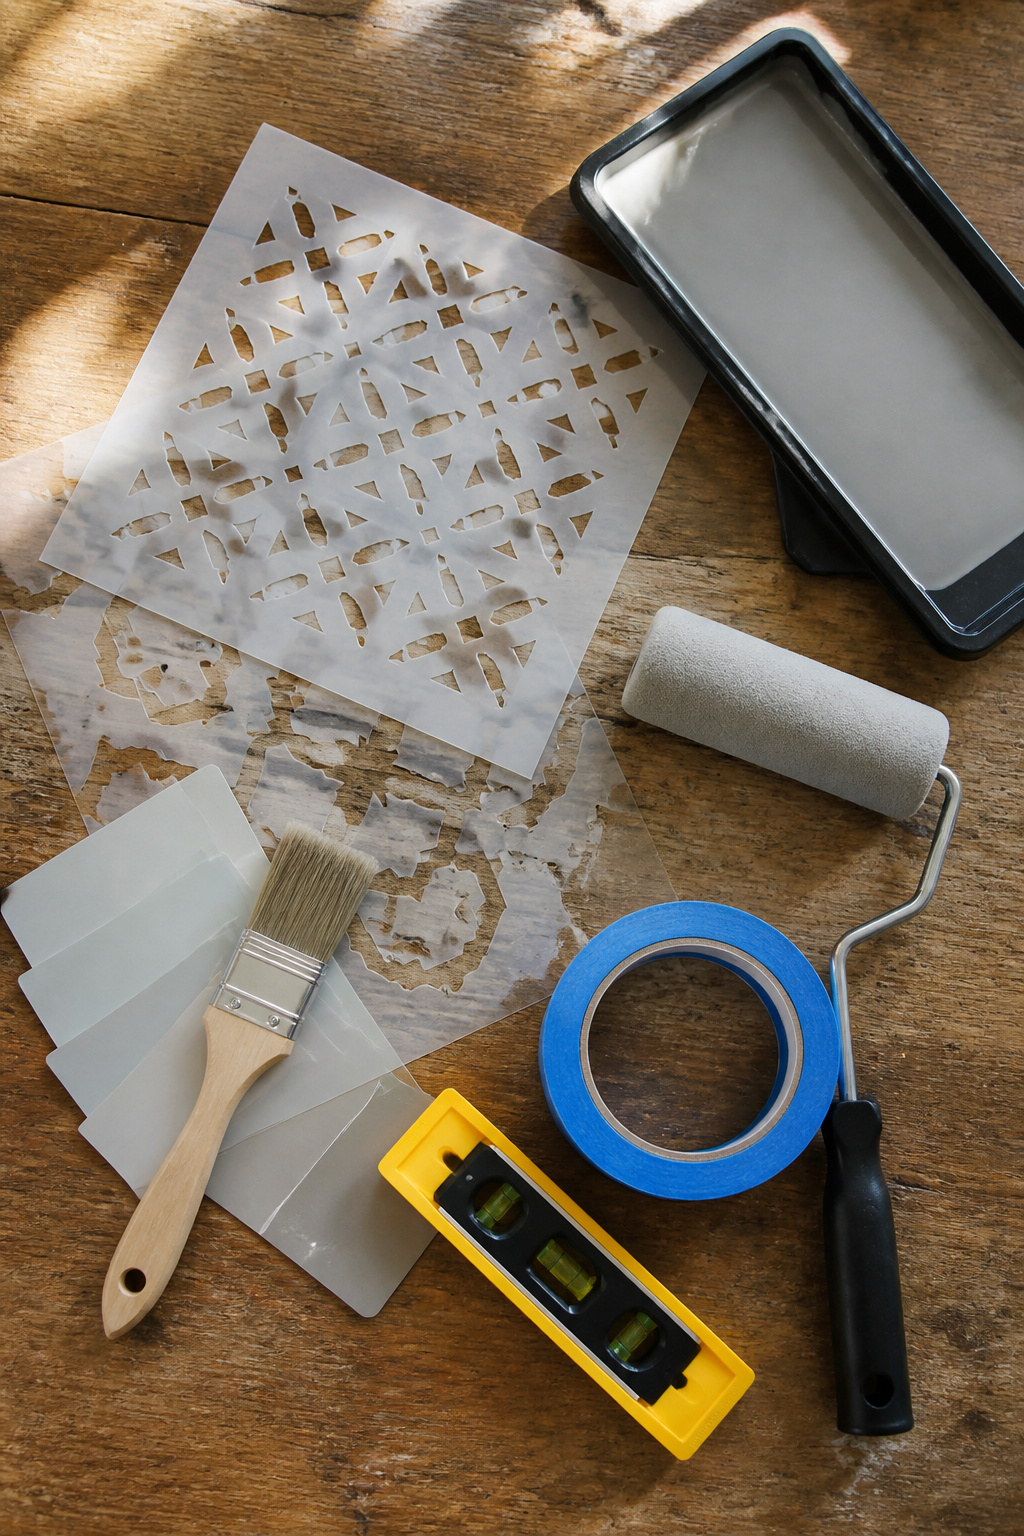
Mylar stencils hold up through enough repeats to finish a wall without tearing, which is why most reusable sets use it. The paint matters more than I expected at first: flat or eggshell latex gives the cleanest edge and the least seepage under the cutouts. I have had fine results with Behr Marquee, and Sherwin Williams colors color-matched into the same line work if you are trying to hit a specific swatch. A 4-inch to 6-inch foam roller, not a brush, is what keeps the coat thin enough to avoid bleeding. Corners and ceiling lines still need a 1-inch angled brush; Purdy is the one most people reach for, though a traditional stenciling brush is worth testing if the pattern is intricate.
Painter’s tape and a small level are non-negotiable. The tape holds the stencil flush without shifting, and the level keeps the first row straight so the rest of the wall does not drift. Multi-layer stencils, the kind that build a design in two or three colors, include small plus-sign registration marks in the corners. Trace those lightly with an erasable pencil, cover them with tape while you paint that layer, then peel the tape to line up the next stencil exactly. Skip that step and the second color lands half an inch off, which you will not notice until the wall is half done.
2. Prepare the Wall
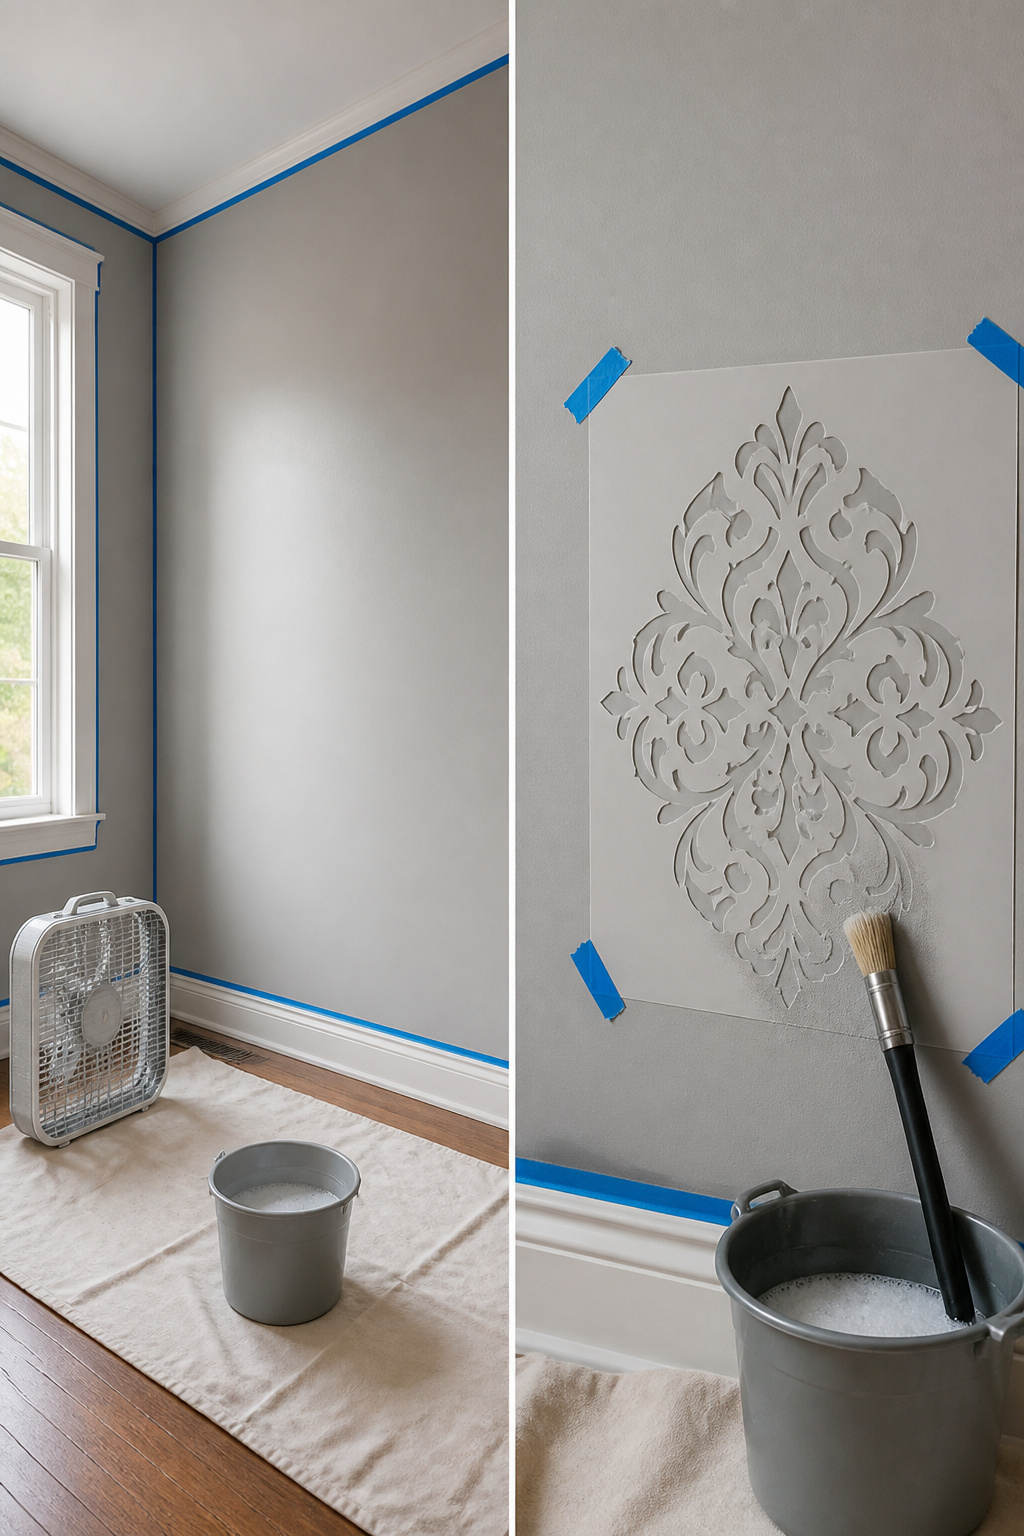
A wall that still holds cooking grease or dust from the last tenant will fight your stencil every inch. I wash mine with a degreasing dish soap and warm water, then let it dry while I tape off the trim. The base coat comes next, and this is where your stencil design starts making decisions for you. For a pattern where the "grout" lines stay visible, the wall color underneath has to carry the look, so I put down two coats of Behr Marquee in Edgecomb Grey on my 8-by-12-foot wall and used less than half a gallon. A single coat might survive if the stencil covers most of it, but the second coat buys you forgiveness when you slip.
Paint must be 100% dry before the stencil ever touches it. Wet paint will peel up with the plastic and ruin the edge you need. A hair dryer waved across the surface speeds this up between layers, or you can set a fan on the wall and wait. Thinner paint dries faster, but rushing the base coat is the mistake that shows through every repeat of the pattern.
3. Position the Stencil
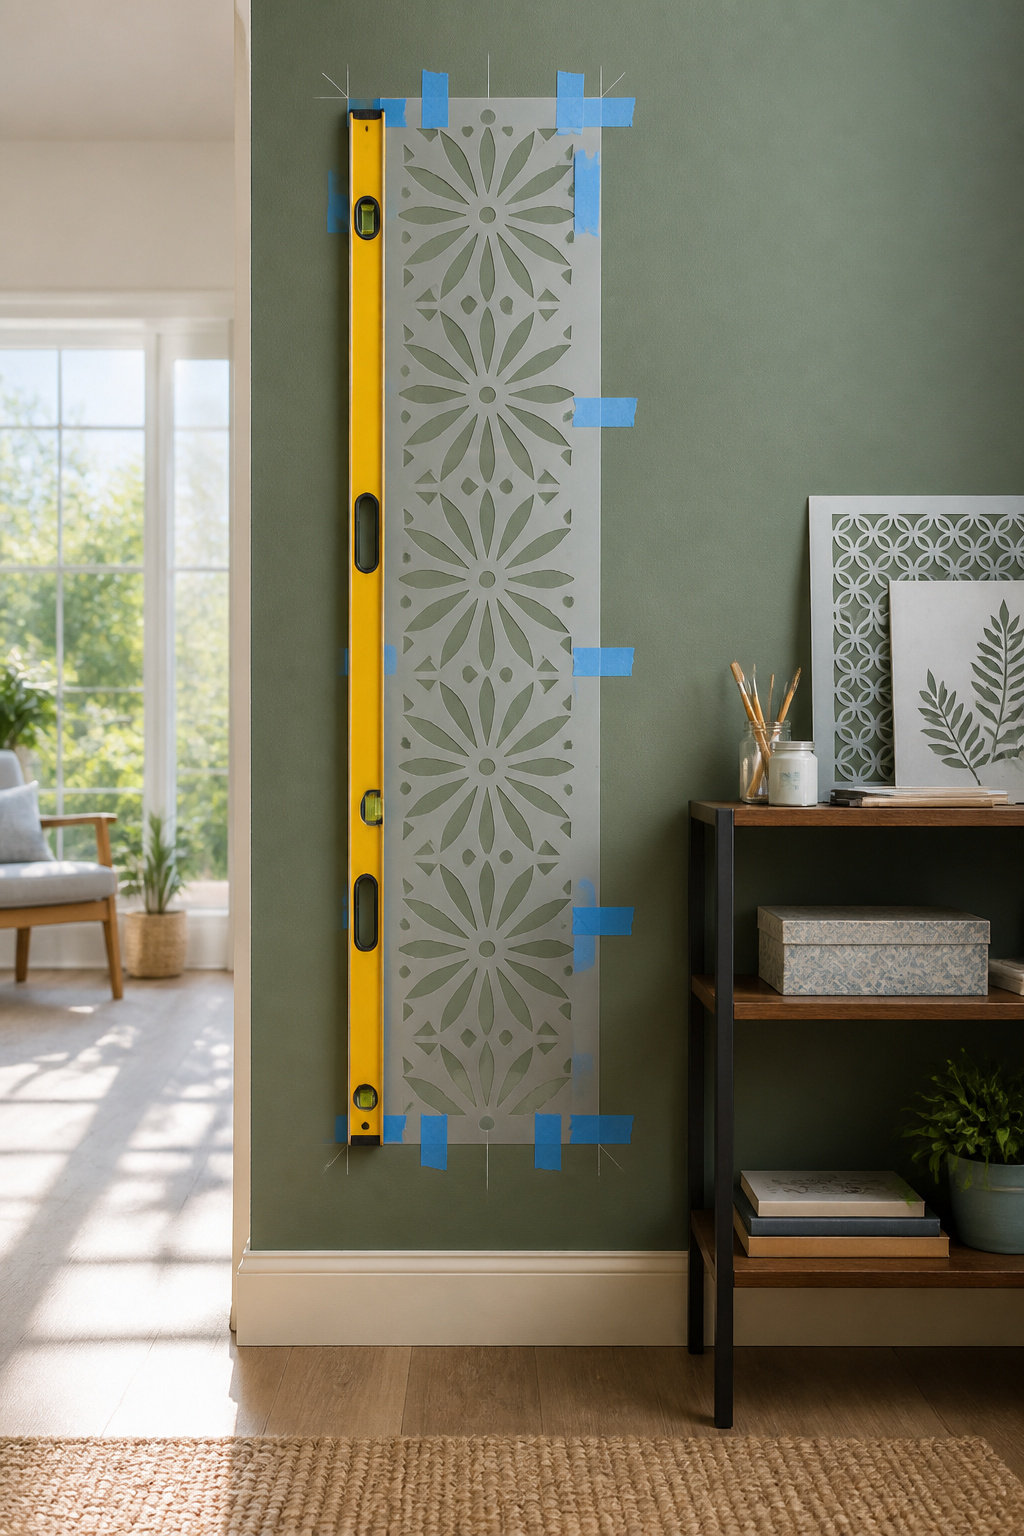
A level is the only way to keep a geometric pattern from drifting, and the trick is taping the stencil directly to the level first, then pressing both against the wall together. Once the bubble sits where it should, smooth the tape down at the edges, step back five to ten feet, and look again before any paint touches the surface. That distance catches the slant your hands missed up close.
Painter’s tape handles most of the wall fine. The catch comes at ceilings, mantels, or any inside corner where the stencil wants to lift. Some makers keep spray adhesive in their kit for exactly those spots, and it does hold tighter. The tradeoff is threefold: the adhesive has to be low-tac and repositionable, even light coats eventually gum up the stencil back, and you will be walking outside to spray every few placements. I would not make spray adhesive my main method, not after seeing how much it slows the rhythm of a project that is already repetitive. Tape for the flats, adhesive for the bends if you already own it, and skip the purchase if you do not.
4. Apply Paint
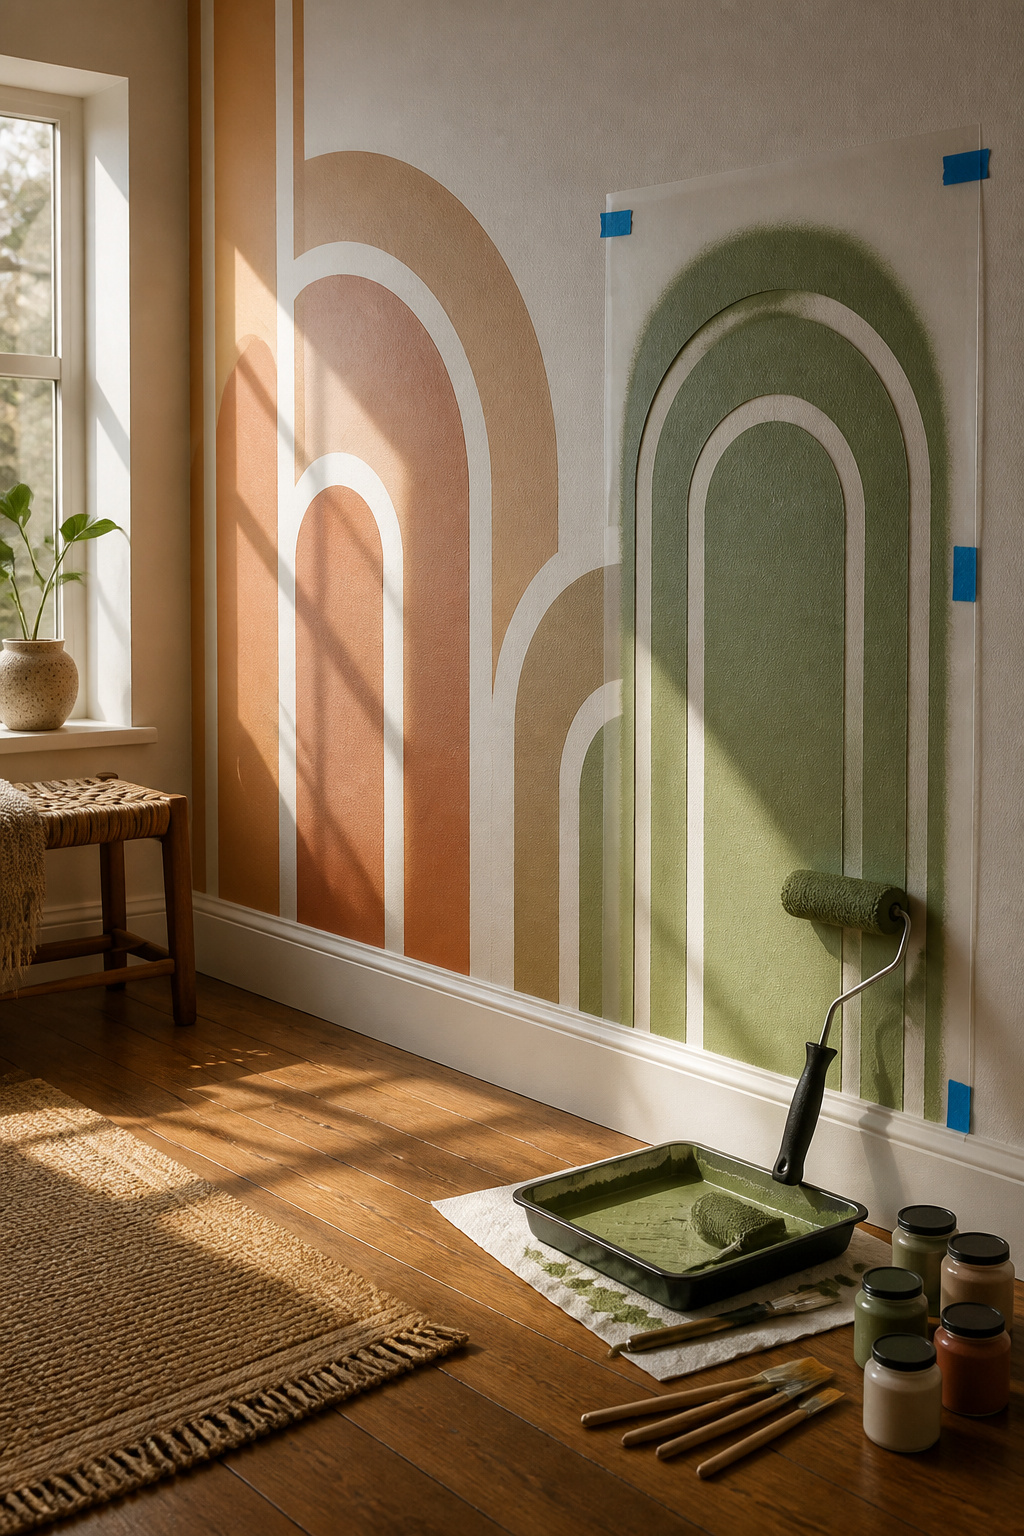
The roller or brush needs almost no paint on it. Load it, then roll or pounce the tool against a paper towel or the tray to offload excess before the stencil ever sees it. Excess paint is the single biggest cause of bleeding under the edges, and the mistake shows up immediately as a fuzzy line you cannot undo without touching up later.
A four-inch foam roller works well for larger stencil openings. Roll with medium pressure, moving up and down, side to side, and diagonally across the pattern. That cross-hatching prevents streaks without shifting the stencil. A stencil brush suits tighter spots; pounce it straight up and down rather than brushing in strokes, which forces paint underneath. Either way, the first coat will look thin and incomplete. That is correct. Two or three of these sheer passes, one right over the other while the paint is still wet, build solid coverage far more cleanly than one heavy coat ever could. Never lift the stencil to check mid-pass; the shift will smudge the registration for the repeat.
5. Remove the Stencil
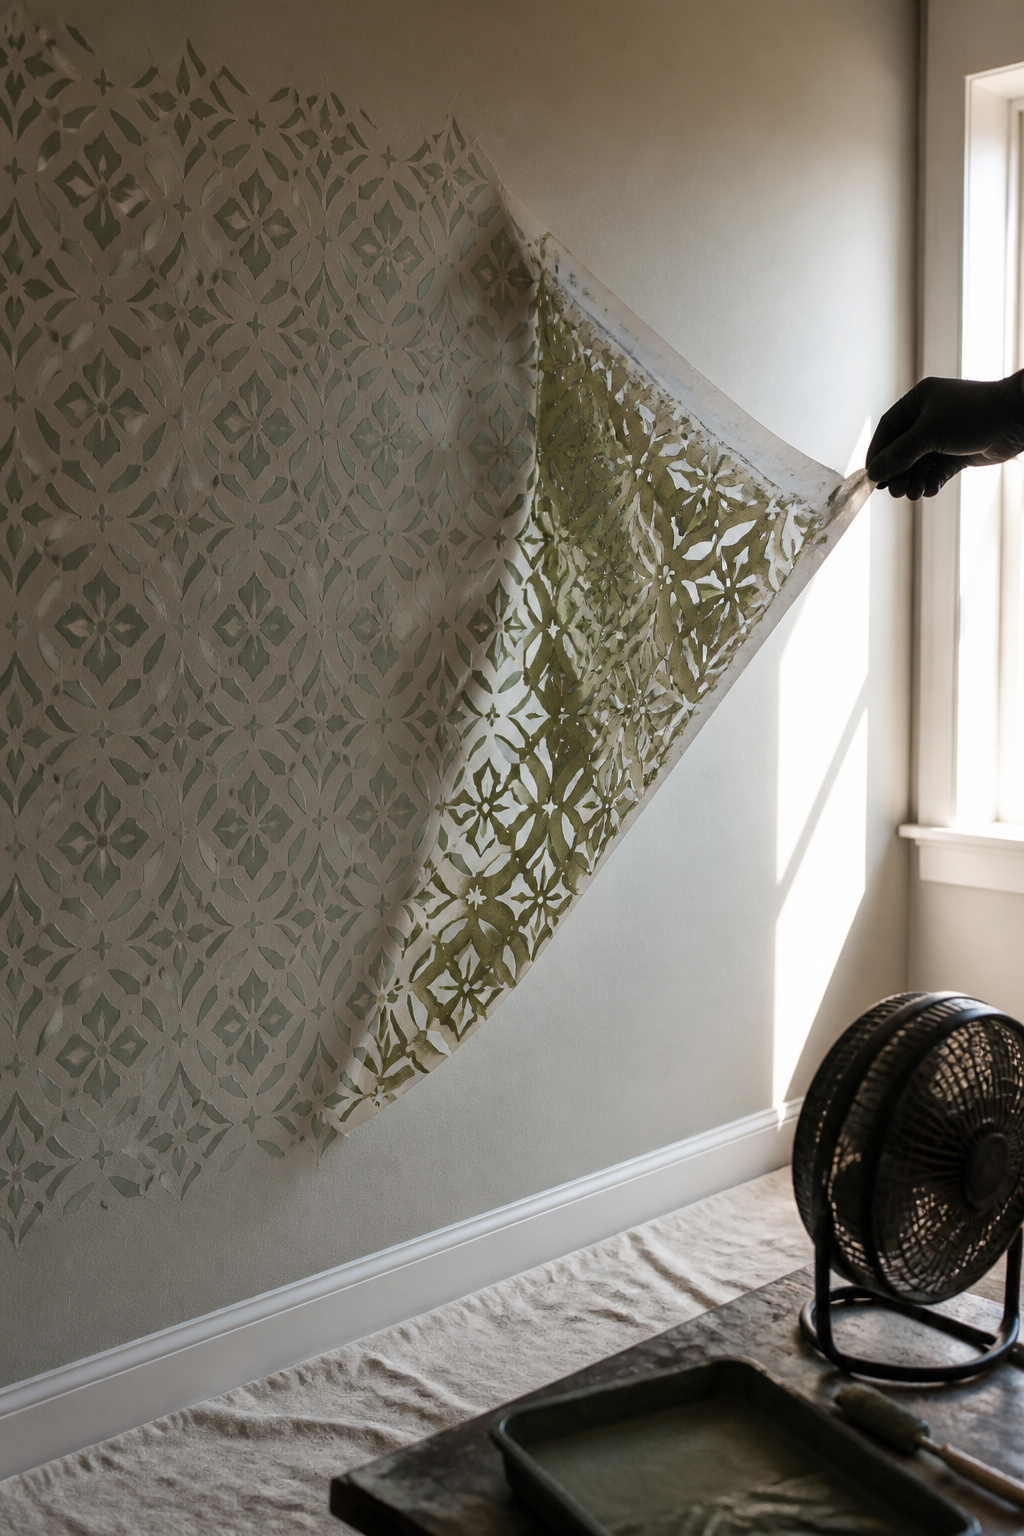
Peel the stencil while the paint is still tacky, not fully set. I used to wait until everything felt dry to the touch, but that just gives the edges time to bond with the stencil film. Pull from the top corner, standing on the opposite side so the sheet lifts away from the wall at an outward angle. That outward motion, toward you rather than straight up, keeps the wet layer from dragging back across the detail.
Thin coats dry fast enough that you rarely need a hair dryer. In my first hallway attempt, I was rolling paint thin enough that the previous repeat was ready before I had the next position taped. If you are working thicker or the room is humid, a fan pointed at the wall buys you a few minutes. Just check the back of the stencil before you realign; any wet film there will press into your next print and peel up what you just laid down. Dry it with a quick wipe or a blast of air, then use your registration marks to drop the pattern in place again.
6. Touch Up

Bleed-through is the part nobody posts on Instagram, so let me tell you what actually happens. In my first wall, I had maybe a dozen spots where paint seeped under the stencil edge, mostly where I’d rushed the taping or the wall had a slight texture. A damp toothpick swiped at the wet paint catches most of it right then, before it sets. I learned that too late.
For the dried mistakes, a small detail brush and your leftover wall paint are what you need. Match the color exactly, not close enough, because "close enough" reads as shadow from across the room. I kept a quarter-inch flat brush and the original wall paint in a jelly jar on the ladder. Touch-ups took maybe twenty minutes for the whole wall, working in daylight so the sheen matched. The spots I fixed are invisible. The two I decided to "let be" because I was tired? I stopped noticing them after a week, and guests never see them unless I point them out.
7. Finish Edges
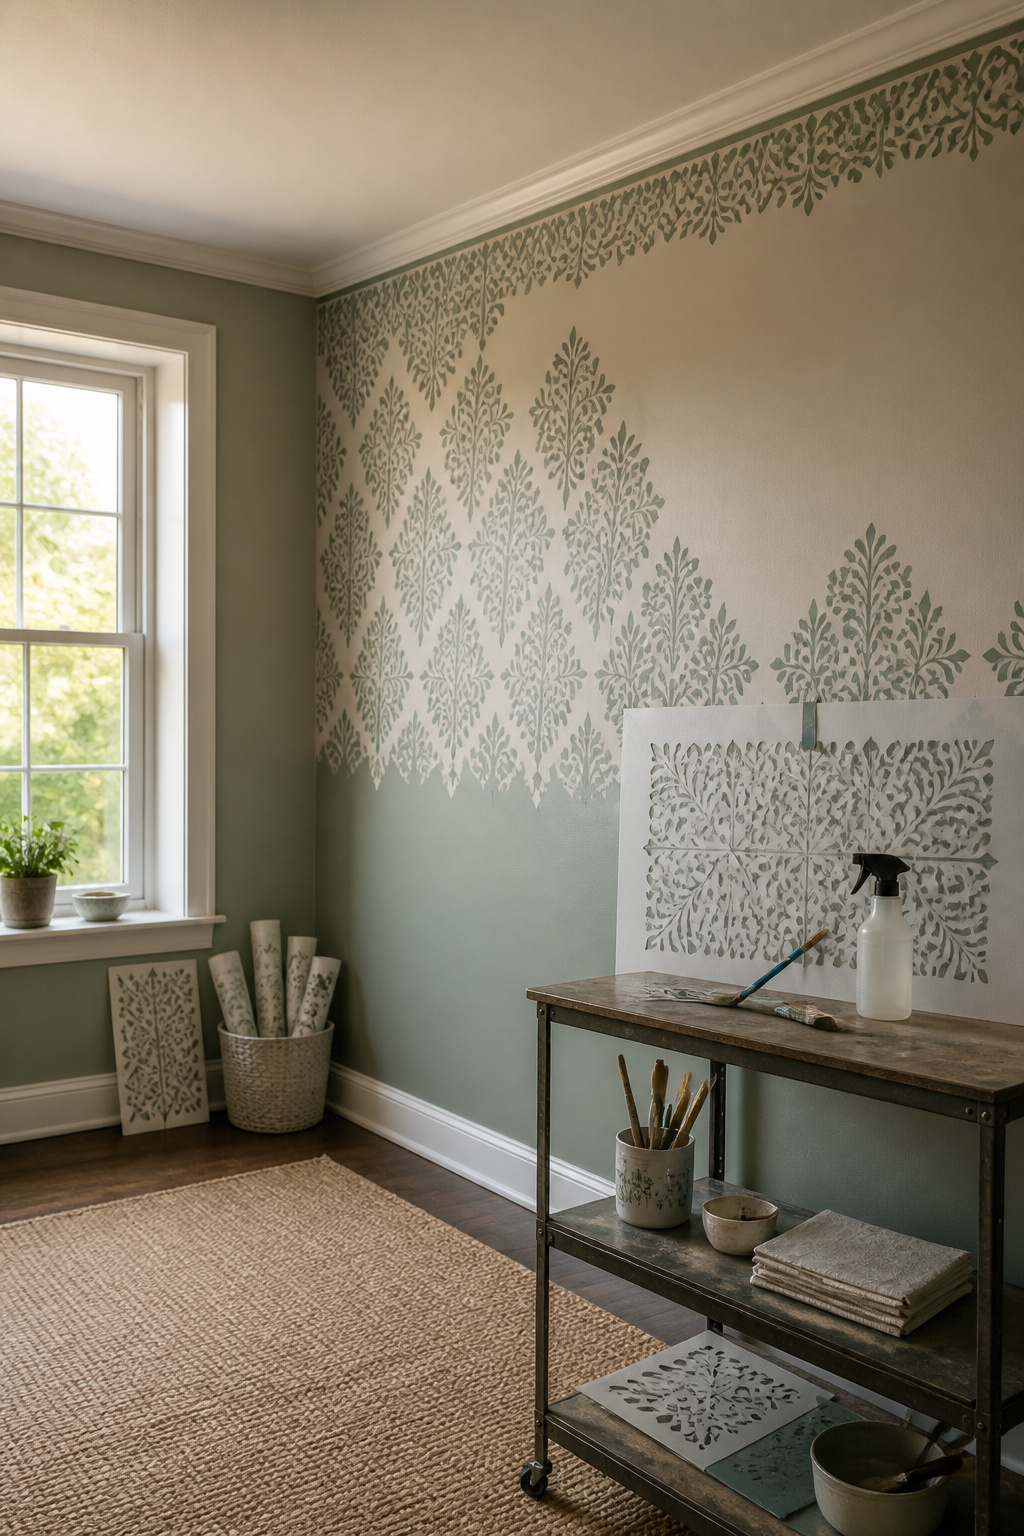
The full pattern never reaches the corners on its own. A smaller edge stencil, cut down from the main design, bends into the gap where the ceiling meets the wall or the baseboard stops the roll. I bend the larger stencil into the corner itself when the pattern has to stay continuous, though a rigid sheet fights back against that curve. Spray adhesive helps hold it in place, and a stencil brush or a one-inch angled Purdy brush replaces the roller for the last few inches. Some spots are too narrow even for the small stencil; there, a regular paintbrush freehands the remaining detail. Filling the edges takes roughly 14 hours on a large wall, scaling down for smaller rooms, because each corner means matching the pattern fresh and working the sheet into a tight spot again. I work in batches and step away before the repetition turns sloppy.
Choosing the Right Stencil
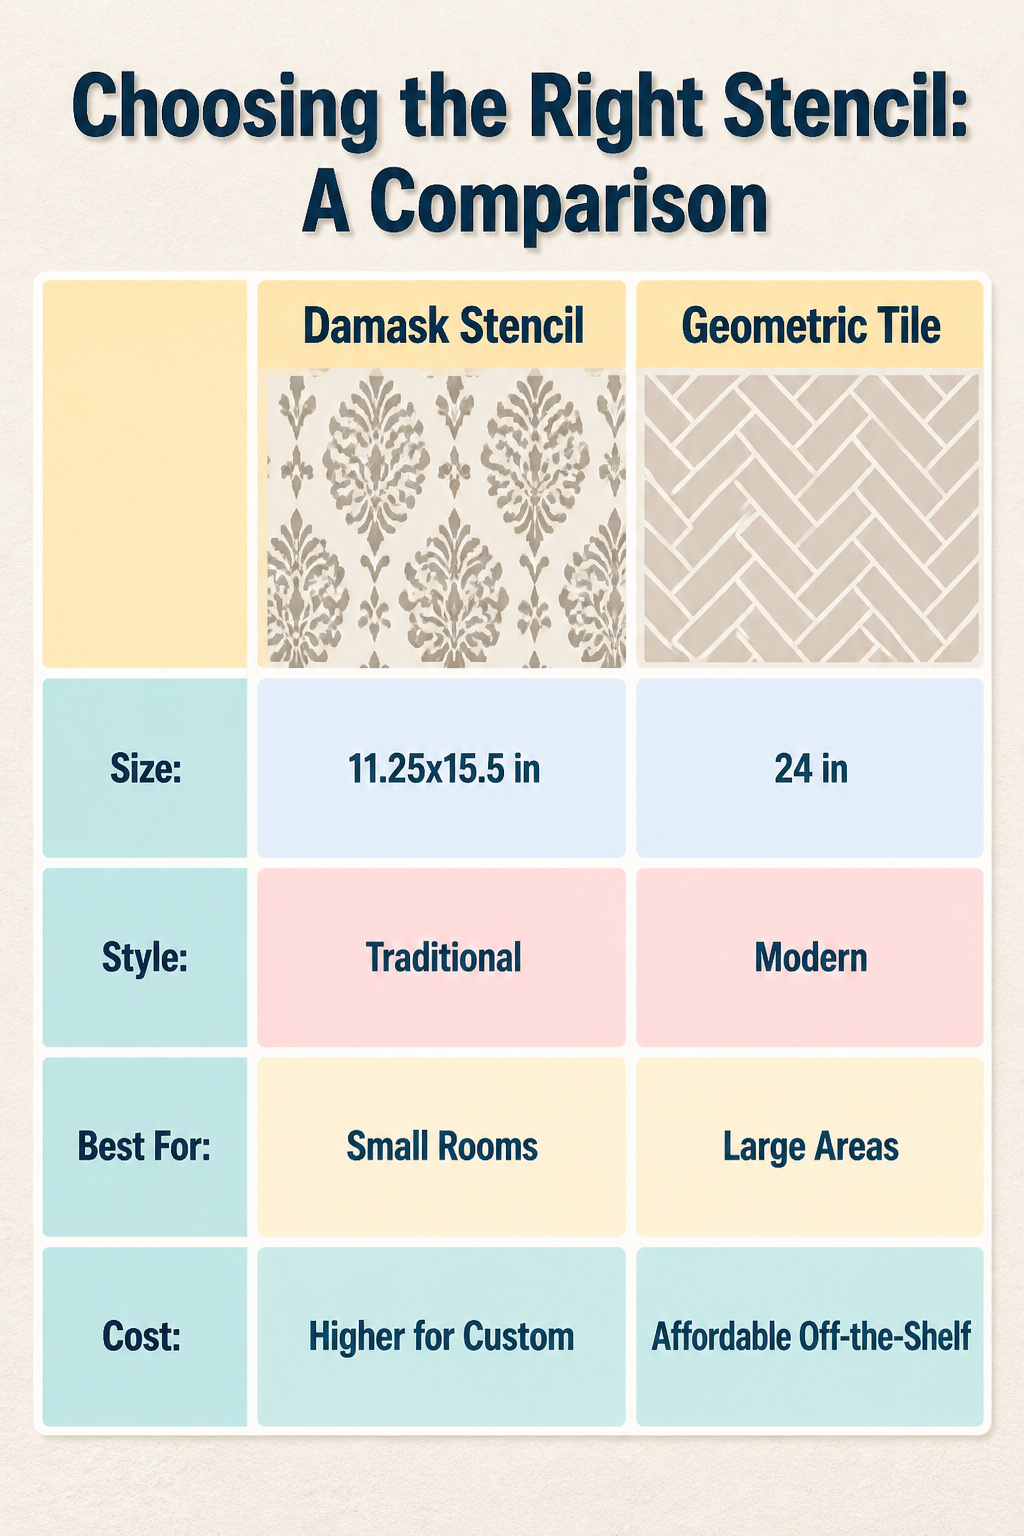
The pattern you pick will either carry the room or fight everything else in it. I learned that the hard way after falling for a breezy palms stencil that looked perfect online and completely wrong against my existing floral wallpaper. For that wall, a herringbone tile pattern in white over beige turned out to be the right call: simple enough to live with, geometric enough to not compete.
A 15-inch damask repeat eats a small powder room alive, while the same scale gets lost on a full living room wall. Measure your surface first, then check the stencil dimensions. Cutting Edge Stencils, Stencil Revolution, and Royal Design Studio list their full sizes, and the difference between an 11.25-by-15.5-inch damask and a 24-inch geometric tile matters more than the pattern itself.
Floral and damask stencils read traditional; geometrics and tile patterns read modern; seasonal stencils read temporary. Custom designs cost more and only make sense if you are repeating the exact motif across a large area. For a weekend project under a hundred dollars, an off-the-shelf allover pattern from one of the main shops will cover more wall with less headache.
Paint Selection
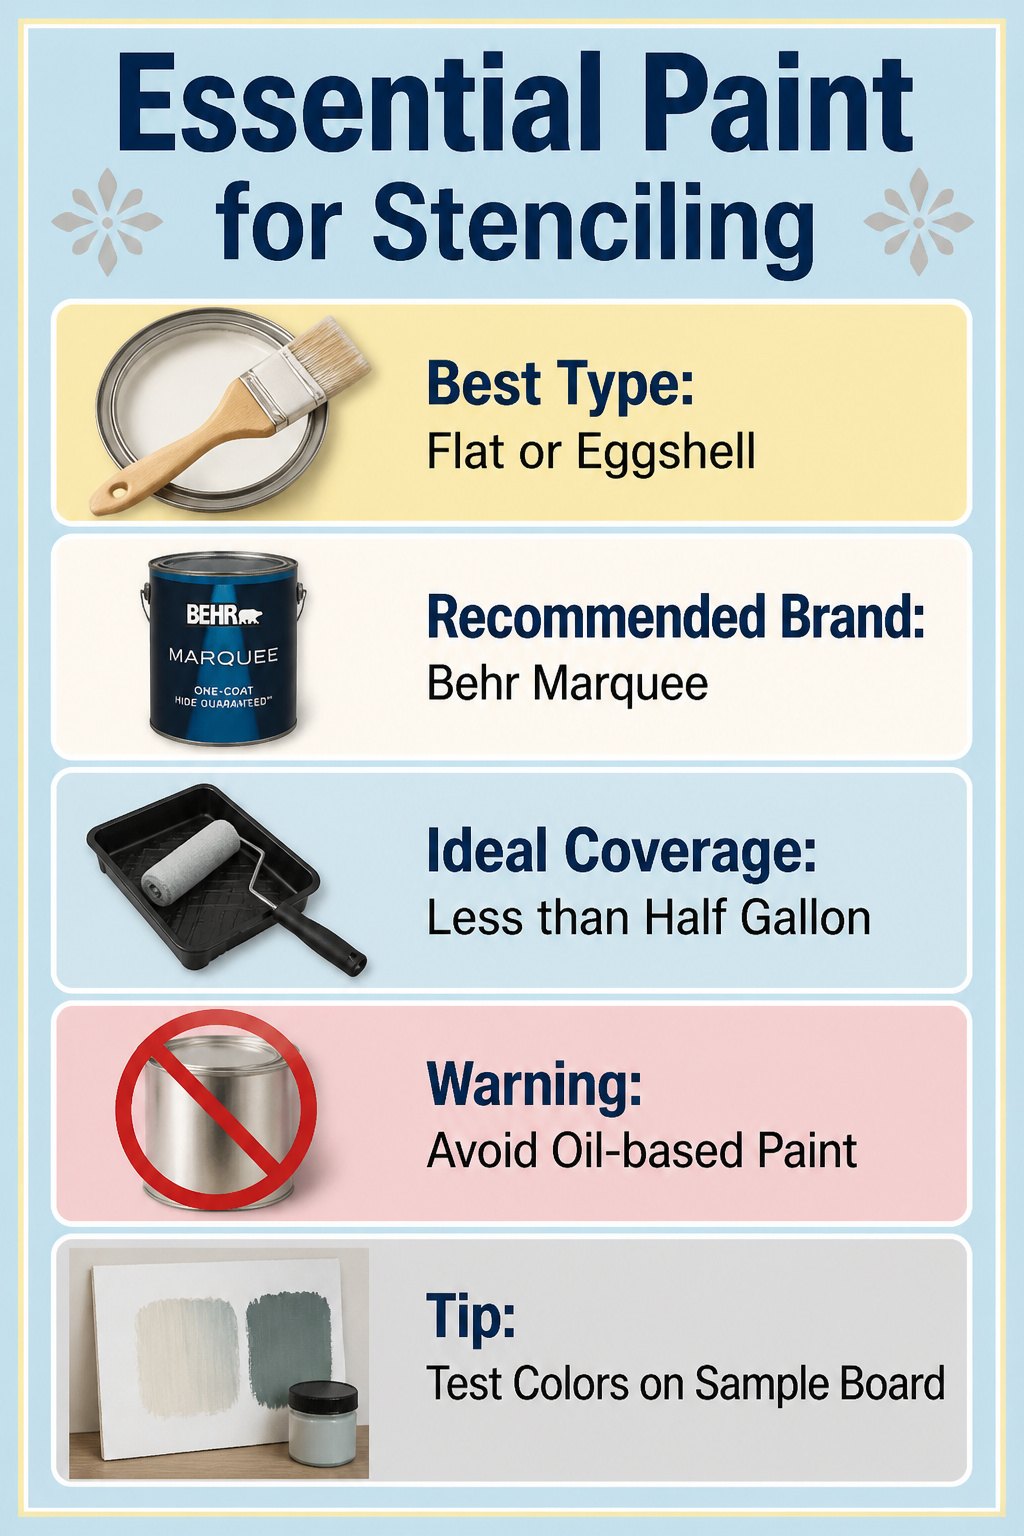
Flat or eggshell latex paint is what you want for stenciling a wall. Cutting Edge Stencils recommends flat specifically for the best adhesion and the least seepage under the stencil edges, though eggshell worked fine on my own project with both the base coat and the pattern color. Oil-based paint and spray paint are not worth the trouble here; they dry too hard and too fast for the forgiving rework a wall stencil sometimes needs.
I used Behr Marquee for my base coat, and for an 8-by-12-foot wall I did not even need half a gallon in Edgecomb Grey. When I wanted a second color, I had Sherwin Williams Rainwashed color-matched into Behr Marquee paint because that line is what I keep on hand. Test your colors on a sample board first; Cameo White against Rainwashed looked one way in my head and slightly different under the office window light. A piece of drywall scrap or foam board lets you move the combination around the room before you commit to the wall.
Common Mistakes
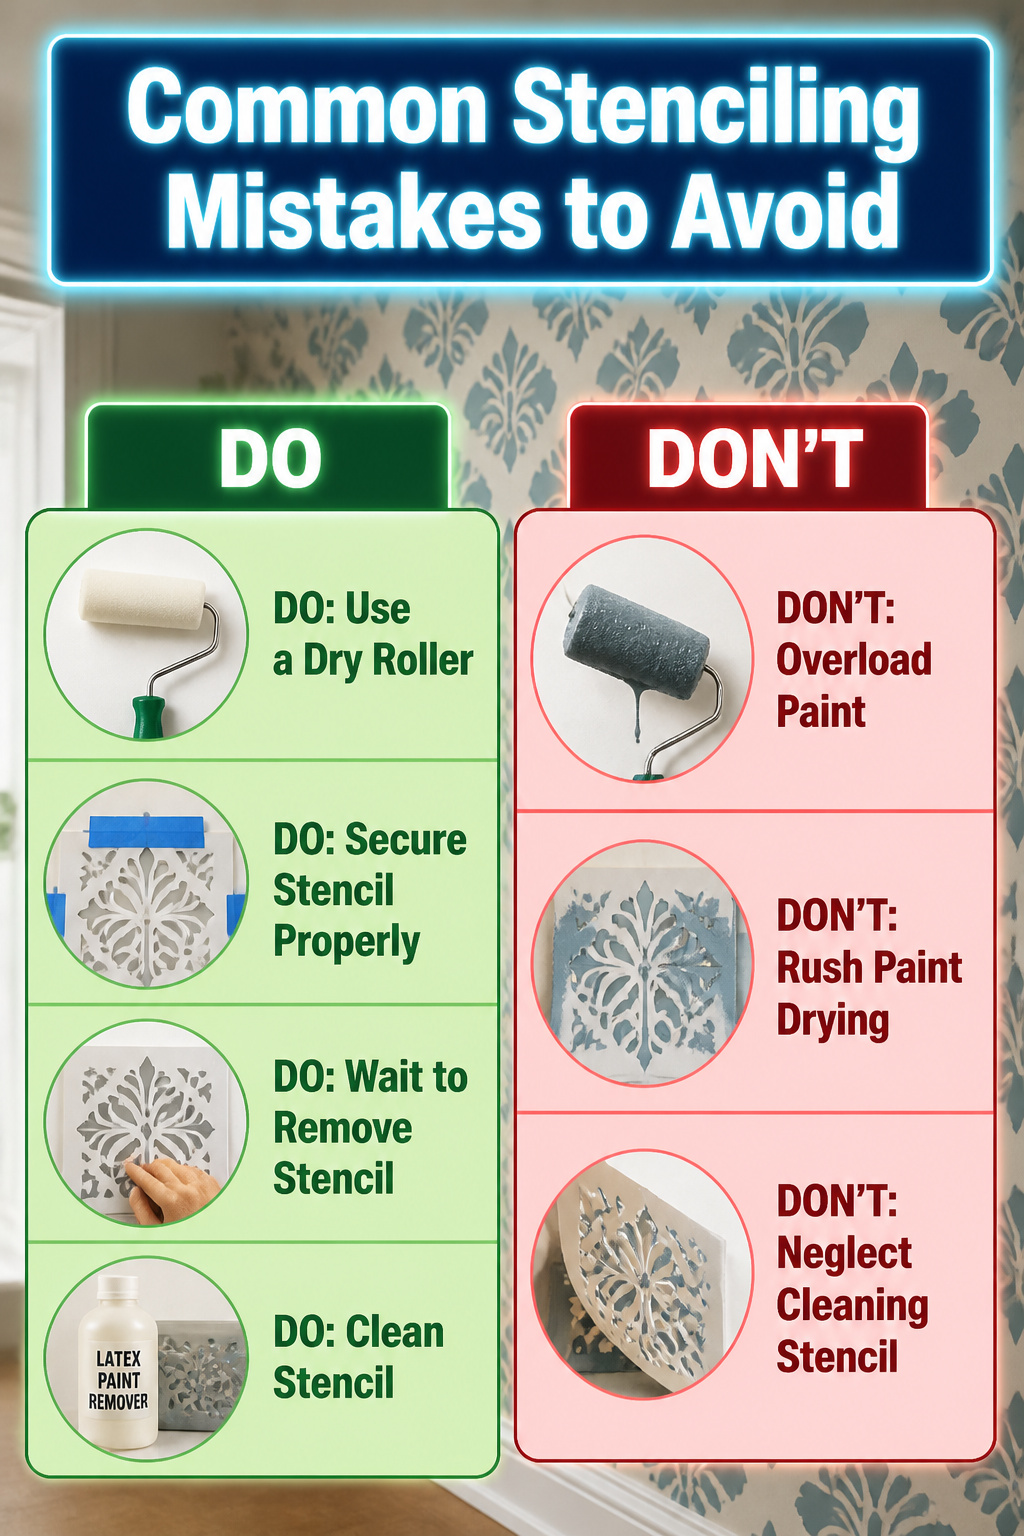
The first time I stenciled a wall, the bleeding was so bad the pattern looked like it had been underwater. Too much paint on the roller is almost always the culprit. I now roll until the foam sounds almost dry, then blot once more on a paper towel. The coat looks impossibly thin, and that is exactly right. Two or three of those passes beats one heavy load every time.
A shifting stencil is harder to recover from. Painter’s tape at the corners is not enough for a full repeat; I add a strip across the top edge and press the cutouts flat with my palm before any paint touches them. The foam roller helps here too, since a lower nap catches less and tugs less.
The mistake that cost me an extra Saturday was pulling the stencil free while the paint was still tacky. Half the design lifted with it. Now I wait until the surface feels dry to the back of my knuckle, or speed it with a hair dryer if I am impatient. That same patience applies between layers.
Cleaning the stencil matters more than I expected. Latex paint remover sits on my supply list for this reason alone. A few minutes of soak, and the cutouts wipe clear instead of flaking dried paint into the next repeat. The brushes and roller clean faster with it too.
Frequently Asked Questions
Is stenciling hard?
It is not hard, but there is a learning curve and the work takes longer than painting or wallpapering. Start with a small accent wall or the back of a bookcase before taking on a full room. The main skills are patience and a light hand with paint.
What paint should I use for stenciling?
Flat or eggshell latex paint gives the cleanest edge and the least seepage under the cutouts. Oil-based paint and spray paint dry too fast and too hard for the reworking a wall stencil sometimes needs. Behr Marquee is one line that works well for both base coat and pattern color.
How do I avoid paint bleeding under the stencil?
Use almost no paint on your roller or brush. Load the tool, then offload excess onto a paper towel or tray ridges until the foam looks nearly dry. Build coverage with two or three thin passes rather than one heavy coat. Excess paint is the single biggest cause of bleeding.