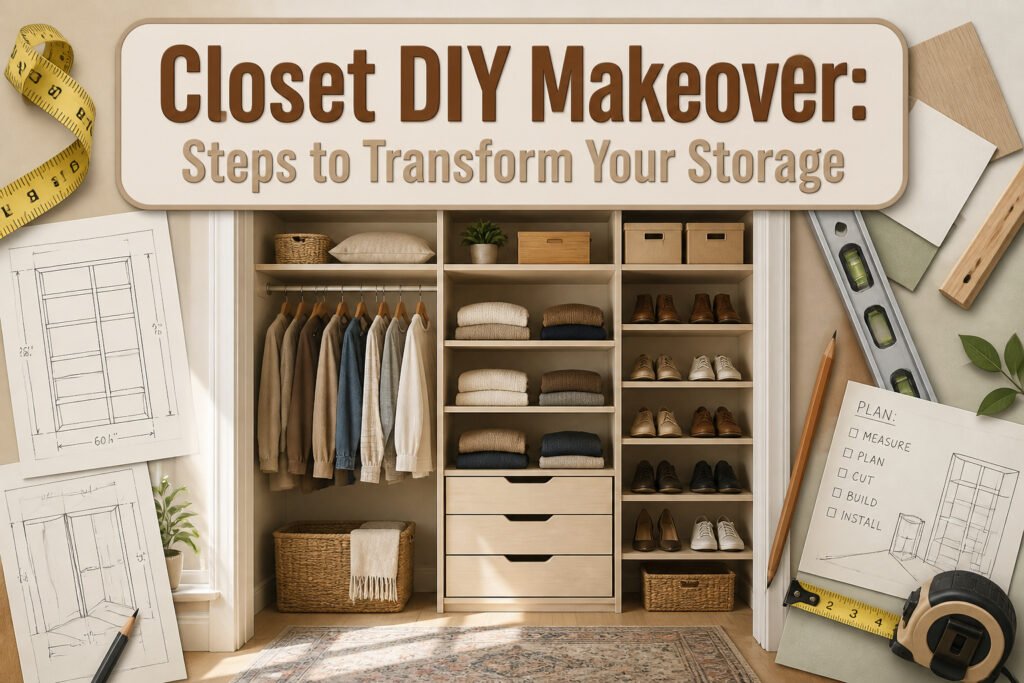
A closet DIY makeover is a complete rebuild of your storage system, and the part that determines whether it works is the measuring you do before touching a board.
The back wall of most closets sits an inch or two off from the front frame, and that gap changes every cut.
I spent $340 on melamine and pine for my own reach-in, built around a stud placed off-center and a floor that ran three-quarters of an inch out of square from back to front.
1. Assess and Plan
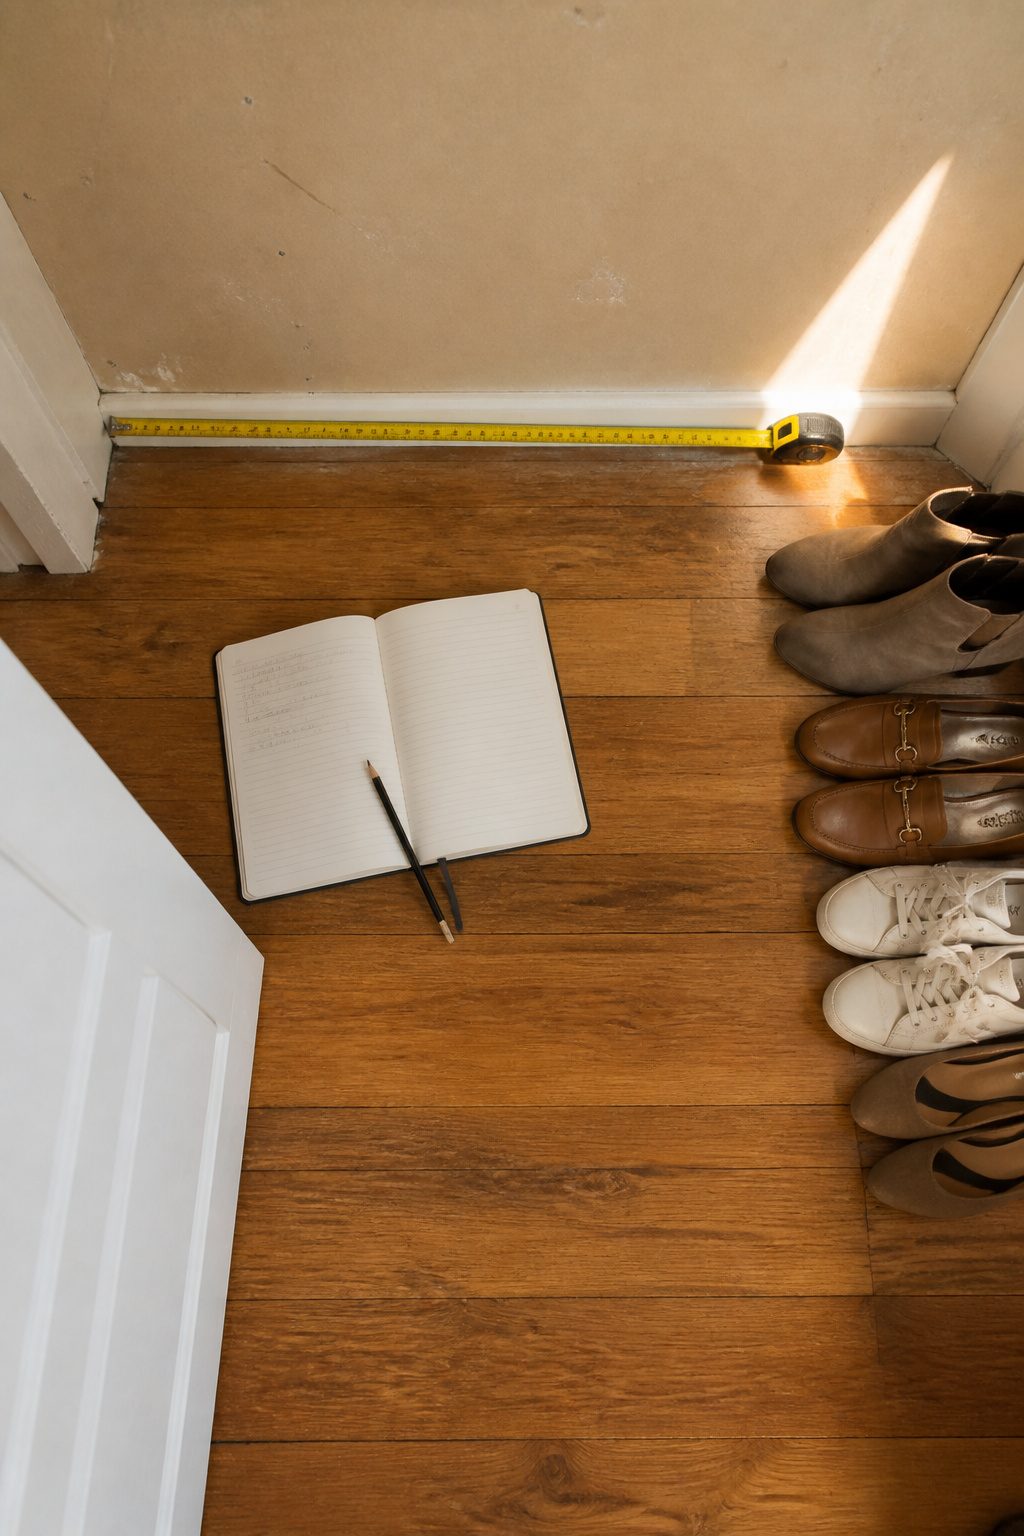
The first thing I do with any closet project is measure the space twice, writing down height, width, and depth before I touch a single shelf.
A tape measure and a notebook beat memory every time, especially since the back wall of most closets sits an inch or two off from the front frame and that gap changes everything.
Once the numbers are down, I sort what actually lives in the closet from what wandered in and stayed.
Shoes need different real estate than coats, and long dresses demand a tall hanging section that shirts and pants simply do not.
I lay out the categories, count the pieces, and decide what earns the prime middle zone versus the top shelf I’ll need a step stool to reach.
For the visual planning, some people open SketchUp and build the closet in 3D before they buy a board.
I have not gone that far myself, but I see the appeal when you are trying to fit upper and lower units around one tall wardrobe section and need to know the drawers will clear the hanging rod.
A rough paper sketch works for smaller jobs; the software pays off when the layout gets tight or you are splitting one closet between two people’s completely different storage needs.
2. Remove Existing Fixtures
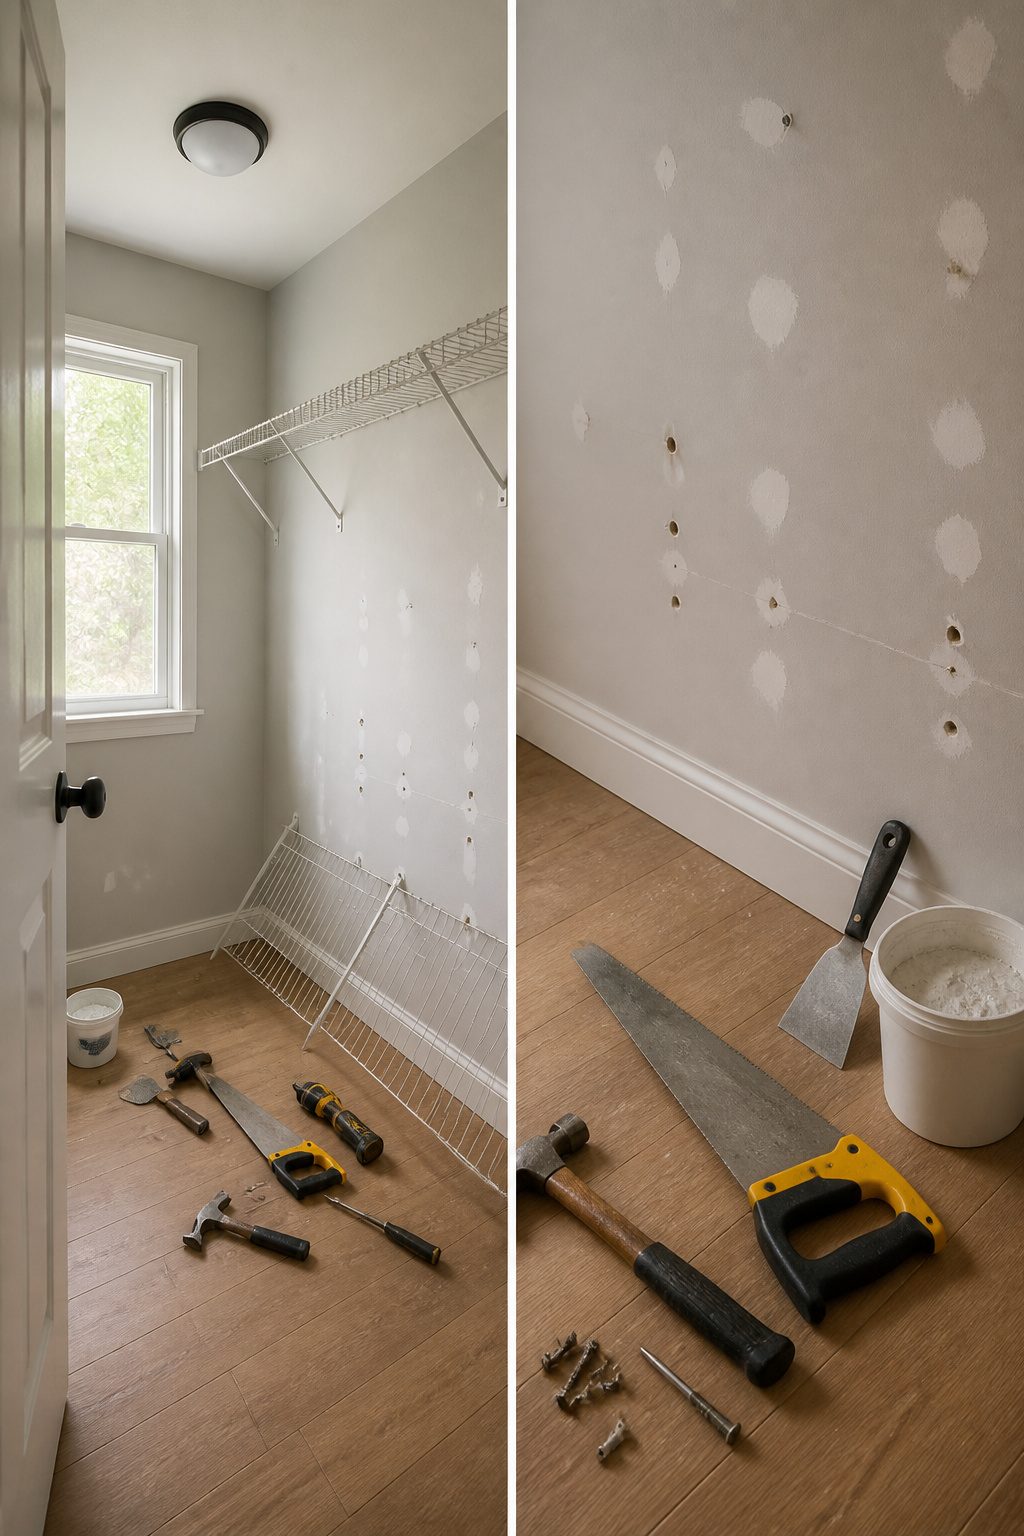
Wire closet racks usually fight harder coming down than going up. Mine had a mix of nails and screws buried in drywall anchors, so the job needed both a hammer and a drill with a Phillips bit.
The nails pulled out with prying and some patience; the screws spun out easily enough until I hit one stripped head and had to dig the anchor out with pliers.
That anchor left a golf-ball-sized crater in the drywall, bigger than the rest, which meant patching in layers rather than one swipe of spackle.
Once everything was out, the wall looked like a constellation. Filling holes is straightforward: joint compound, a putty knife, and a day of drying between coats.
The shallow ones took a single pass. The crater needed three, each wider than the last so the repair would feather flat.
Sanding between coats keeps the texture from telegraphing through paint later.
What hides behind the drywall matters more in a closet than most rooms.
I found a stud placed off-center where I wanted my new shelving unit to land, which forced a decision: build around it or sister a new piece alongside.
Measurements taken as you go matter here, because older houses especially can sit out of square. My closet floor was off by nearly three-quarters of an inch from back to front, which would have thrown off any pre-cut melamine boards.
The 3/4-inch melamine I planned to use would have shown every gap. Taking the time to map the actual space, not the assumed one, saved me from installing shelving that looked custom in the wrong way.
3. Prepare the Space
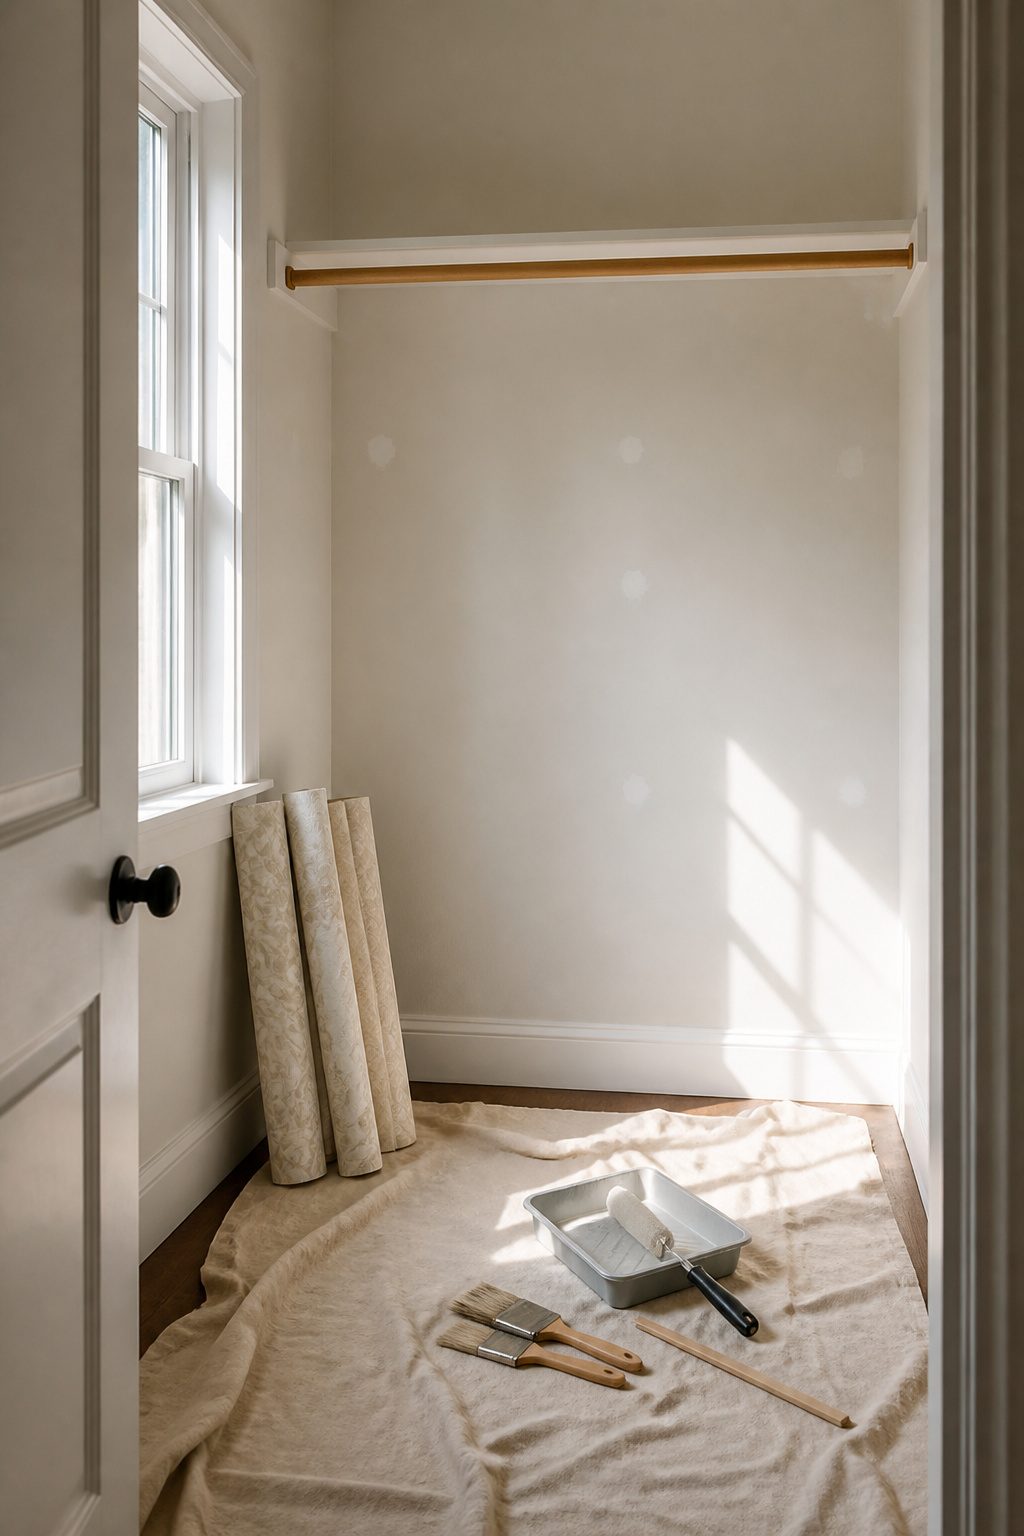
The closet walls need to be a blank surface again before anything new goes in.
That means pulling out every rack, rod, and bracket left by the last person, even if it takes a hammer and a drill because nails and screws both went in. The holes they leave look worse than they are.
Spackle the big ones, sand when dry, and paint only what the new system will not cover. A base coat behind shelving is enough; perfect coverage there is wasted effort.
If the ceiling is staying visible, that is where a little extra time pays off. Wallpaper overhead is a fierce arm and shoulder workout, but the effect is worth it if you are the type who looks up.
Paint the panels before assembly if you are building custom units. Smooth plywood takes one coat without sanding first, and bare wood that will show deserves a primer.
The rest can wait.
4. Build or Install New Shelving
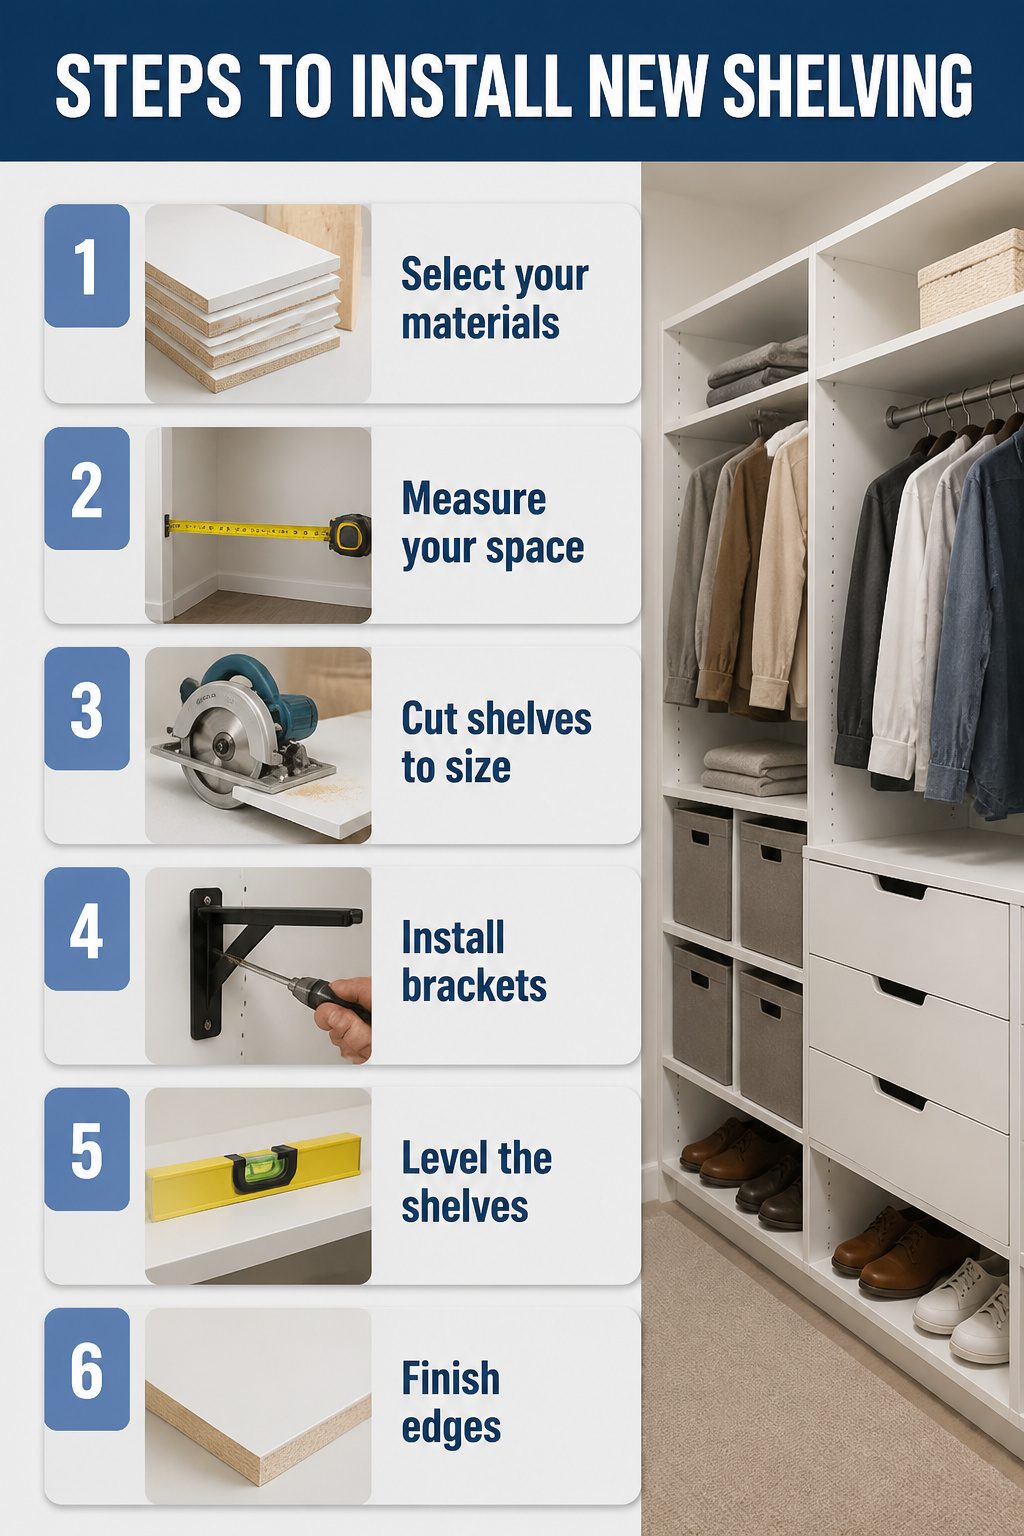
Three-quarter-inch melamine board is the standard material most closet builds start from. I paid about $30 per sheet for mine and had the store rip it into 16-inch strips, which kept the shelving material for both closets at roughly $150.
Melamine gives you that clean, white closet look without paint, though the edges need covering if you want it to read finished.
For anyone trying to avoid the formaldehyde off-gassing common in cheaper sheet goods, PureBond plywood is a real alternative.
It is a 3/4-inch hardwood plywood made with soy-based adhesive, manufactured in North Carolina, and it carries a finished front edge that looks built-in rather than utility-grade.
I have used it in projects where the closet stays open to the bedroom and the material actually shows.
Getting shelves level is the part that separates a storage system from a storage problem. A 4-foot level is non-negotiable, and so is checking the back wall, the side wall, and the front edge independently.
Walls are not square, floors are not flat, and a shelf that looks level from the doorway reads completely wrong once you stand inside the space.
The IKEA PAX system runs about $1,500 and gives you a walk-in look with drawer inserts, cubbies, and hardware that all ships together.
Stock delays have stretched some builds out by weeks, which forces the slower design process that the system actually benefits from.
A $350 route exists too, built from Kallax cube units and drawer inserts, though you are working within fixed dimensions rather than customizing to the inch.
The real cost gap is in labor, not materials. PAX installs faster because the engineering is done; melamine or PureBand builds take a full weekend of measuring, cutting, and adjusting to out-of-square corners.
5. Add Hanging Rods
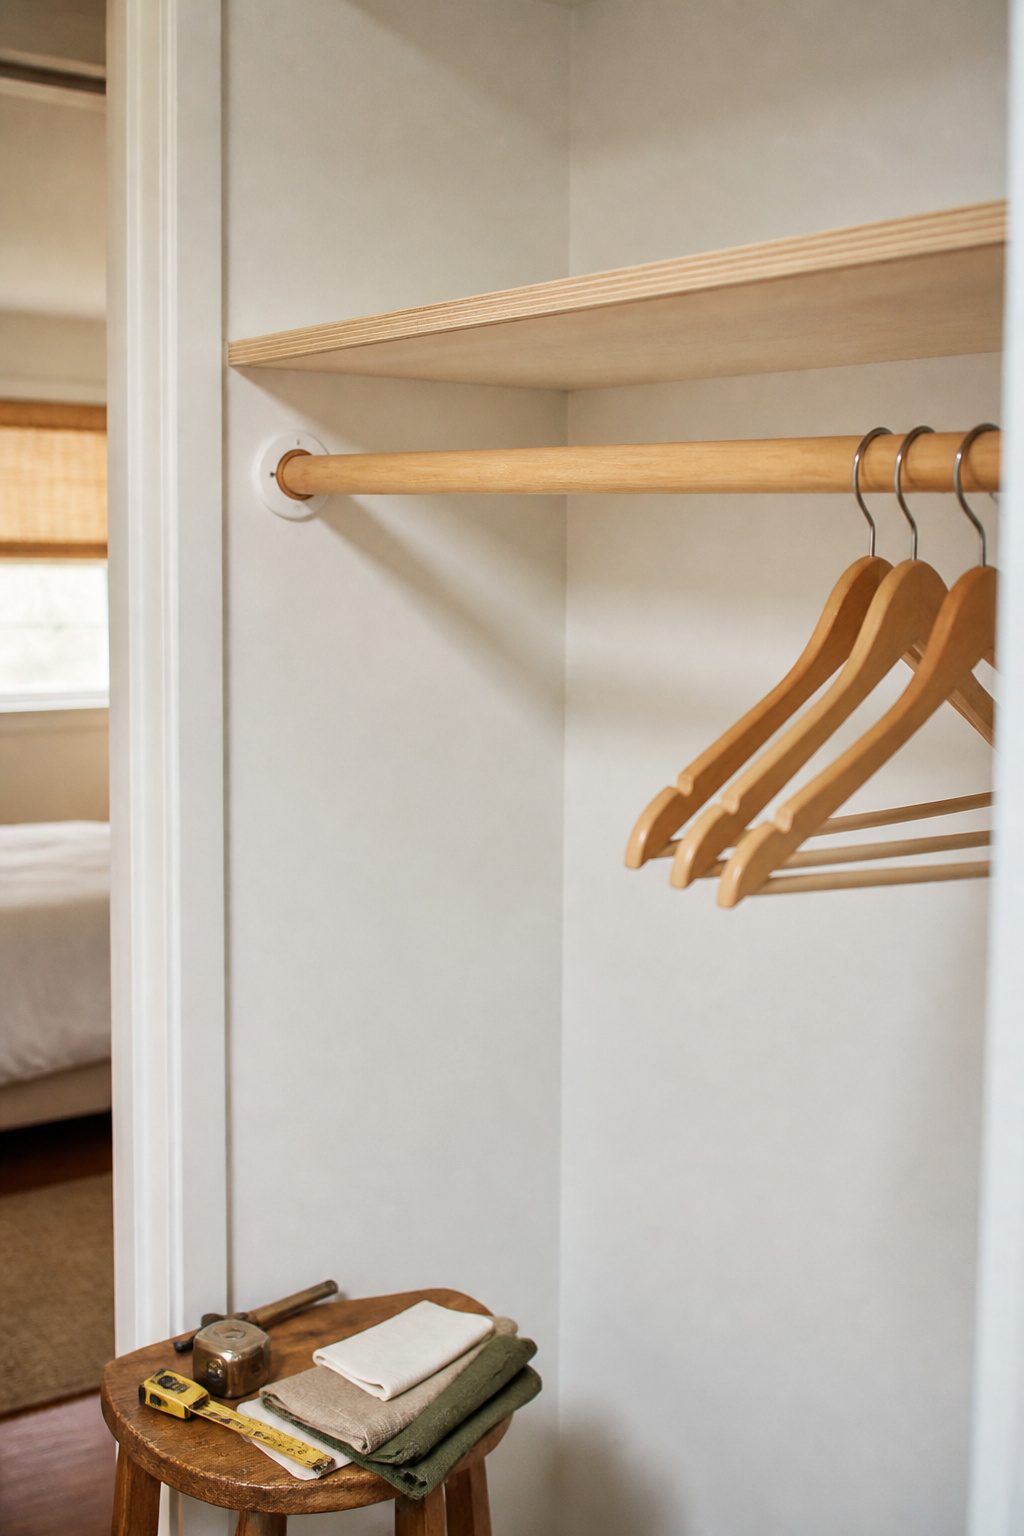
Rod height is where most closet makeovers either earn their keep or waste it.
I held a hanger against the wall to mark the spot where the hook clears the shelf above by about two inches, then stepped back to see how far back the garment would hang without brushing the wall behind it.
That single check saved me from mounting the socket too deep and fighting shoulder bumps for the next five years.
Standard rods ship in 96-inch lengths, so a pipe cutter pays for itself on the first cut.
For shirts, 42 inches from the floor leaves the hem clear; pants folded over a hanger want 36 inches; long dresses need a full 66 inches or they pool on the ground.
The real space win is a double-hang setup: one rod at 80 inches for shirts, a second at 40 for pants or skirts, which doubles the same linear foot.
A tall shelving system in the middle provides floor-to-ceiling storage and separates the closet rods that are hung at two different heights for extra practicality.
That middle tower is what makes the double-hang possible without rods colliding in the corners. Measure your longest coat or dress first, then build everything else around that number.
6. Organize and Decorate
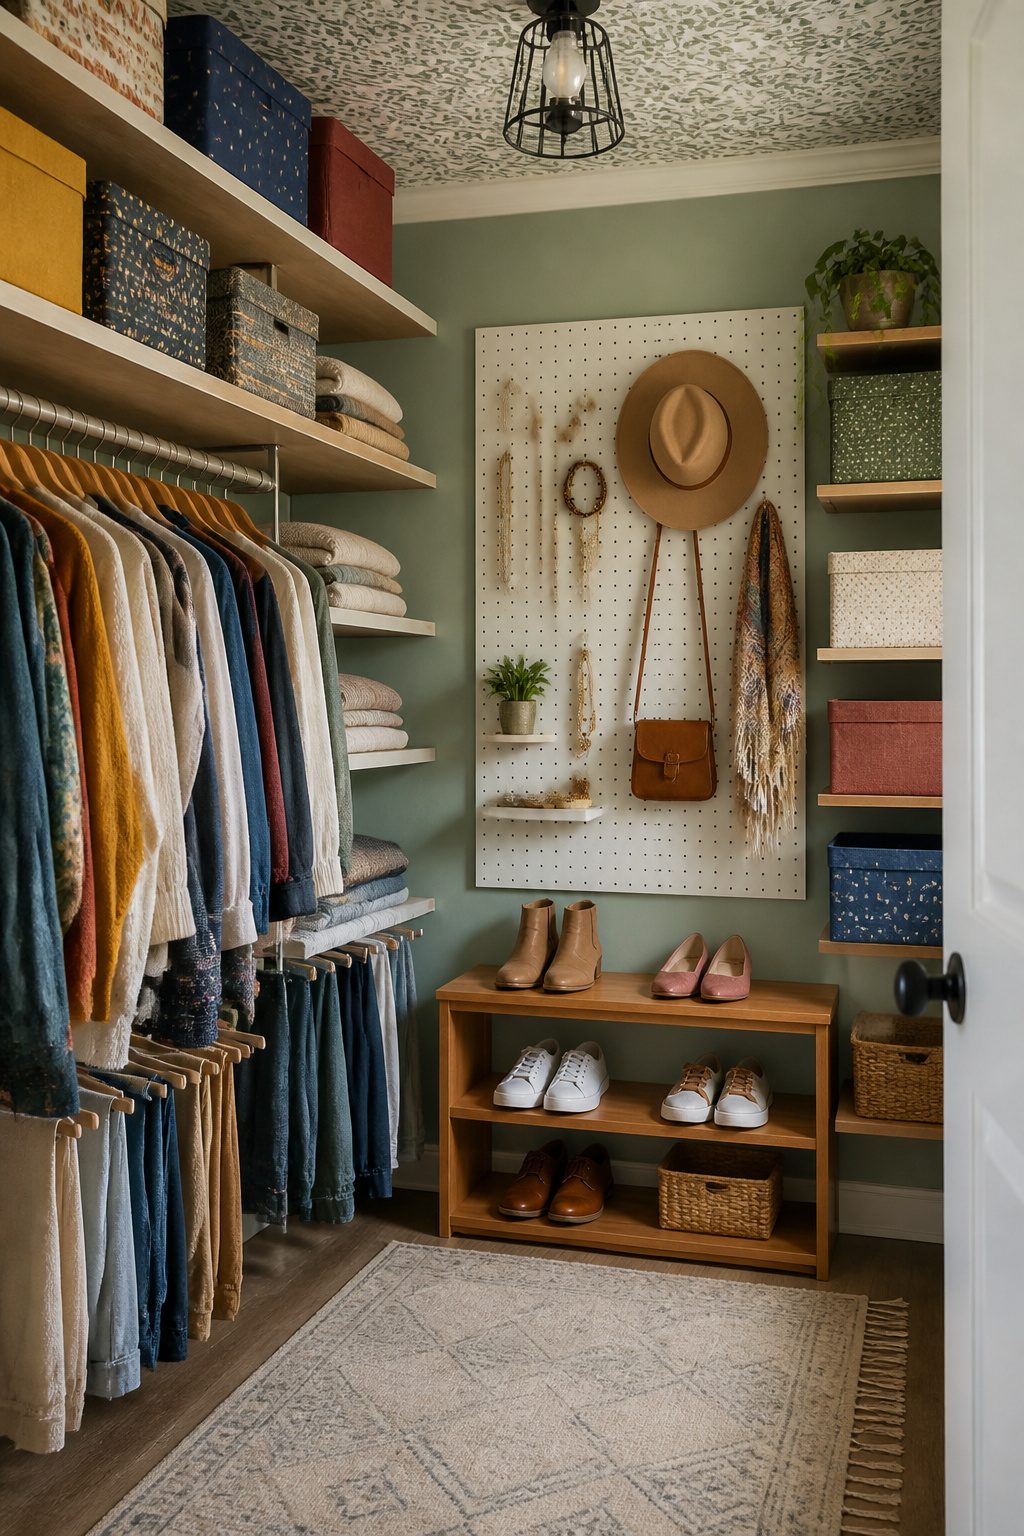
Fabric bins turn open shelving into something you can actually live with. I use the IKEA Drona boxes inside Kallax units, which sit 15 3/4 inches deep and hold folded clothes or shoes without wasted space behind them.
The drawer inserts split one cube into two smaller compartments, which keeps socks and sports bras from becoming a single tangled pile.
Wall-mounted hooks handle the daily rotation of jackets and hats without eating shelf space.
For belts and scarves, a pegboard system with small bins keeps accessories visible and reachable, and you can shift the bins seasonally when your go-to items change.
Paint and wallpaper finish the job even on surfaces that mostly hide behind storage. I rolled Graham & Brown’s Tattoo in Eggshell on my closet walls, and the coverage was solid enough that I skipped primer on the bare plywood panels.
The wallpaper went on the ceiling, which I do not recommend unless you want an arm workout, but the plaid pattern in Charcoal made the effort worth it once I was done complaining.
7. Final Touches
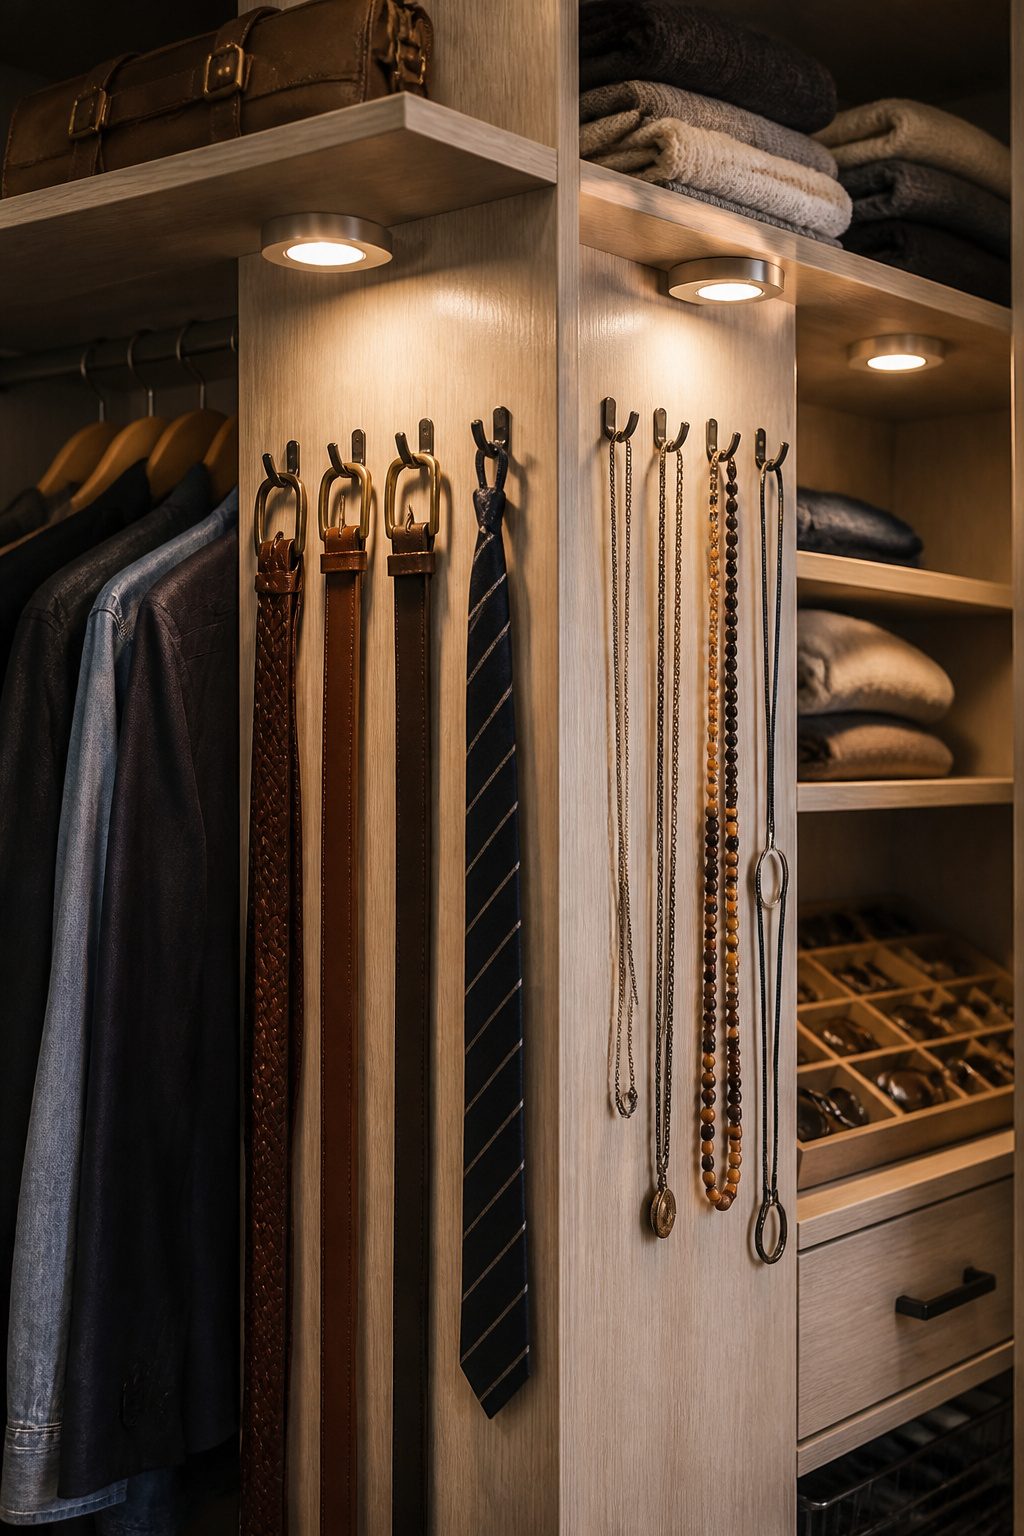
The hooks go in last, and that is where most closet DIY makeovers stop too early. I learned this after installing a full rod-and-shelf system and finding my belts in a pile on the floor two weeks later.
Small hooks or pegs on the sides of shelves changed that completely. Belts, ties, and necklaces hang where I can see them, not where they tangle.
Wall-mounted cubbies for sunglasses or wallets take twenty minutes to install and save the morning hunt through a drawer. I added stick-on LED puck lights under the top shelf because the overhead bulb left the lower half in shadow.
The difference in daily use is immediate. A lazy Susan on the shoe shelf corrals small accessories that otherwise walk off and hide.
The decorative layer is what makes the closet feel finished rather than merely stored. Botanical wallpaper inside a coat closet, as one builder did, turns a functional box into a space you actually want to open.
I skipped wallpaper in my own rental and used a matching paint color on the back wall instead, which the landlord will not fight me over.
The point is to do something beyond the bare hardware, even if that something is just paint.
Budget and Cost Breakdown
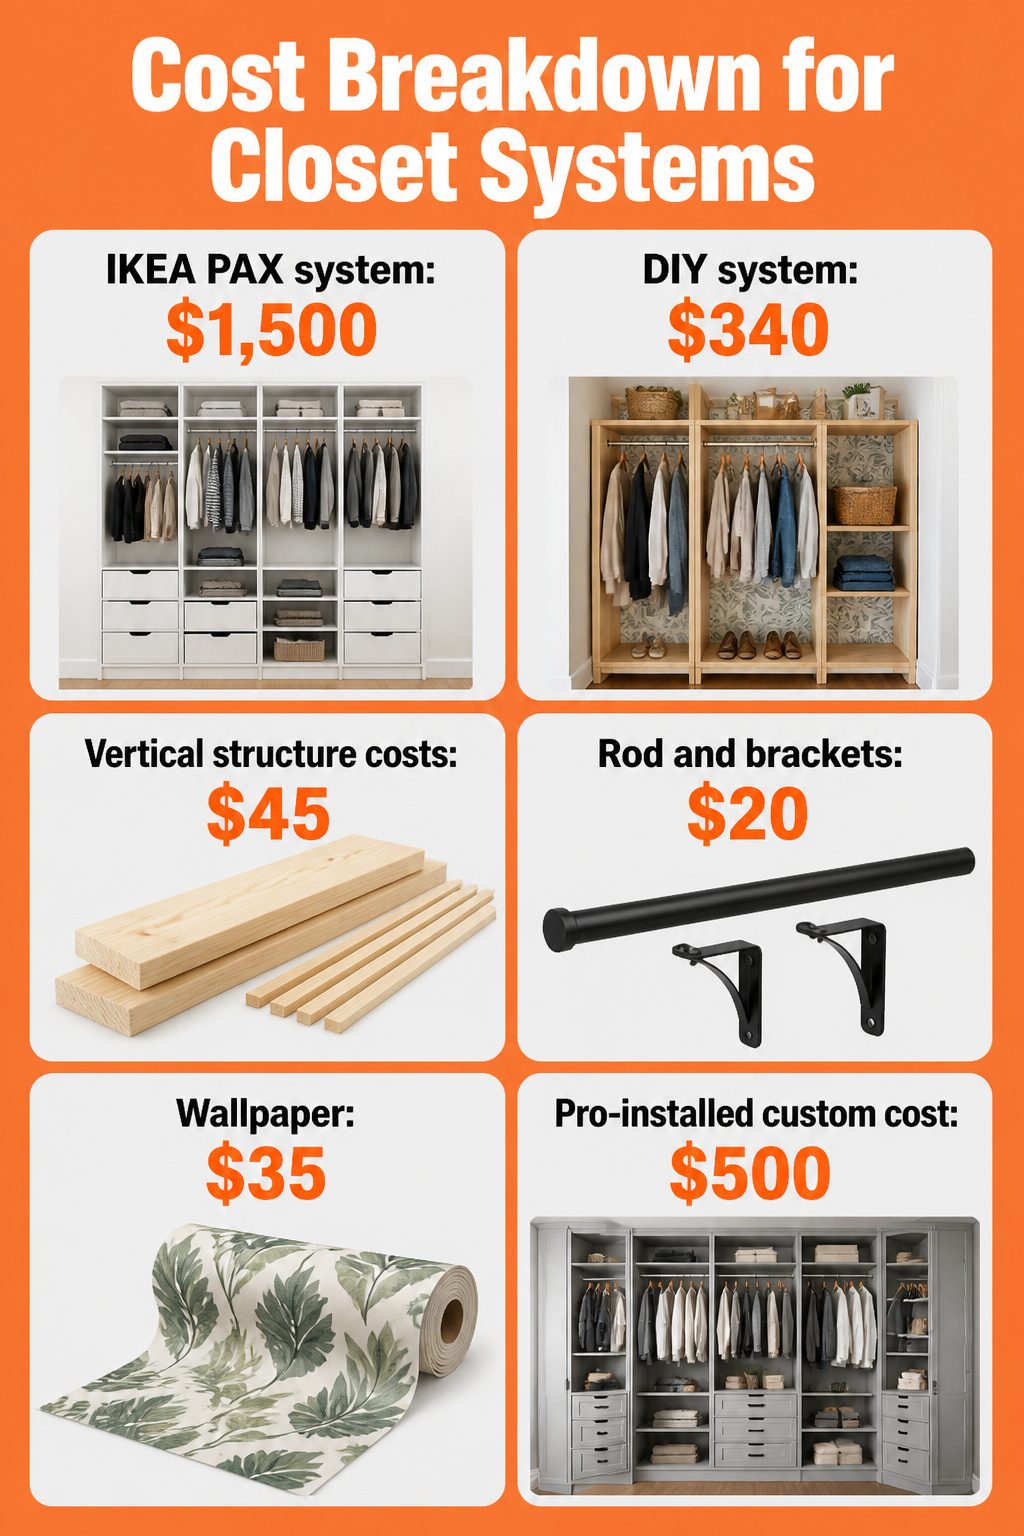
A full IKEA PAX system runs about $1,500 once you count the frames, interior fittings, and hardware. That is the number that stopped me from clicking "add to cart."
Instead, I built my own system for roughly $340, which is in line with what other DIYers report for a reach-in closet done with lumber, paint, and basic hardware.
The money goes first to vertical structure: 1-by-12 pine boards for the shelf carcasses and 1-by-2 cleats to carry the load.
Paint and primer ate about $45 of my budget, which felt steep until I saw how much a pre-finished system marks up for color.
The rod and brackets cost under $20; the wallpaper I added to the back wall was $35 and entirely optional, but it makes the closet read as finished every time I open the door.
Where the savings really pile up is labor. A pro-installed custom build with MDF boards runs around $500 for materials alone, and that still assumes you are doing the painting and purging yourself.
The IKEA route saves you design decisions but charges a premium for the convenience of pre-drilled holes and matching drawers.
For a weekend project with a few hundred dollars, the raw lumber approach wins if you own a drill and a level. I do not own a table saw, so I had the boards cut to length at the store.
That single choice kept the project under $350 and let me finish in two days instead of waiting on a delivery truck.
Tools and Materials
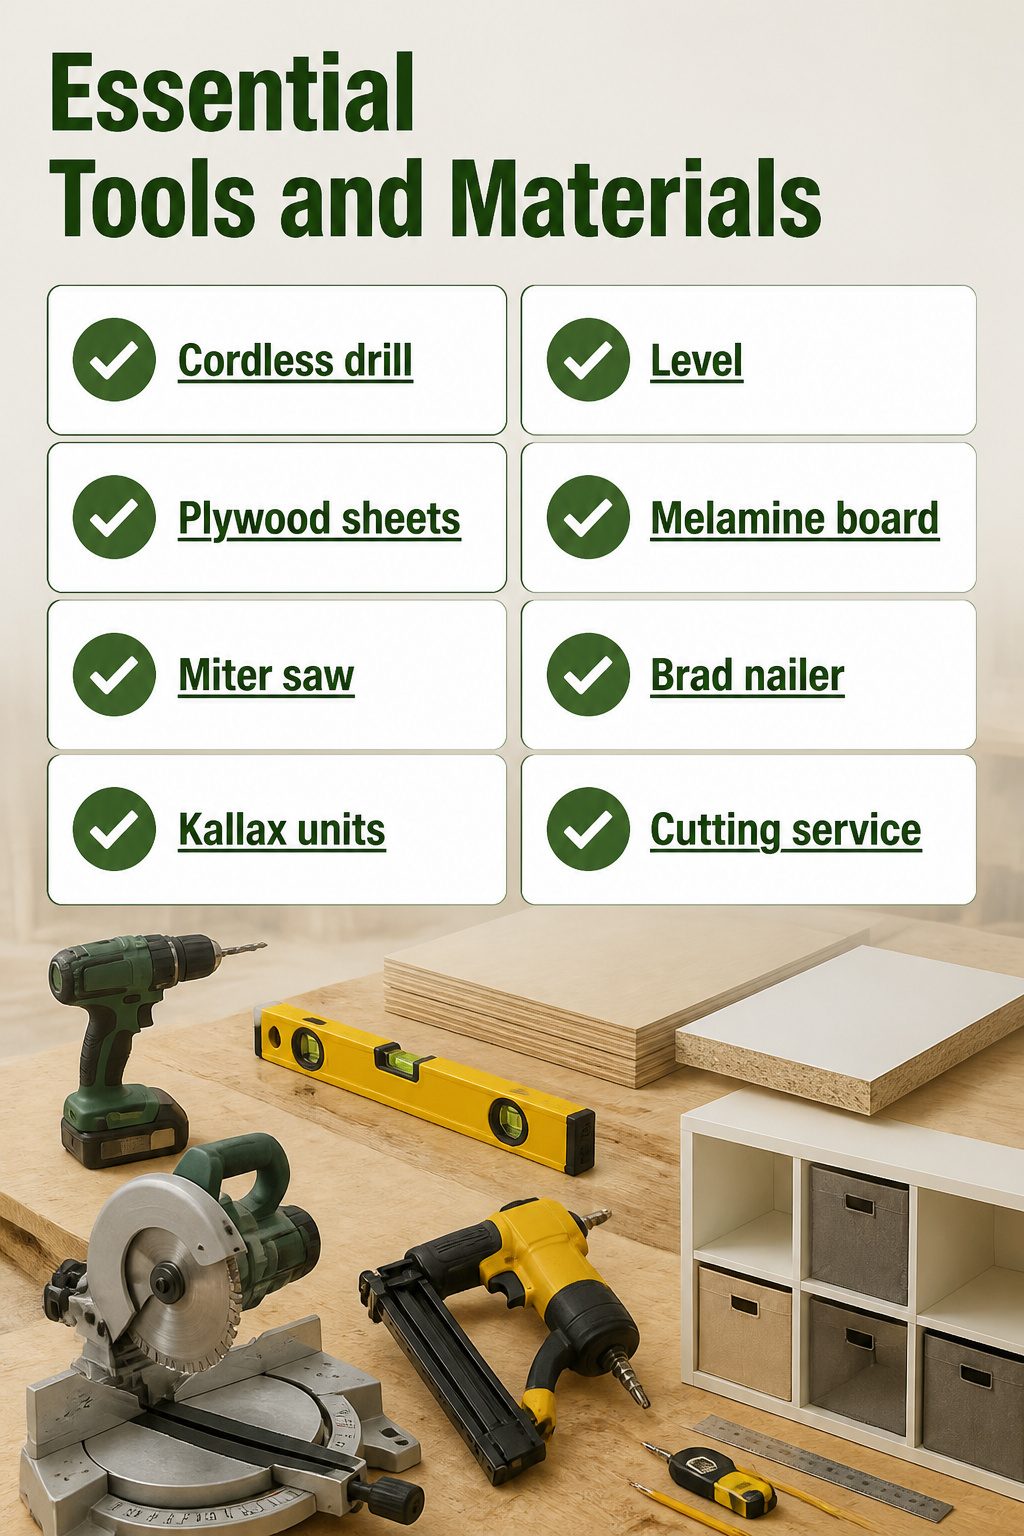
A cordless drill and a level sit on the list for nearly every closet build, but the real fork in the road is the material.
Plywood gives you a stable, paintable surface you can cut to odd widths, which matters when your closet is 58 inches wide and flat-pack units want 60.
Melamine, the coated board in most ready-made systems, chips if your saw blade is dull and shows every scuff, but it arrives finished and saves a weekend of sanding.
I borrowed a miter saw from a neighbor for my last closet; the circular saw I already owned would have worked, just slower and dustier. Brad nailer or drill, either drives the assembly.
The Kallax units one builder used, three of them at roughly $60–$70 each plus drawer inserts and fabric bins, hit about $350 total with a small loyalty discount.
Shelf Help and similar services pre-cut plywood or MDF to your dimensions if you lack a table saw or the space to break down full sheets, and the cost lands far below the $10,000–$12,000 a contractor quoted for the same footprint.
Borrow the saw, buy the board: that is the trade that keeps this under a thousand dollars.
Systems Compared
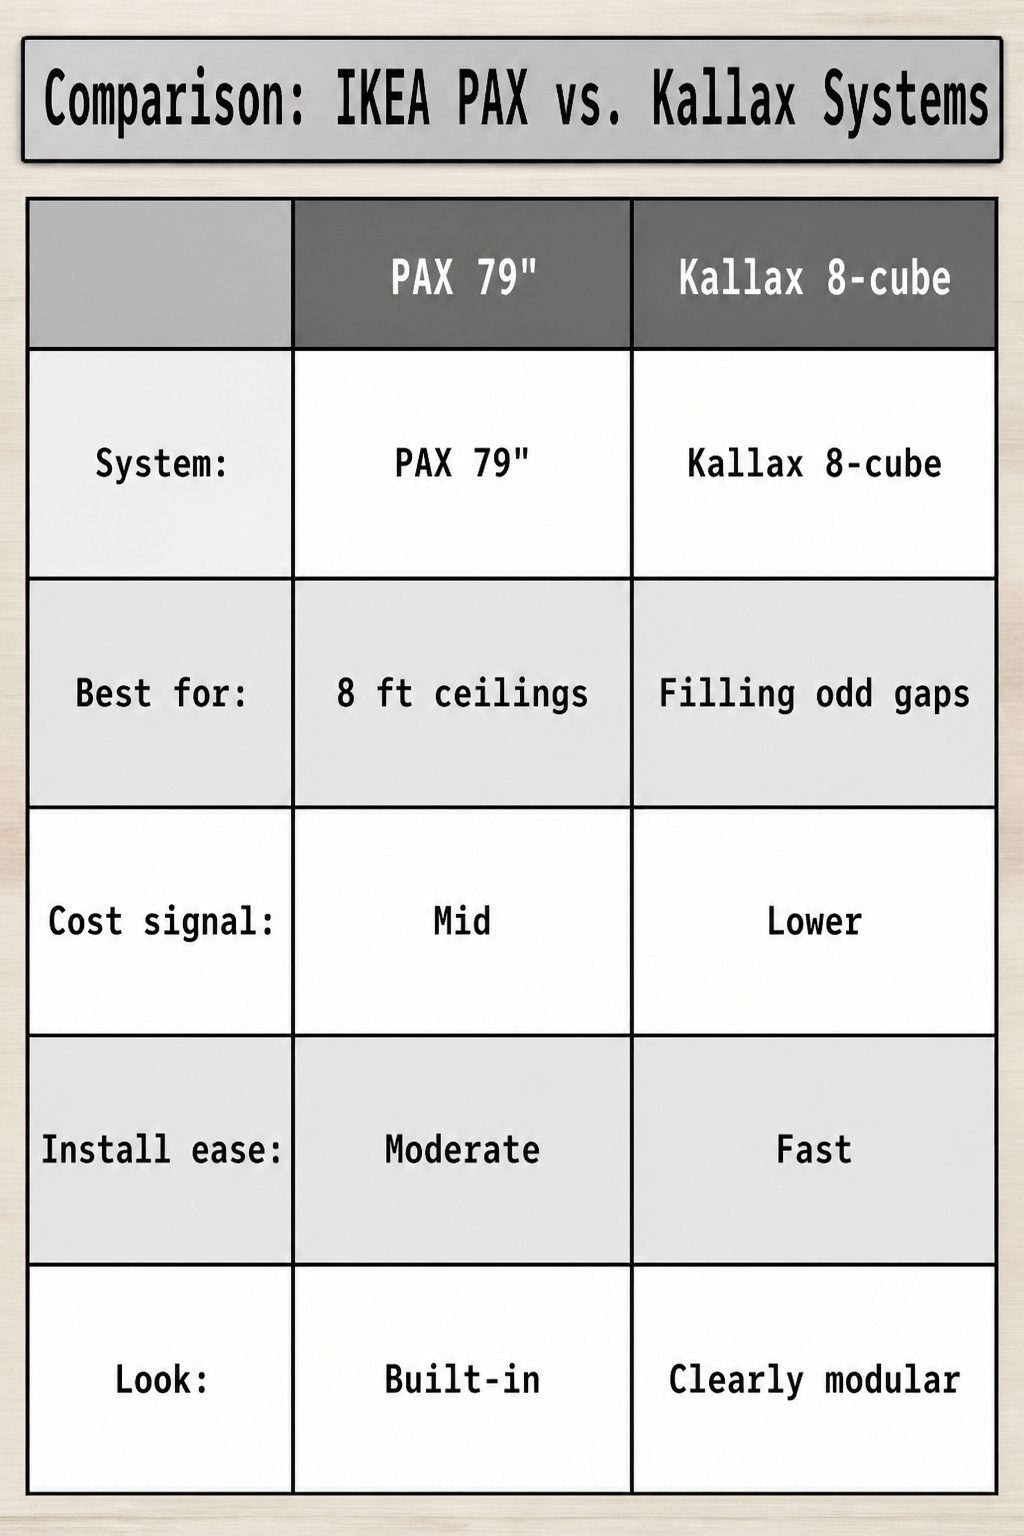
IKEA’s PAX system comes in 79-inch and 93-inch heights, with 13-inch and 22-inch depths and three widths: 19, 29, and 34 inches. That modularity is hard to beat for a custom fit, though the 93-inch frames need nine-foot ceilings to stand without cutting.
Kallax units work differently: three 8-cube units, two laid flat below hanging rods and one stacked and wall-secured above, fill dead space in closets with standard heights but sacrifice the tailored look.
Drawer inserts and fabric bins add function, yet the cube grid never quite disappears.
| System | Best for | Cost signal | Install ease | Look |
|---|---|---|---|---|
| PAX 79" | 8 ft ceilings, full wall | Mid, frames plus internals | Moderate: level, anchor, repeat | Built-in |
| PAX 93" | 9 ft ceilings, vertical storage | Mid-plus, same components | Same, heavier lift | Built-in |
| Kallax 8-cube | Filling odd gaps, under rods | Lower, ~$350 full closet | Fast: stack or lay flat | Clearly modular |
| Adjustable shelving | Sloped ceilings, rental | Lowest | Simple bracket track | Functional |
| Built-in drawers | PAX add-on or custom build | Higher per cubic foot | Tedious: measure twice | Seamless |
Adjustable shelving wins on flexibility for rentals and sloped ceilings, but the bracket track shows. Drawers, whether PAX inserts or built, cost more per inch of storage than open shelving and slow the install down.
My read: PAX pays off if the closet is rectangular and staying yours for a while. Kallax makes sense when the space is irregular or the budget tops out around that $350 mark.
What Can Go Wrong
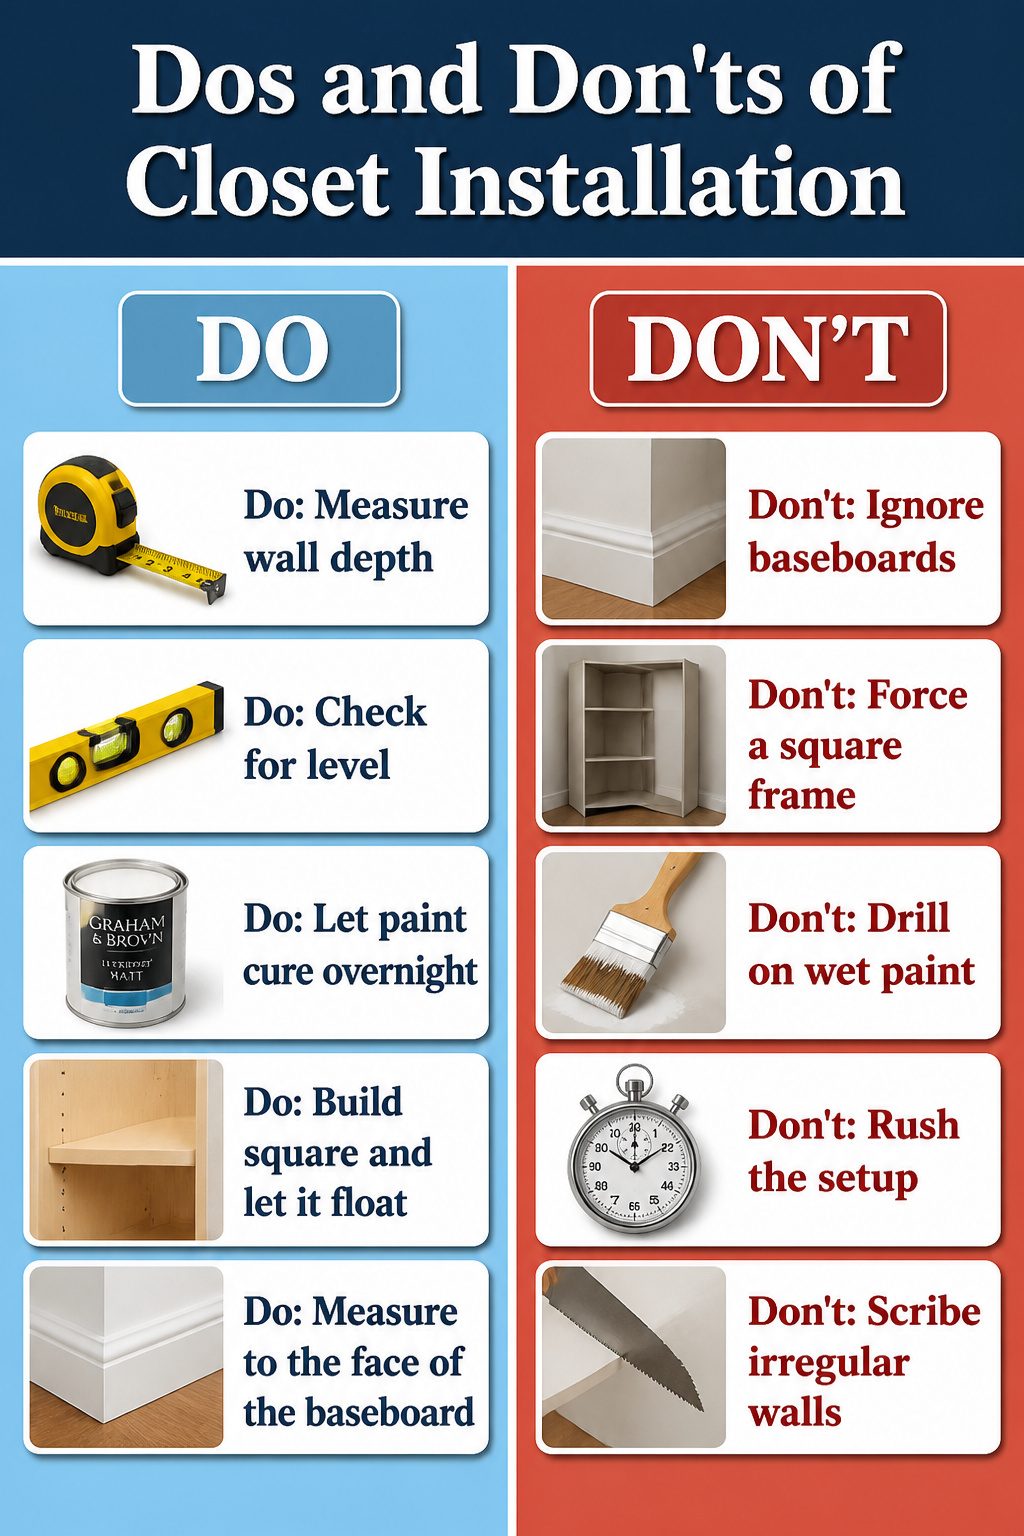
Walls that look straight rarely are. In my first closet build, the back corner bowed inward by nearly half an inch, and the side walls met at something closer to 88 degrees than 90.
I spent an hour trying to force a square frame into that space before accepting the gap would stay.
Building the unit square and letting it "float" along the back wall turned out cleaner than any attempt to scribe every board to the irregular surface.
Baseboards are the measurement everyone forgets. The wall length reads 96 inches, but the molding eats one and a half of them, and your side panel lands short with a visible seam.
I now measure to the face of the baseboard, not the wall behind it, and plan the bottom shelf to sit just above the molding height rather than notching around it later.
Paint timing matters more than the tutorials suggest. I painted my plywood panels the night before assembly, rolled on a single coat of Graham & Brown that covered beautifully, and still found soft spots the next morning.
A shelf pin jig needs firm backing; the bit wandered where the paint film was barely dry, and those holes are off by a sixteenth for the life of the unit.
Let the paint cure overnight, not just dry to the touch, before you drill or handle the pieces.
Frequently Asked Questions
How do I organize my closet?
Start by measuring height, width, and depth twice, then sort everything into categories like shoes, coats, and dresses so each gets the right zone.
Use bins, hooks, and wall-mounted cubbies for daily items, and add LED lights under shelves if the overhead bulb leaves shadows.
A double-hang rod setup doubles your linear storage by placing one rod at 80 inches for shirts and a second at 40 inches for pants or skirts.
What is the best way to maximize closet space?
Build a tall floor-to-ceiling shelving tower in the middle of the closet, which separates two rods hung at different heights and adds vertical storage without wasting wall length.
For the rods themselves, a double-hang arrangement gives you two rows of hanging clothes in the same footprint; just measure your longest dress first so nothing pools on the floor.
Fabric bins inside cube units, pegboard with small bins for accessories, and hooks on the sides of shelves all reclaim space that otherwise goes unused.
What are some budget-friendly closet makeover ideas?
A DIY build with 3/4-inch melamine board or 1-by-12 pine runs about $340 for a reach-in closet, compared to $1,500 for an IKEA PAX system or $10,000-plus for a contractor.
Three Kallax 8-cube units plus drawer inserts and fabric bins hit roughly $350 and fill odd gaps fast.
Have the store rip your boards to width so you skip the table saw, and paint only what the new shelves will not cover to keep material costs down.