
A bathroom reno is the process of updating or gutting an existing bathroom, from swapping paint and hardware to relocating plumbing and waterproofing the shower. The scope that actually fits your life depends on whether you own or rent, how many bathrooms you have to spare during construction, and whether you can tolerate showering at a friend’s house for a week. Most first-timers land in the $5,000–$10,000 range once they open a wall and find what the previous owner ignored.
Decide on Layout Changes
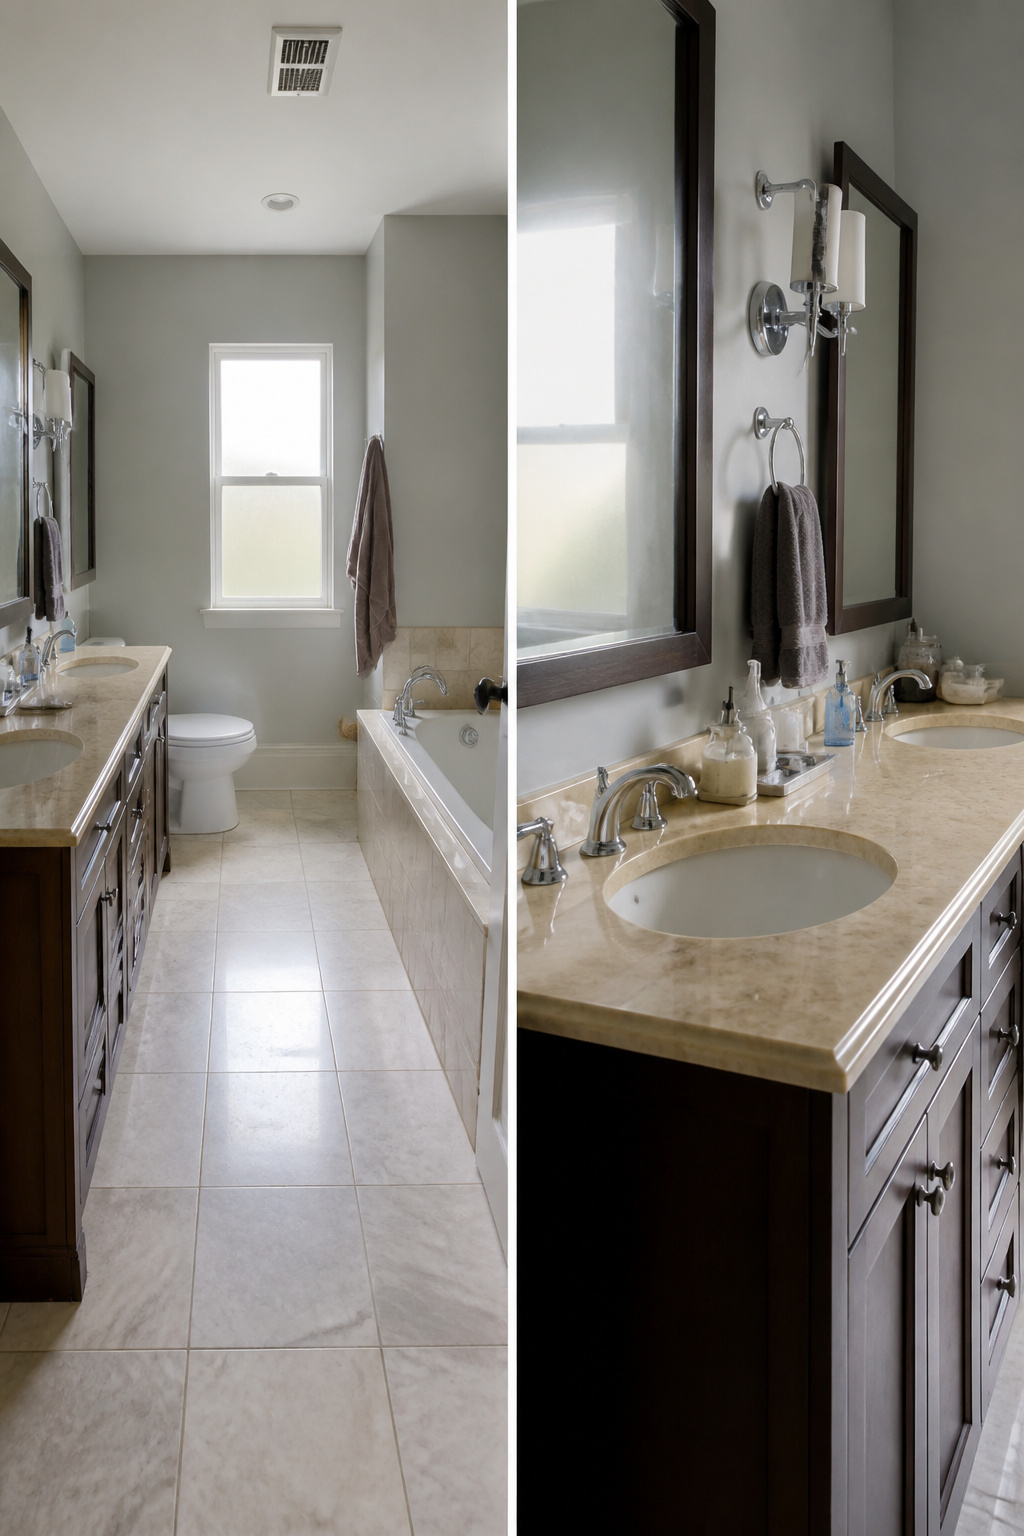
The first thing to look at is what is actually failing in the bathroom right now. Water damage, poor drainage, or deteriorated plumbing should decide the layout for you, because keeping fixtures where they are limits plumbing work and protects the budget. A cosmetic refresh, paint, mirror, and hardware upgrades work within an existing footprint and suit a room that functions but looks dated.
For renters, the layout is almost always fixed. Leases and landlord approval make moving a toilet or drain line impossible, so the practical question becomes whether a partial remodel, vanity, toilet, fixtures, and flooring, can solve the problems without touching the walls behind them.
First-home owners have more room to maneuver, but moving a toilet, shower, or tub crosses from weekend project into professional territory fast. The cost and timeline jump significantly once you break concrete or relocate drain lines. Sketch the ideal version within the existing four walls first. If the vanity and toilet stay put but the shower enclosure changes, that is often the sweet spot between better function and a budget that survives.
Visualize the Final Look

Pinterest boards fill fast with marble showers and brass fixtures that cost more than the whole project allowance. I learned to use the platform as a filter, not a wishlist: search "small bathroom refresh under 500" and the results shift from designer showcases to grout-paint jobs and stock-vanity swaps that real budgets can handle. The trick is pinning three things that repeat, a color, a texture, a shape, and then walking the hardware store aisle to see what actually ships in two days.
A cosmetic refresh, paint, mirror, lighting, hardware, runs lower cost and keeps fixtures where they are. Moving the toilet or shower changes the plumbing and the timeline, and for a weekend project that is usually the end of the conversation. I keep one board for the dream and a second for the Home Depot stock number, so the vision does not drift into custom orders that need six weeks and a contractor.
The mesh-backed tiles and hex patterns that look simple online cost more to install because of the cuts. Straight-edged individual tiles save that labor, and for a floor you walk across in wet socks, the difference is invisible in a year. Spray paint fills the gap between the brass rod you want and the chrome one on clearance. The color palette still reads cohesive if the materials came from three different aisles and one afternoon of touch-ups.
Plan for Demolition

The first thing to figure out is where you will shower and use the toilet once demolition starts. If you have a second bathroom, that solves it. If not, you are borrowing a neighbor’s shower or driving to a friend’s house, and you want that arrangement set before the first swing of the hammer.
In my own reading, the gap between "demolition weekend" and "functional bathroom again" runs longer than most guides suggest. A cosmetic refresh, paint and hardware and maybe a new mirror, keeps the room usable most of the time. A partial remodel where you are swapping the vanity, toilet, flooring, and shower door means plan for the bathroom to be completely out of commission for at least a week, not the weekend you hoped for. Move the toilet, shower, or tub to new locations and you are looking at plumbing inspections that must be signed off before insulation and walling up can proceed, so the timeline stretches from days to weeks.
Hidden problems are what turn a weekend gut into a month-long campout at the neighbor’s. Water damage, deteriorated plumbing, or unsafe wiring behind the walls does not get discovered until the tile is off and the drywall is down. My suggestion is to assume you will find something, pad your alternative bathroom plan by a week, and treat any shorter timeline as a bonus.
Select Finishes and Amenities
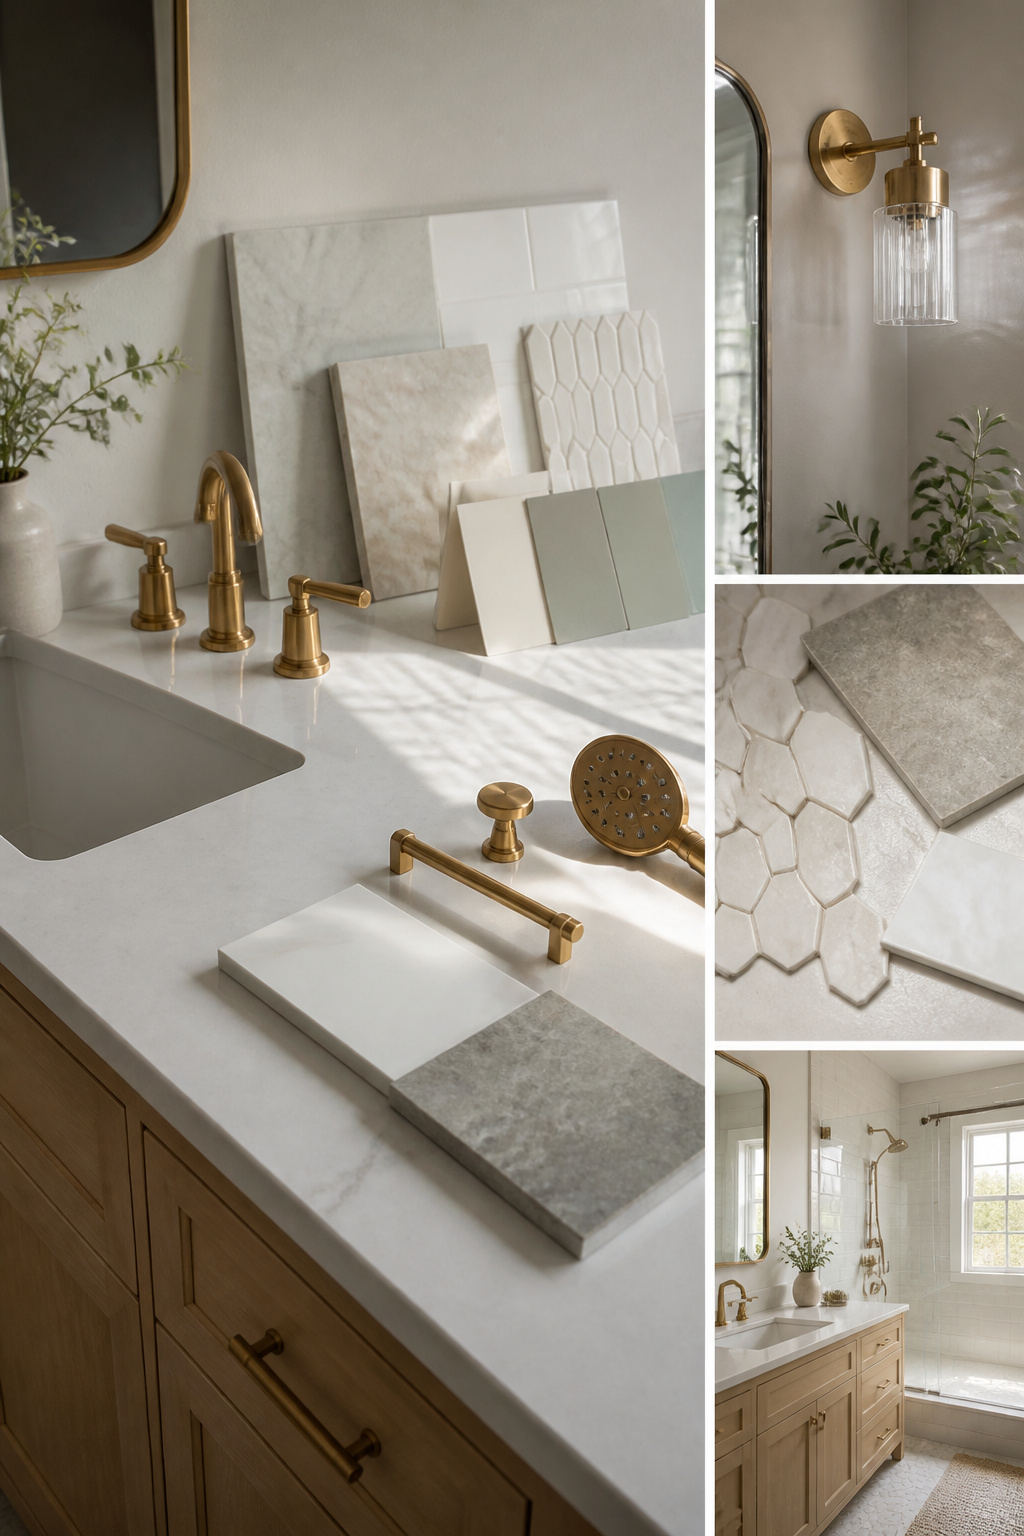
The $5,000–$10,000 range for a typical bathroom reno disappears fast if your vanity sits in a warehouse while the plumber stands idle. I learned to check delivery times before I check color swatches. Wall-mounted faucets, single versus double bowls, floating versus pedestal bases, each one changes where the water lines land. The plumber cuts once; the tile covers it forever.
For tile, light hits floors differently than walls, so lay samples the direction they’ll actually face. A quartz threshold for the shower runs a fraction of slab price if you walk the stone yard and pull from someone else’s leftover kitchen piece rather than ordering from the sample catalog.
Online fixture shopping wins on spec sheets. I tape-measure my existing faucet spread, walk over, and hold the numbers against the wall. Can’t feel the heft through a screen, but returns beat three weeks of showering at a friend’s place because the deck mount you ordered doesn’t clear your backsplash.
Order the vanity first, then build the rest of the finish schedule around its delivery date.
Tile Installation
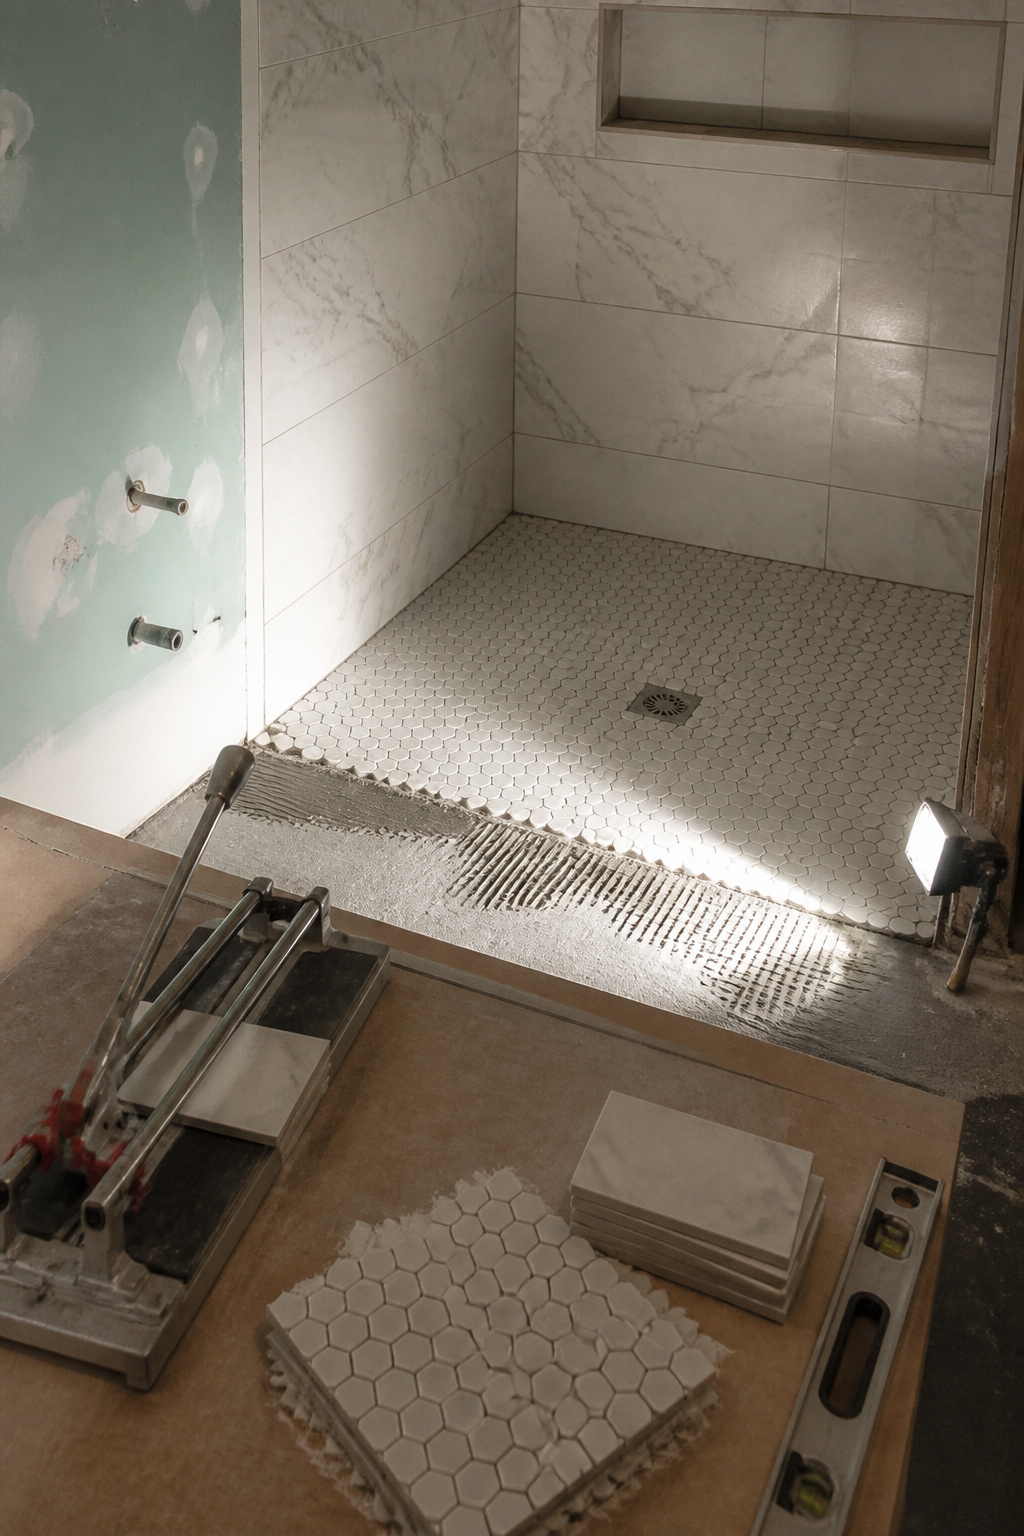
Tile installation eats more weekend hours than any other part of a bathroom reno, and most of that time is not the tiles themselves. The substrate has to dry, the waterproofing has to cure, and if you rush either, you will find out where the failure happened when water starts traveling sideways instead of down.
Waterproofing fails most often at corners and changes of plane, where the membrane gets stretched or skimped. RedGard on the walls is straightforward, but the shower pan is where DIYers lose it. PVC pan liner goes down first, then a sloped mortar bed graded toward the drain. The floor tiles on that slope have to be small enough to follow the pitch, which is why mosaic sheets on mesh exist. You could cut full tiles into tiny pieces yourself, but the tedium is punishing and the grout joints end up irregular.
Large format floor tiles look clean and modern, yet one person cannot maneuver them for cuts. Two sets of hands keep the tile level against the saw while the cut runs, and an out-of-level 1930s floor like mine needed double cement board just to create a flat base. Every cut you add, every angle around a threshold or niche, multiplies the time and the chance of a whack-job edge. The quartz threshold at my shower door took an extra evening to slope inward so water would not pool and etch the stone. That detail cost nothing in materials and everything in patience.
Grout and quarter-round trim come last, but the work that saves the job happens while nothing looks finished at all.
Painting

Paint goes last in a bathroom reno, and the reason is mechanical, not aesthetic. In my first gut job I rolled the walls in a soft gray the weekend before the plumber came, feeling productive. The vanity cabinet scraped a six-inch gash down the fresh paint when they wrestled it through the door. Touch-up paint on cured latex leaves a halo; you see it every morning under vanity lights. Paint after everything that touches the wall is bolted down.
Color choice works backward from what you cannot change cheaply. The floor tile, the countertop, the white of the tub or toilet, these are the anchors. Paint is the $35 correction that ties them together. A warm greige can pull together cool white fixtures and a cream travertine floor that would otherwise fight each other. Test swatches at night under the vanity bulbs you actually installed, not the hardware store fluorescents. The color that looked coastal at noon turns institutional after dark.
If you are living in the house during the work, the temptation to paint early and feel finished is real. Resist it. The final two days of a bathroom reno are boring and satisfying in exactly the right proportion: tape, cut in, roll, peel the tape while the second coat is still tacky, and the room is done.
Accessorize

A bathroom can look finished in the photos and still feel wrong to live with. The difference is usually the accessories, the ones you touch every morning before you’ve had coffee. In my first reno, I picked a $12 shower curtain rod that looked fine on the shelf. Three months later it was rusting onto the tile grout, and replacing it meant re-drilling holes that had already weakened. The rod, the toilet paper holder, the towel bars: these are the pieces that fail first when you go cheap, because they hold weight in wet air every single day.
Soap dispensers and toothbrush cups get swapped out faster than almost anything else. The ceramic ones look substantial until they chip on the sink edge, or the pump mechanism gums up with hard-water residue. A metal tumbler with a weighted base costs more upfront but survives the rhythm of actual mornings. The same goes for shower curtain hooks. Plastic ones snap at the worst moment; metal glides pay back their difference in about six weeks of use.
Mirrors matter more than people budget for. A builder-grade mirror with no storage behind it wastes the wall space where you actually need shelves. I spent one reno’s final weekend adding a medicine cabinet I hadn’t planned for, because living without it meant the countertop became permanent clutter. That weekend delay was worth more than the mirror I had originally installed.
Budgeting for a Bathroom Reno

A bathroom reno runs between $5,000 and $10,000 once you stop counting in wishful thinking. The gap between what DIYers budget and what the room actually demands usually opens up around plumbing, not tile. Moving a toilet, shower, or tub from its existing location drives cost and timeline up fast; keeping fixtures where they are keeps plumbing work contained and the budget closer to that lower bound.
I used to treat bathroom projects as a few hundred dollar weekend refresh until I understood how the scale shifts. A cosmetic pass, paint and a new mirror and hardware, stays cheap because it skips the systems underneath. The partial remodel, swapping the vanity and toilet and flooring, jumps to moderate cost because you are touching water lines and drainage. The full remodel, the one that reworks layout and waterproofing and electrical, is where that $5,000–$10,000 range lives, and where most first-timers end up once they open a wall and find what the previous owner ignored.
Water damage, poor drainage, unsafe wiring, and deteriorated plumbing should take priority over the cosmetic upgrades you probably pictured first. The finishes are the fun part to shop for, but the waterproofing and the plumbing behind them are what keep you from tearing it apart again in two years.
Design Inspiration That Survives Reality
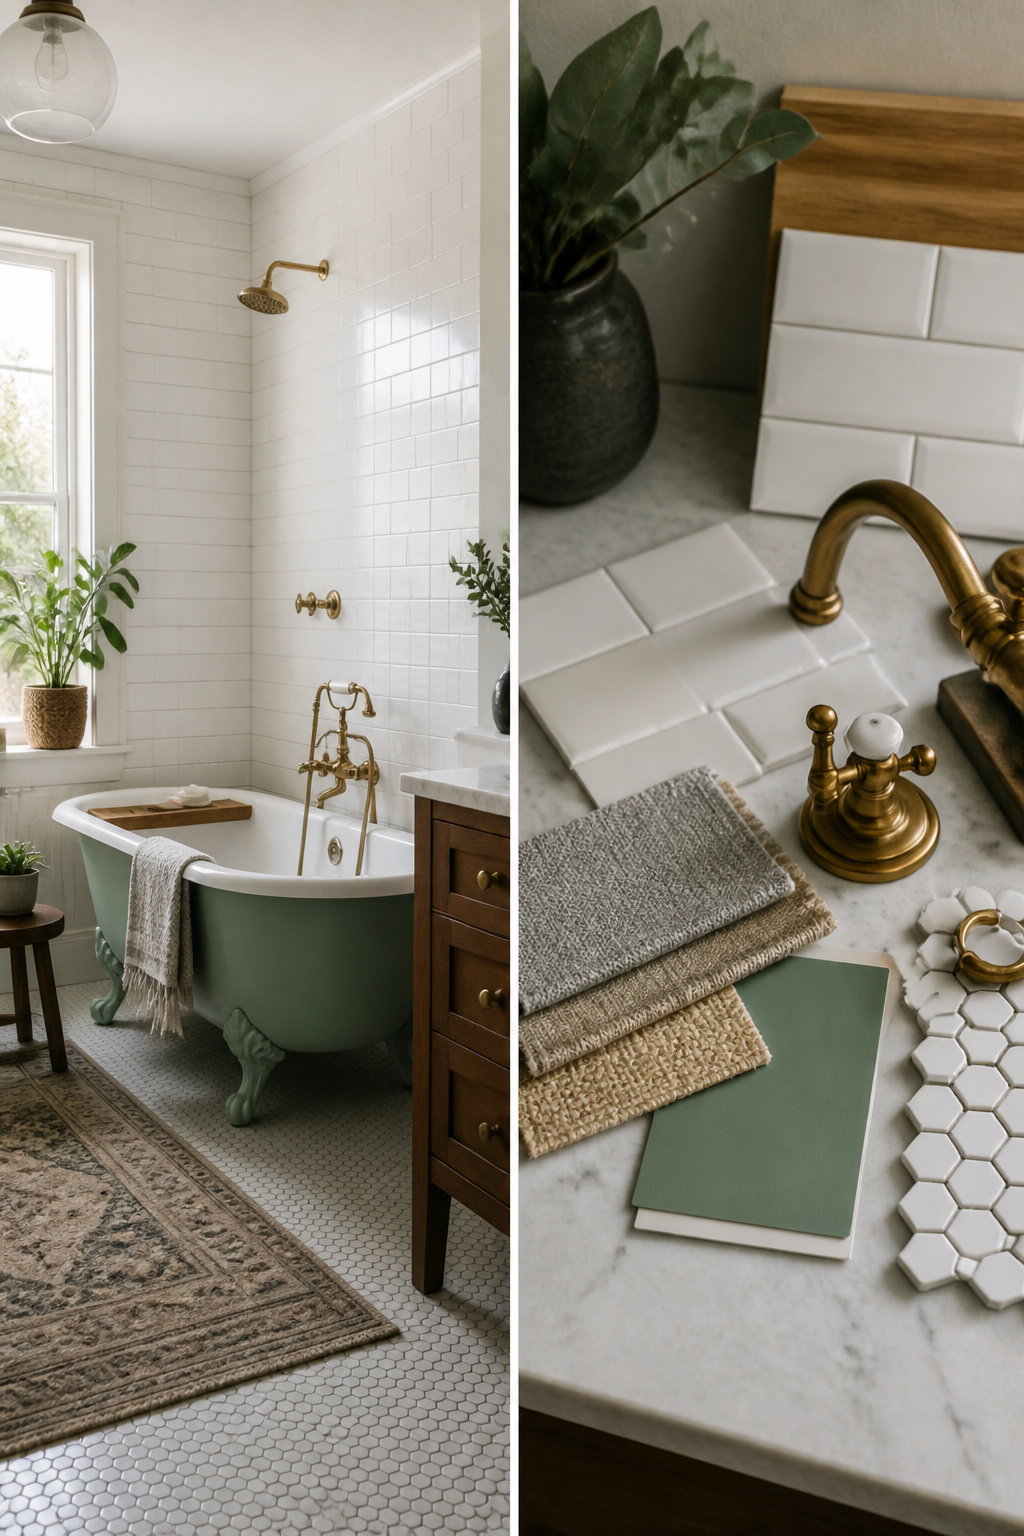
Pinterest boards full of marble vanities and seamless glass doors look nothing like the Craigslist haul that actually carries a bathroom reno. I learned that after falling for three different "modern farmhouse" pins and realizing the hex tile in every one of them would cost hundreds more in install labor because of the extra cuts. Straight-edged tile is what survives a real budget, whether you are renting and doing the work yourself or hiring out your first home’s bathroom.
The trick is translating the mood, not the material. A light, restrained palette, warm white or pale gray with one brushed brass accent, gives that minimal calm without the custom fabrication. For rustic charm, a patinaed clawfoot tub brings aged character against fresh tile, but a standard tub with a vintage-style curtain rod, spray-painted in a brass tone you like, lands the same feeling for a fraction of the unlacquered brass price. I have spray-painted curtain rods, rings, even a toilet paper holder when the real thing was out of reach, and the finish held up fine.
Renters face the tighter bind. Peel-and-stick tile with straight edges installs over existing floors and lifts back up; a white vanity against light stone-look tile reads as designed, not temporary. The mesh-backed sheets that look so clean online need multiple cuts per sheet and a skilled installer, so they rarely make sense for a weekend project on a few hundred dollars. Flexibility matters more than fidelity. My boards all started with marble countertops, but the vanity with sinks and tops included, bought half-price from a warehouse selling old Home Depot stock, was what actually came home.
Material Selection for Durability
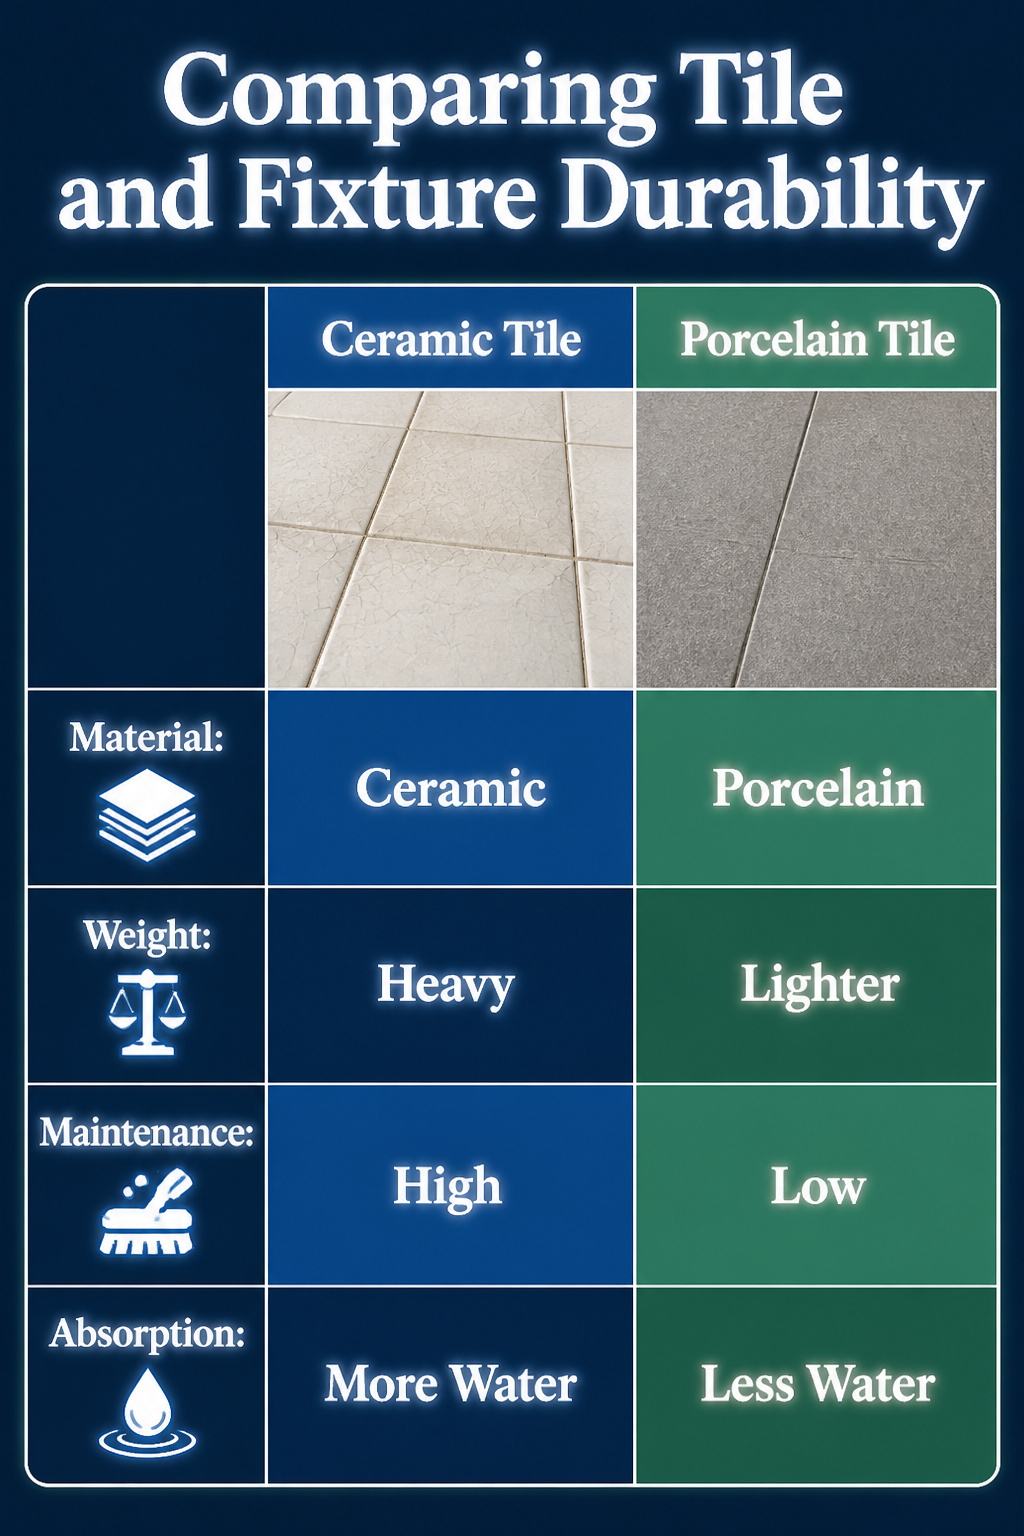
Ceramic tile absorbs more water than porcelain, and that gap matters in a bathroom where the floor stays wet half the time. Porcelain is fired harder and denser, so it shrugs off the tracked-in drips that slowly stain cheaper ceramic. I learned the difference the hard way in a first rental, watching the glaze on ceramic floor tiles craze after two winters of salt and water.
For fixtures, acrylic has become the practical choice over cast iron or enameled steel. The material itself is lighter to handle during a weekend install, and the seamless, grout-less construction means you are not on your knees with a scrub brush every Saturday. A high-gloss acrylic tub or shower wipes clean without the porous joints that breed mildew behind traditional tile.
Countertops that demand daily sealing or special cleaners are a mismatch for real mornings. Quartz composite or solid-surface materials take hot tools, spilled makeup, and toothpaste splatter without asking for maintenance before coffee. The vanity top is where you will test your choice every single day, so pick the surface you can neglect and still live with.
DIY or Hire Out
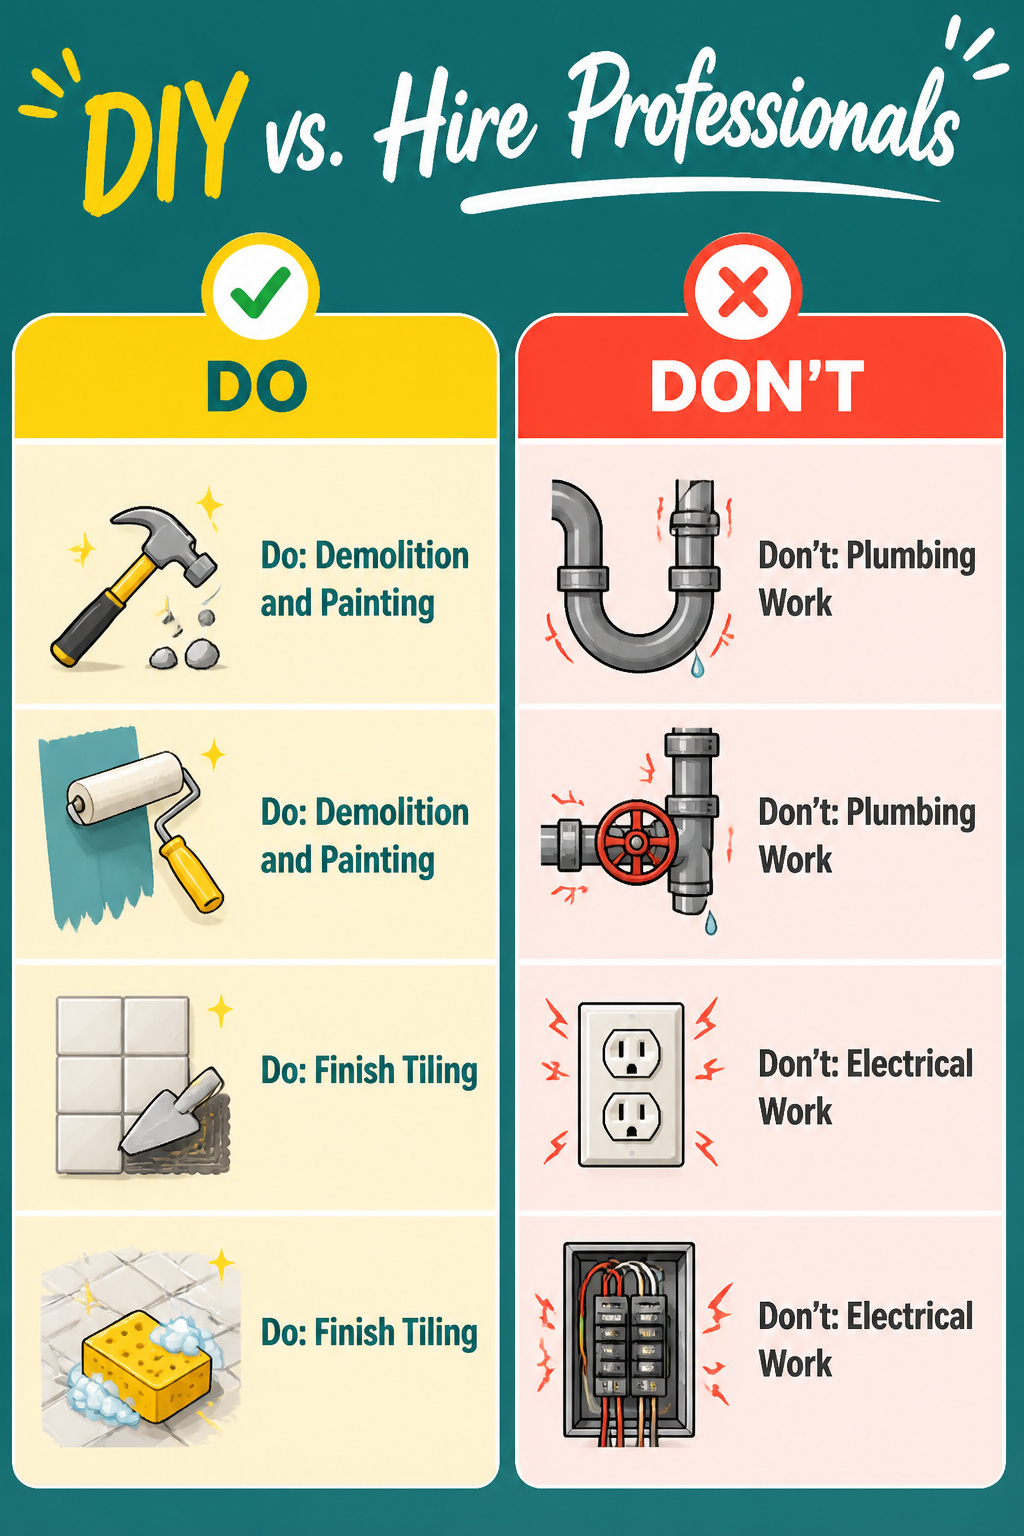
The line between what you handle yourself and what you hand off isn’t where most people think it is. Plumbing and electrical work are the two places where a DIY bathroom reno goes from weekend project to emergency call, and the emergency call usually costs more than the whole reno budget. A moved shower line or changed vanity supply needs the electrical inspector’s sign-off before you can insulate and close the walls, and that inspection schedule is set by the town, not by your Saturday availability. I have watched friends lose weeks waiting to re-wall because they ran pipe on impulse and then tried to schedule the inspector.
Demolition, painting, and finish tiling are where actual DIYers save real money without real risk. The tasks that generate the expensive callbacks are anything behind the wall that mixes water and power, anything that needs a permit sign-off before the next phase can proceed, and anything your neighbor’s bathroom can’t cover if you stall out. If you have only one bathroom, the timeline matters more than the labor savings, because showering at a friend’s house gets old fast and friendship is not a code-compliant backup plan.
Frequently Asked Questions
What is the cost of a bathroom reno?
A typical bathroom reno runs between $5,000 and $10,000 once you stop counting in wishful thinking. Keeping fixtures where they are limits plumbing work and keeps the budget closer to that lower bound. Moving a toilet, shower, or tub to new locations drives cost up fast because you cross from weekend project into professional territory.
How long does a bathroom reno take?
A cosmetic refresh with paint and hardware keeps the room usable most of the time and may finish in a weekend. A partial remodel where you swap the vanity, toilet, flooring, and shower door means planning for the bathroom to be completely out of commission for at least a week. Move the toilet, shower, or tub to new locations and you are looking at plumbing inspections that must be signed off before you can insulate and wall up, so the timeline stretches from days to weeks.
What are the best materials for bathroom renovations?
Porcelain tile outperforms ceramic in wet conditions because it is fired harder and denser, so it shrugs off tracked-in drips that stain cheaper ceramic. Acrylic fixtures have become the practical choice over cast iron or enameled steel; they are lighter to handle during a weekend install and wipe clean without porous joints that breed mildew. For countertops, quartz composite or solid-surface materials take hot tools, spilled makeup, and toothpaste splatter without demanding daily sealing or special cleaners.